
Ever bought a beautiful new houseplant, followed a strict weekly watering schedule like the internet told you to, and watched it turn yellow and mushy anyway? You’re not doing anything wrong by trying you’re just following advice that doesn’t actually work for most houseplants.
Here’s the truth almost nobody tells beginners: overwatering, not underwatering, is the number one killer of houseplants. That “water every Sunday” routine feels responsible, but it ignores the fact that no two plants or even two identical plants in two different rooms use water at the same rate. The good news is that once you understand a few simple principles, watering stops being a guessing game and becomes second nature.
Save this guide for later because these 13+ tips will help you water every plant in your home correctly, whether it’s a thirsty peace lily or a nearly-neglect-proof succulent. And don’t skip tip #1, since it’s the single habit that fixes more houseplant problems than anything else on this list.
[Image placement 1 vertical, top of post: A person watering a houseplant with a narrow-spout watering can, checking soil moisture with a finger. Alt text/pin text: “How to water indoor plants properly idea using the finger soil-check method.”]
1. Check the Soil, Not the Calendar
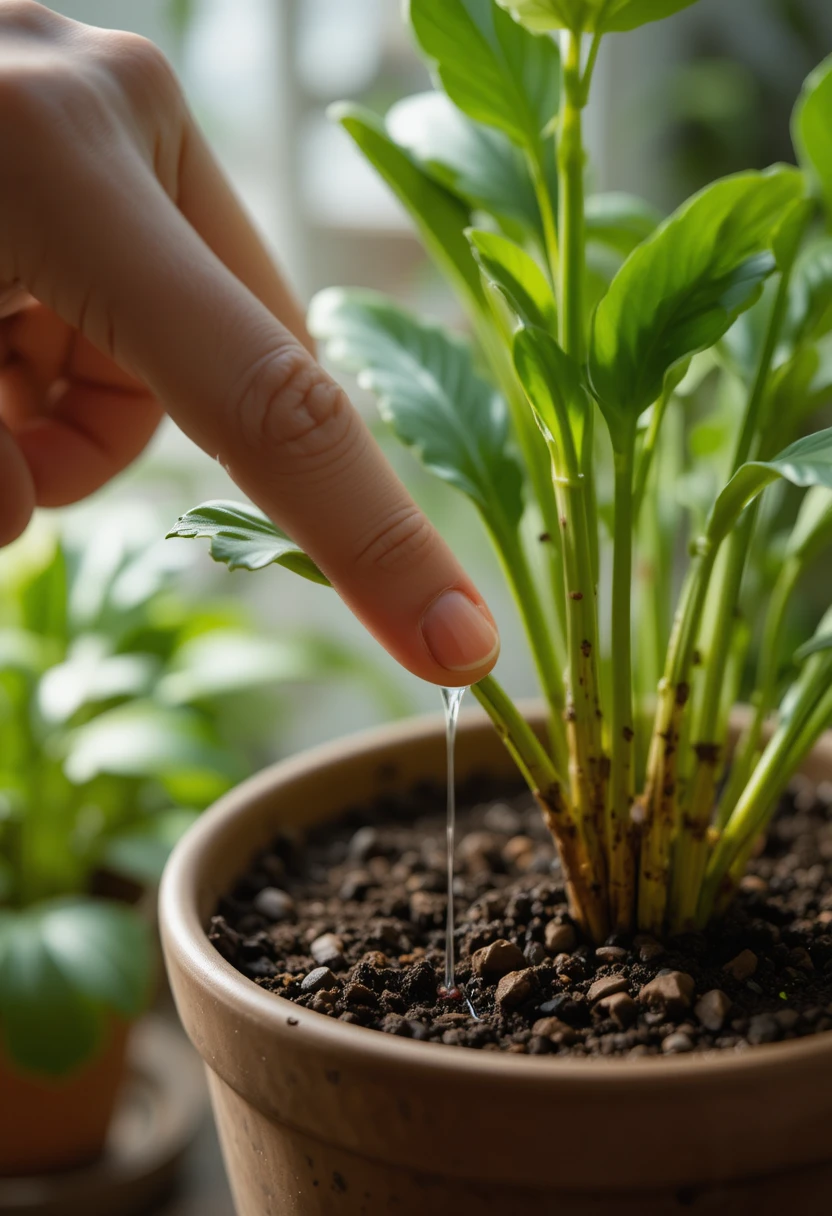
This is the single biggest shift you can make, and it solves more watering problems than any other tip on this list.
Instead of watering on a fixed schedule like every Sunday, stick your finger about one to two inches into the soil before you water. If it feels dry at that depth, it’s time to water; if it still feels moist, wait a day or two and check again. Every plant uses water at a different rate depending on its size, pot, light, and the season so the calendar is guessing, but your finger is actually checking.
Quick summary: Set one day a week as your “check-in day” but only water the plants that actually need it, not all of them automatically.
2. Water Thoroughly, Until It Drains Out the Bottom
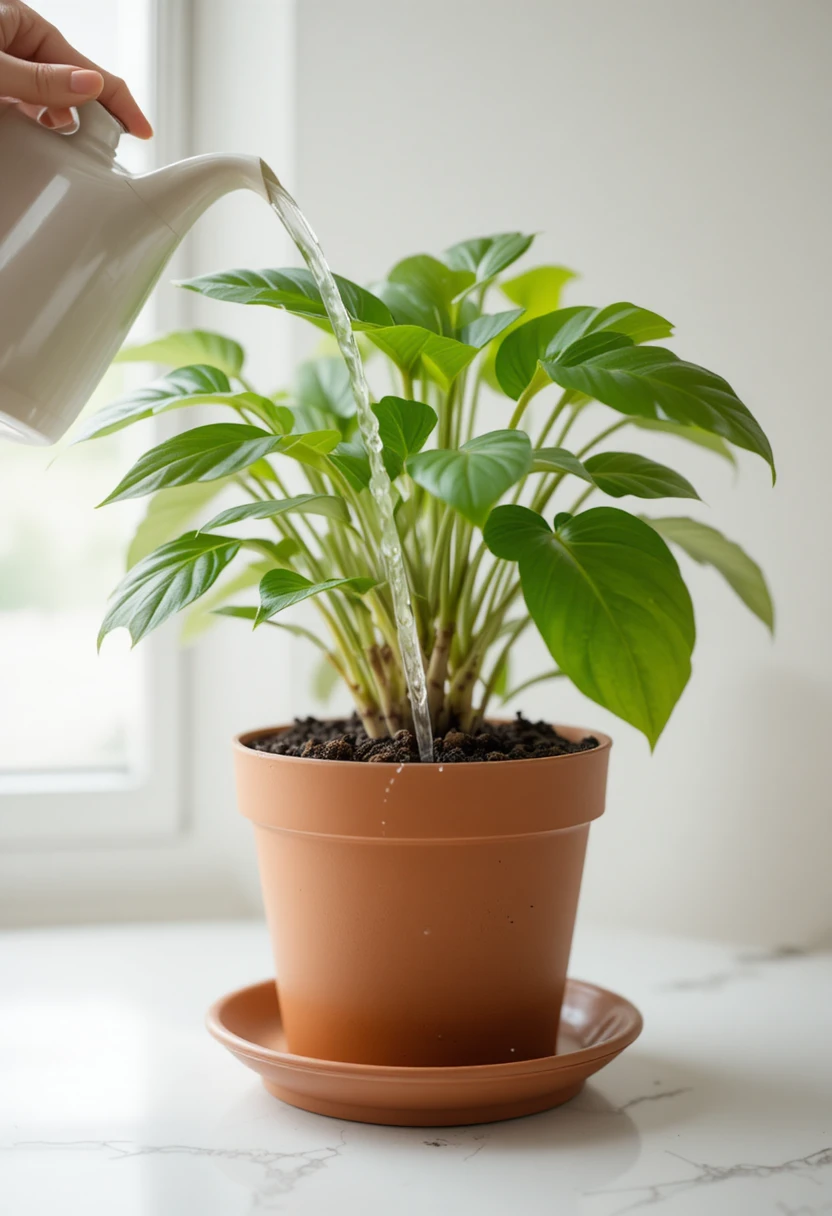
A small daily sip feels helpful, but it usually only wets the very top layer of soil, leaving the rest of the root system dry and thirsty.
When you do water, soak the soil thoroughly until water runs out of the pot’s drainage holes. This ensures moisture actually reaches the entire root system, rather than encouraging roots to grow shallow and weak in search of the only damp soil near the surface. A deep, thorough watering followed by a proper dry-out period beats frequent light sprinkles every time.
3. Always Use Pots With Drainage Holes
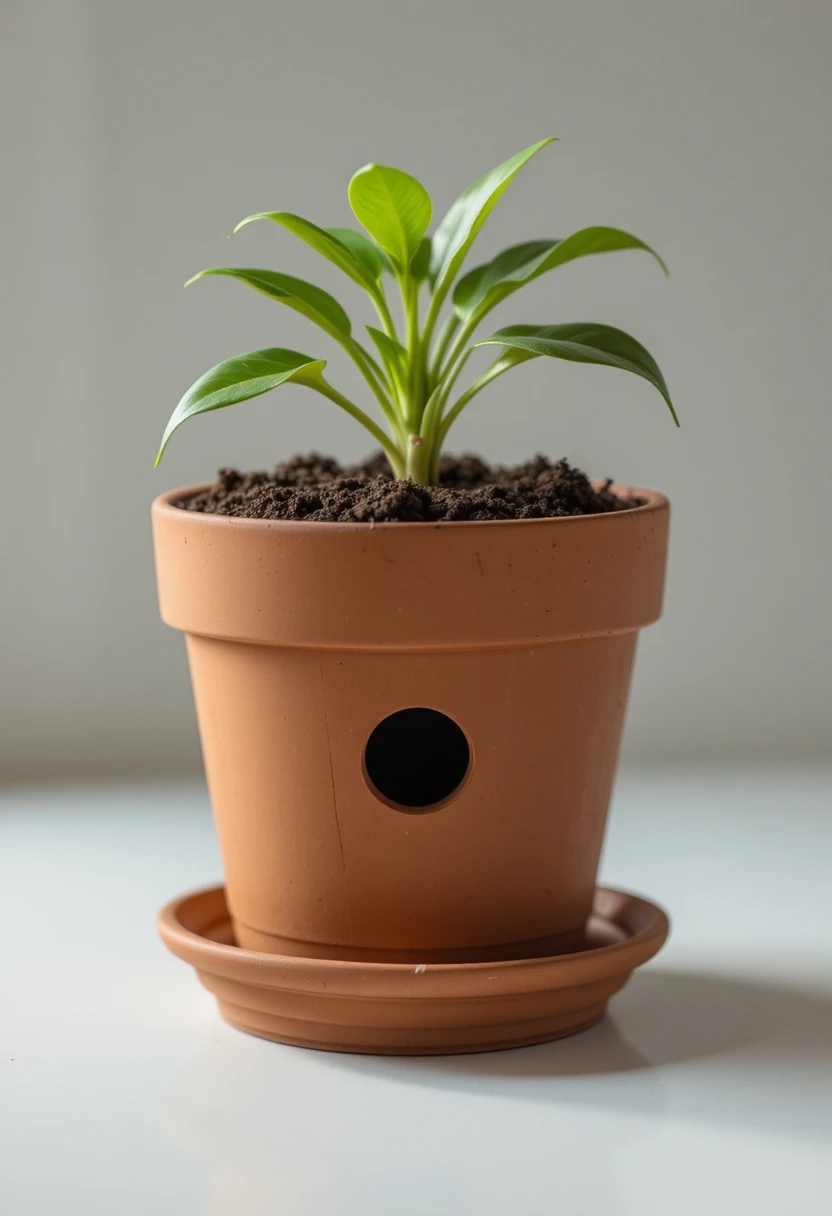
No matter how carefully you water, a pot without drainage holes makes it almost impossible to avoid root rot.
Water needs somewhere to go once the soil is saturated without a drainage hole, excess water simply pools at the bottom of the pot and keeps roots sitting in soggy soil indefinitely. If you love a decorative pot that lacks drainage, use it as an outer “cachepot” and keep your plant in a properly draining nursery pot inside it.
[Image placement 2 vertical, mid-article: Close-up of a terracotta pot with a visible drainage hole and water draining into a saucer below. Alt text/pin text: “Indoor plant watering idea showing a properly draining pot and saucer.”]
4. Empty the Saucer After Watering
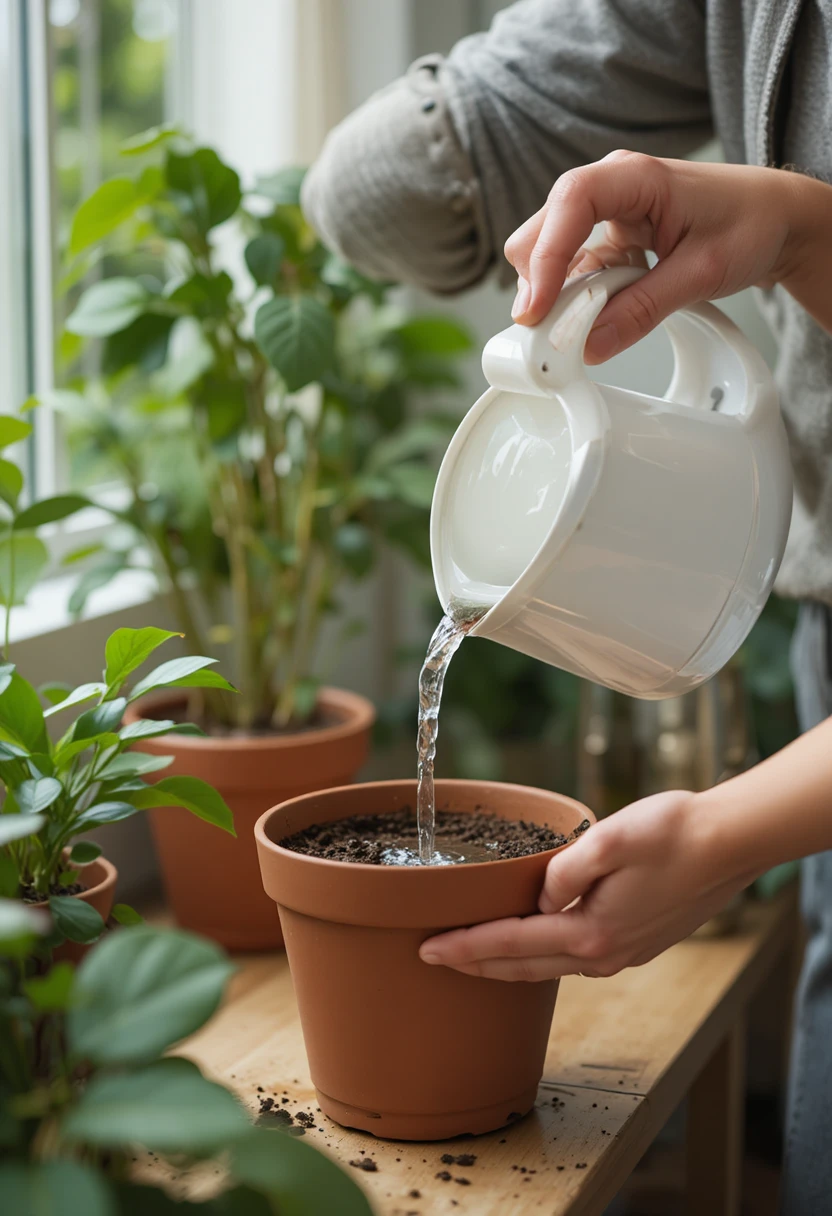
It’s easy to water a plant perfectly and then undo all that good work by leaving it sitting in a full saucer for days.
After water drains through the pot, empty any excess that collects in the saucer underneath within an hour or so. Left in place, that standing water gets pulled back up into the soil, effectively keeping the roots wet long after you intended the plant to start drying out one of the sneakiest causes of accidental overwatering.
Read Also : Green Nest Hubs
5. Adjust Your Watering for the Season
Many houseplants slow way down in fall and winter, conserving energy the same way outdoor plants do, and need noticeably less water during that dormant stretch.
Watch for signs of slower growth as the days get shorter, and ease back on watering frequency accordingly you may go from watering weekly in summer to every other week or less in winter for the same plant. Come spring, as new growth picks up again, you can gradually increase watering to match.
6. Match Your Watering Style to the Plant Type
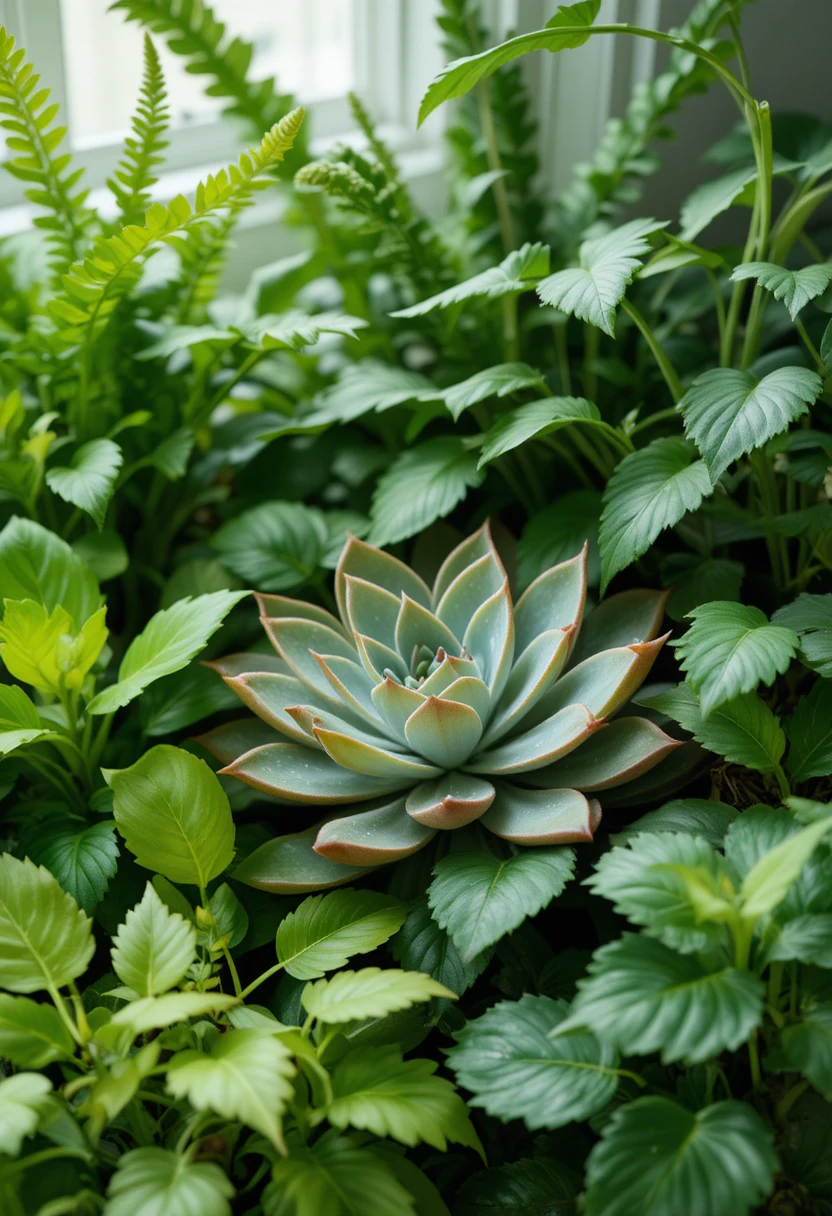
Not all houseplants are built the same way, and treating them identically is a fast path to problems.
- Tropical plants (pothos, philodendron, peace lily) come from rainy environments and generally prefer the top inch of soil to dry out before their next watering.
- Succulents and cacti are desert natives that want the soil to dry out much more fully often two inches deep or more between waterings.
Grouping your plants mentally by these two broad categories makes it far easier to remember roughly how each one likes to be treated.
[Image placement 3 vertical, mid-to-lower article: A side-by-side comparison of a lush tropical pothos and a desert succulent, each labeled with its watering style. Alt text/pin text: “How to water indoor plants properly by type, comparing tropical plants and succulents.”]
7. Water at the Soil Level, Not on the Leaves
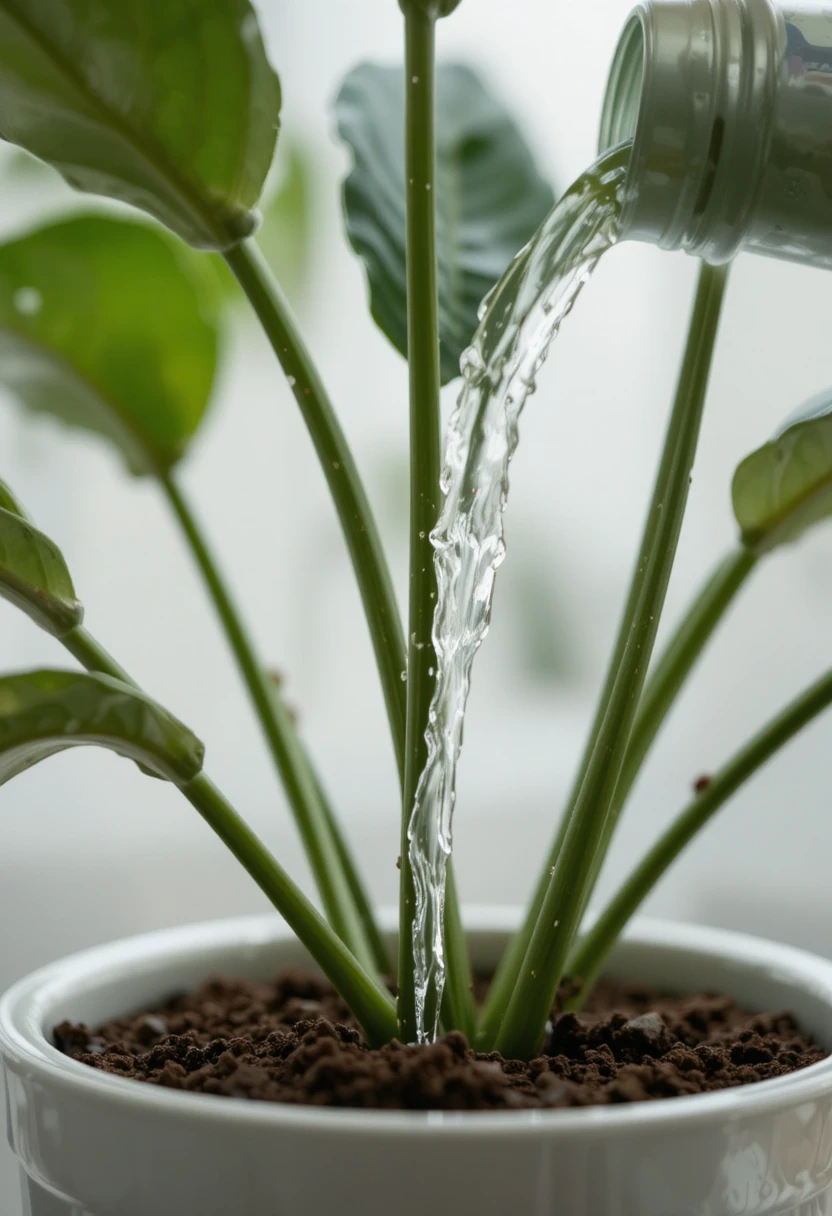
Pouring water over a plant’s leaves and crown rather than directly onto the soil can invite fungal issues and rot, especially for plants with dense, low foliage.
Aim your watering can spout at the soil surface, working around the base of the plant rather than over the top of it. This directs moisture straight to where the roots can actually use it, and keeps leaves drier and less prone to spotting or rot particularly important for plants like African violets, which are notoriously sensitive to wet foliage.
8. Use Room-Temperature Water
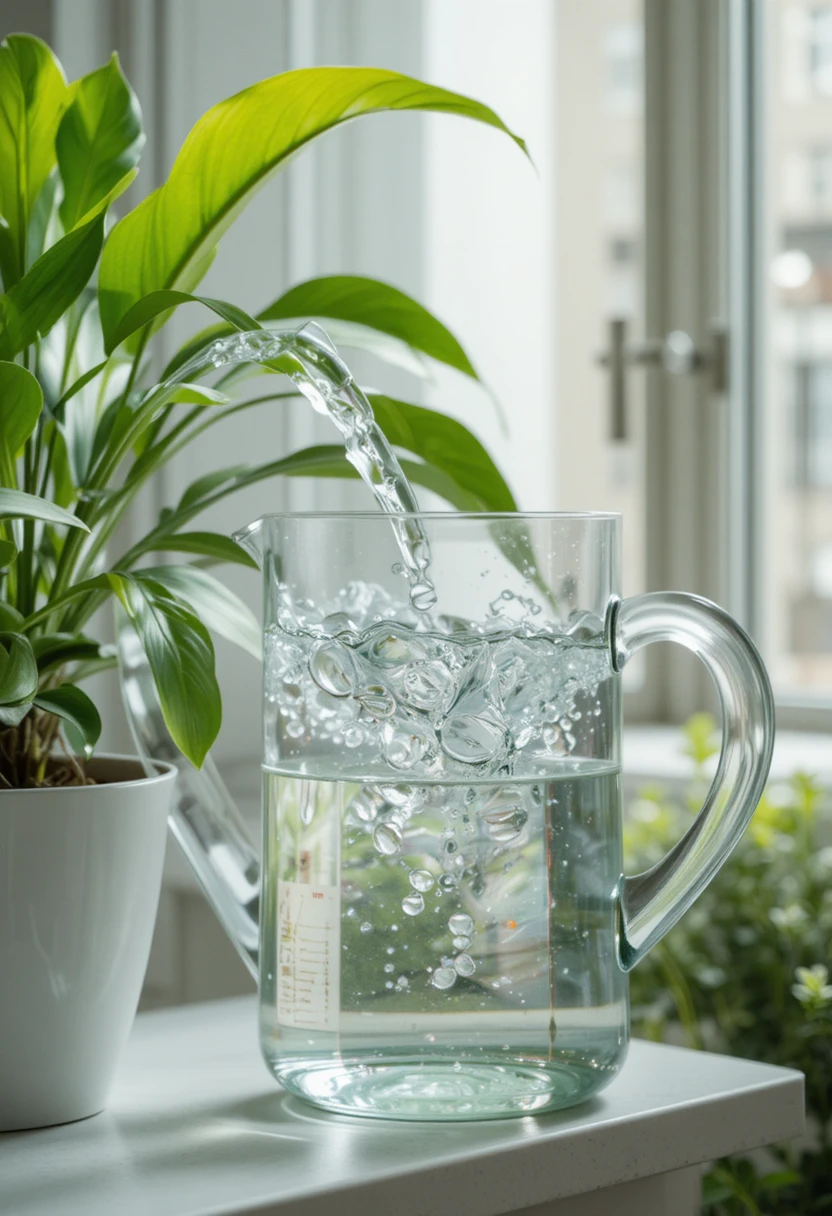
Cold water straight from the tap can shock a plant’s roots, especially for warmth-loving tropical varieties.
Let water sit out for a bit to reach room temperature before using it, or simply use lukewarm water from the tap. It’s a small detail, but it removes one more source of stress from plants that are already working hard to establish themselves indoors.
9. Consider Water Quality for Sensitive Plants
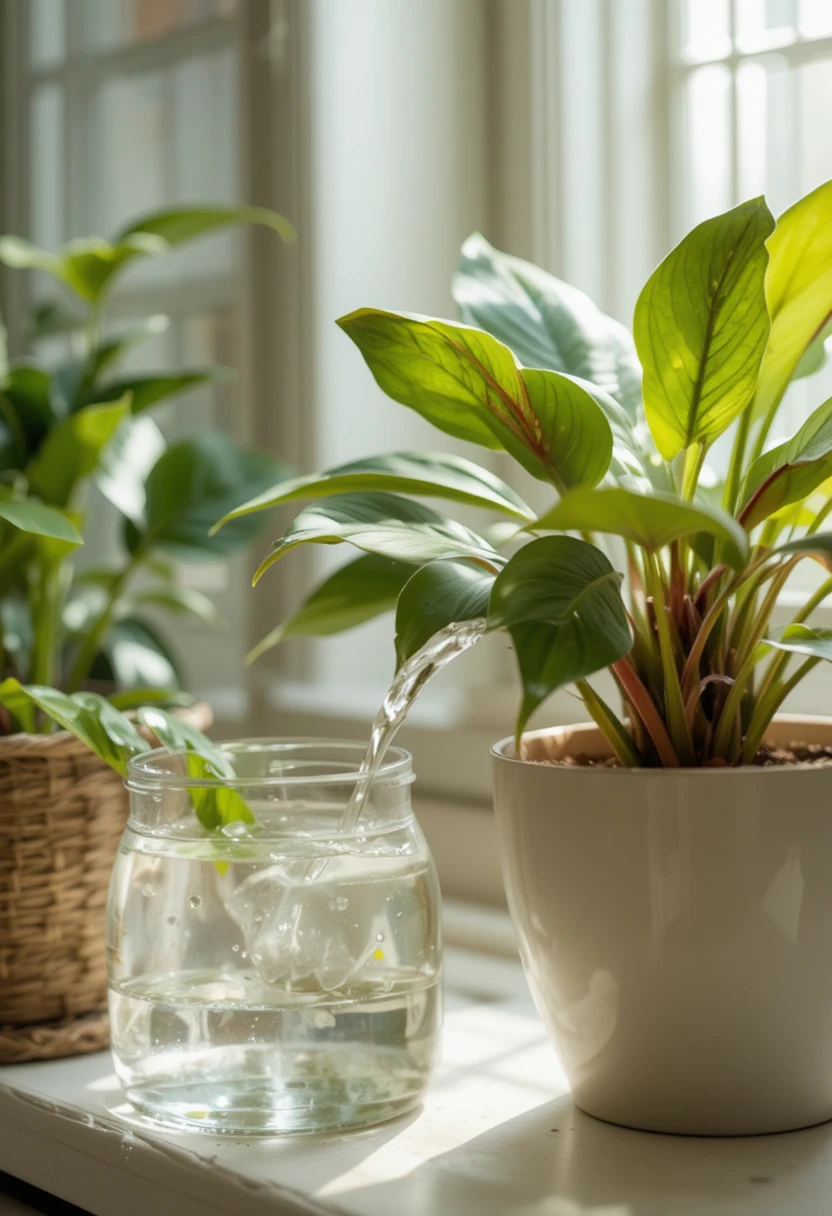
Most houseplants tolerate ordinary tap water just fine, but a few sensitive varieties can react to the chlorine, fluoride, or salts commonly found in municipal water.
For plants that seem to develop brown leaf tips despite otherwise correct watering, try letting tap water sit out uncovered overnight to let some chlorine dissipate, or switch to filtered or rainwater. This isn’t necessary for every plant, but it’s a useful troubleshooting step if a particular plant just won’t thrive no matter what else you adjust.
[Image placement 4 vertical, lower article: A watering can filled with room-temperature water sitting on a windowsill next to houseplants. Alt text/pin text: “Water quality tip idea for watering sensitive indoor houseplants.”]
10. Water Each Plant Individually
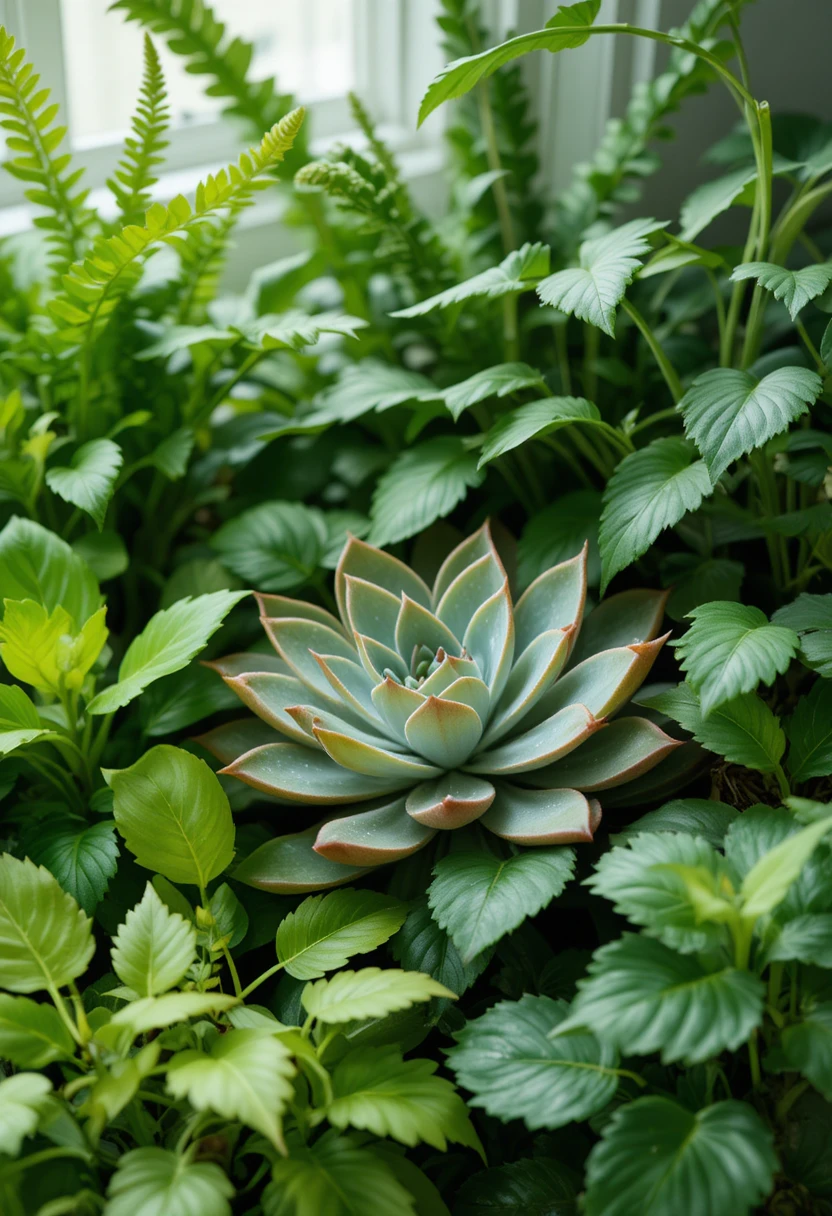
It’s tempting to walk through the house with a watering can and give every plant a splash on the same day, but this treats every plant as if it has identical needs which it doesn’t.
Check the soil of each plant on its own, since pot size, plant type, and location near a sunny window or a dim corner all change how quickly soil dries out. A large plant in bright light may need water twice as often as a small one tucked in a shady corner, even if they’re sitting three feet apart.
11. Learn to Recognize the Signs of Overwatering vs. Underwatering
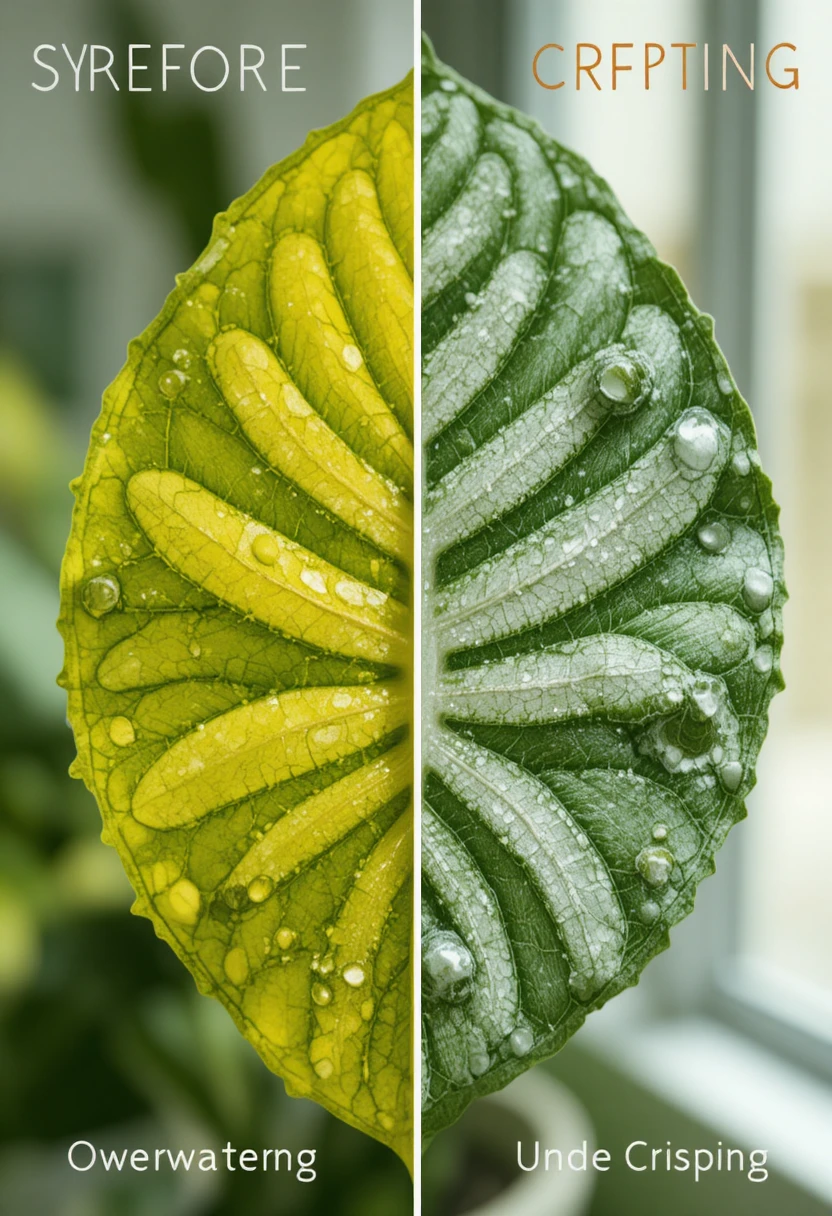
Both overwatering and underwatering can cause a plant to look wilted and unhappy, which is exactly why so many people accidentally make the problem worse by watering more.
- Overwatered plants often show yellowing leaves, a mushy or dark stem base, and soil that stays wet and heavy for a long time. Fungus gnats hovering around the soil are another common sign.
- Underwatered plants typically show crisp, curling, or browning leaf edges, and soil that pulls away from the sides of the pot when very dry.
Learning to tell these two problems apart rather than assuming a struggling plant just needs more water is one of the most valuable skills a beginner houseplant owner can develop.
12. Account for Pot Size and Material
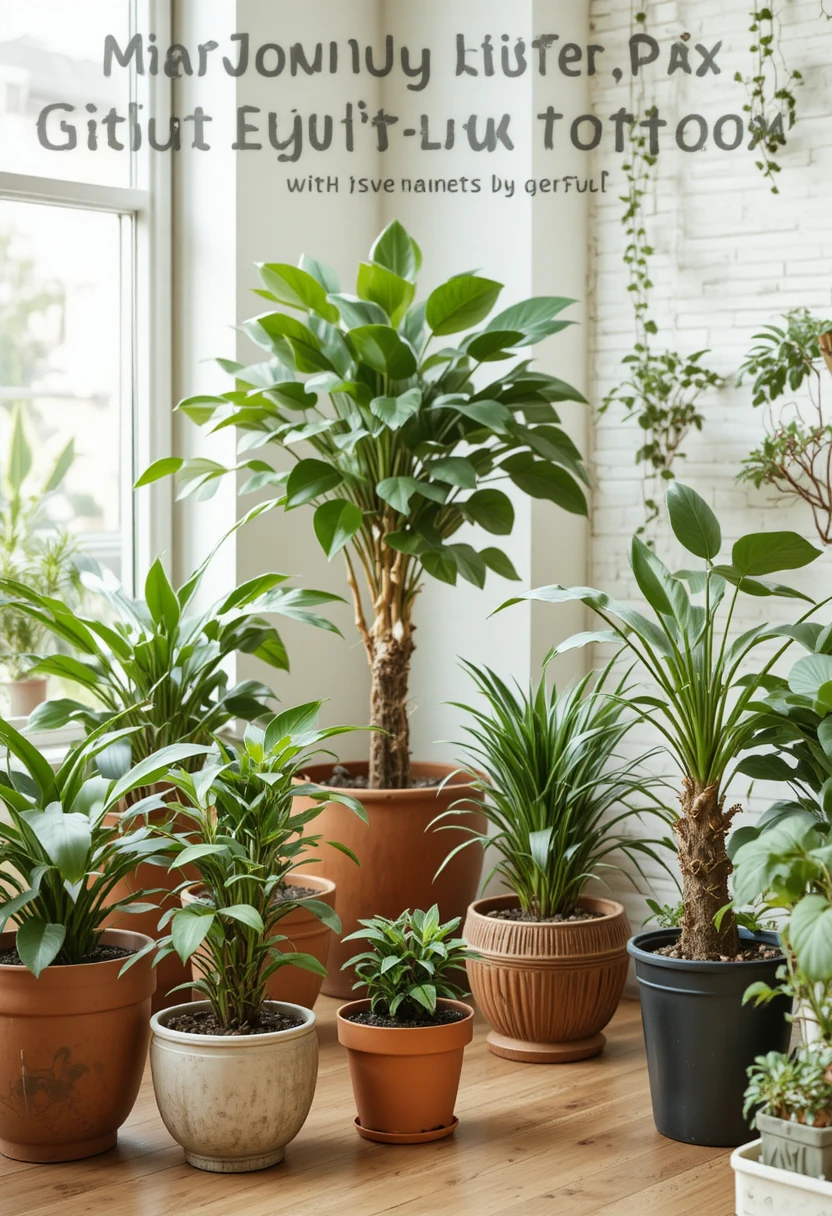
The pot itself plays a bigger role in watering needs than most people realize.
Terracotta and unglazed clay pots are porous and allow soil to dry out faster than plastic or glazed ceramic pots, which hold moisture longer. Similarly, a small pot dries out much faster than a large one with the same plant, simply because there’s less soil volume to retain moisture. When you repot a plant into a different material or size, expect its watering needs to shift along with it.
[Image placement 5 vertical, near conclusion: A collection of houseplants in varying pot materials terracotta, ceramic, and plastic showing how each affects moisture retention. Alt text/pin text: “Indoor plant care idea comparing pot materials and how they affect watering needs.”]
13. Try Bottom-Watering for Sensitive Plants
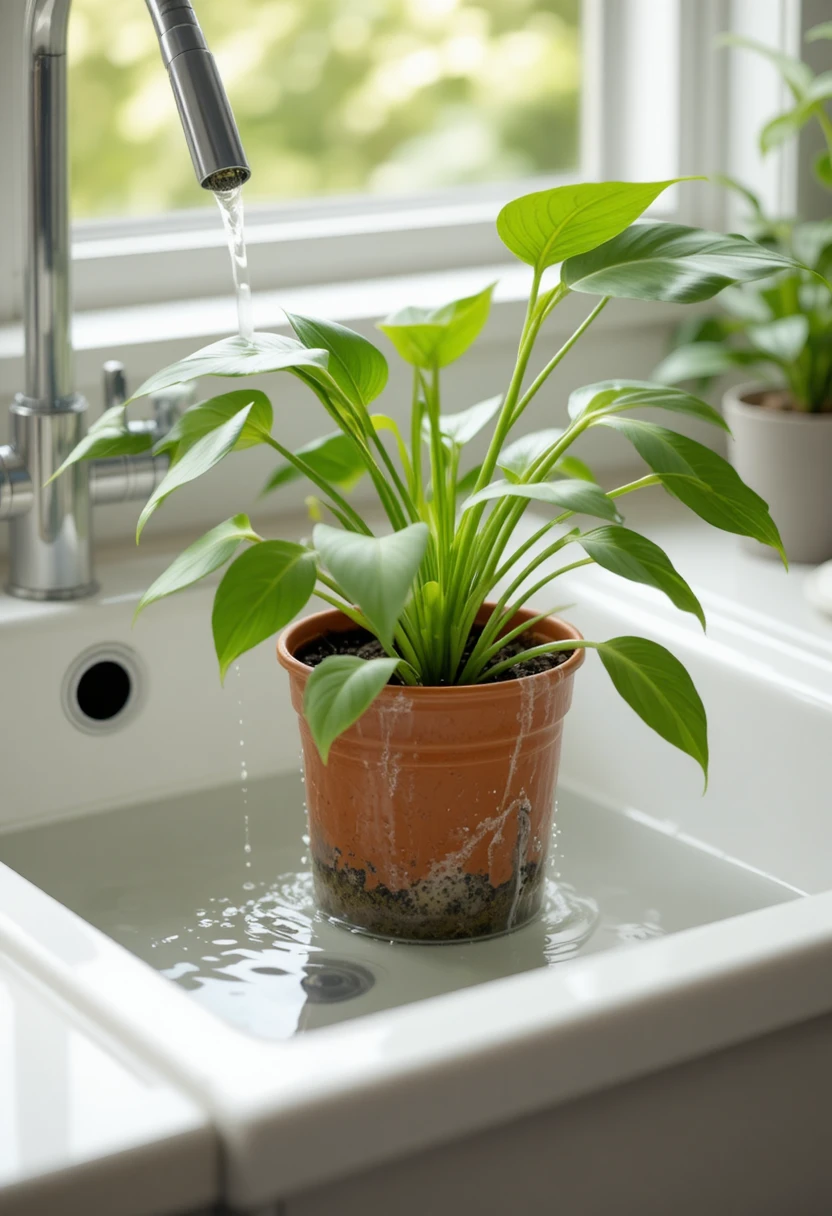
Some houseplants particularly African violets and other plants prone to crown or leaf rot do best with water delivered from below rather than poured on top.
To bottom-water, set the pot in a shallow dish or tray of water for about 15–20 minutes, allowing the soil to soak up moisture through the drainage holes, then remove it once the top of the soil feels damp. This method keeps sensitive leaves and stems completely dry while still delivering a thorough watering to the roots.
14. Increase Humidity Instead of Overwatering
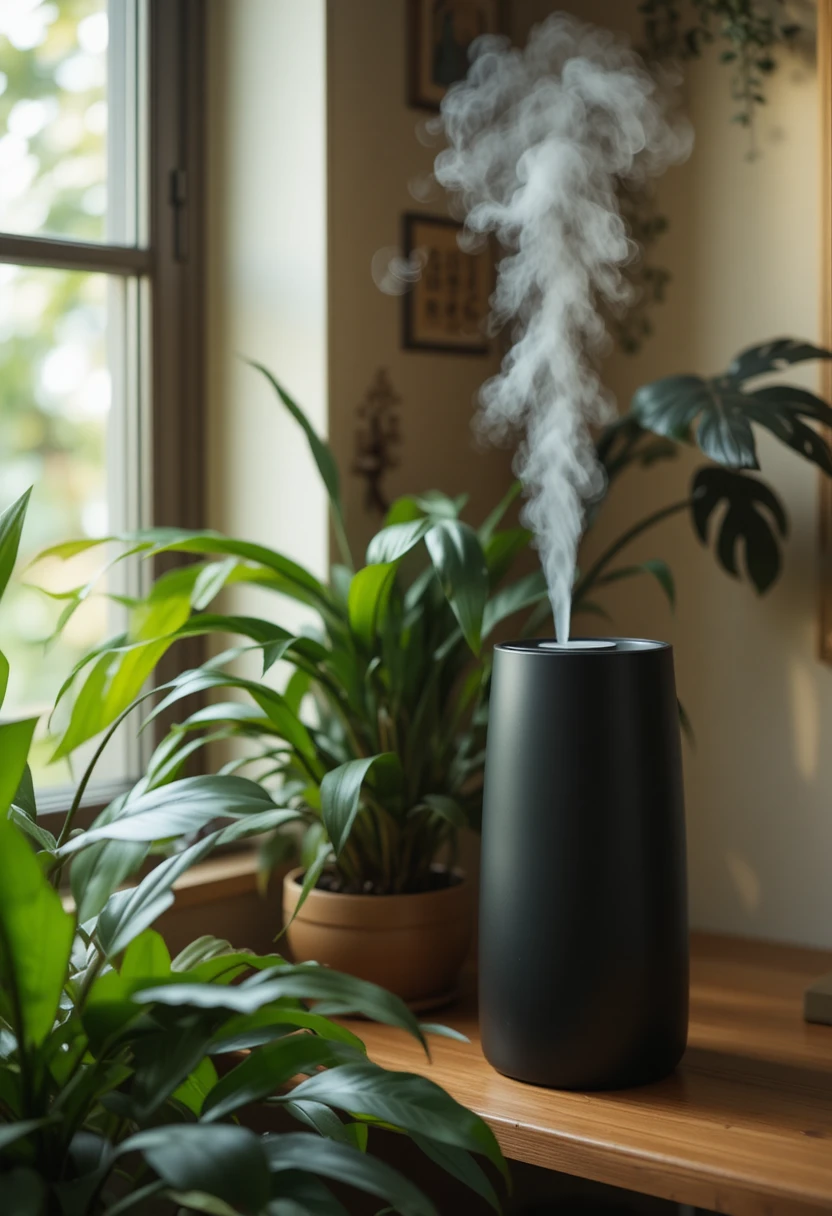
If a tropical plant looks droopy or crispy despite correctly moist soil, the real problem is often low humidity, not a lack of water and adding more water to fix it usually backfires.
Instead, group humidity-loving plants together, use a small humidifier nearby, or set the pot on a tray of pebbles and water (keeping the pot above the waterline, not sitting in it). This addresses the actual issue dry air without pushing the soil into overwatered territory trying to compensate.
15. Act Quickly If You Do Overwater
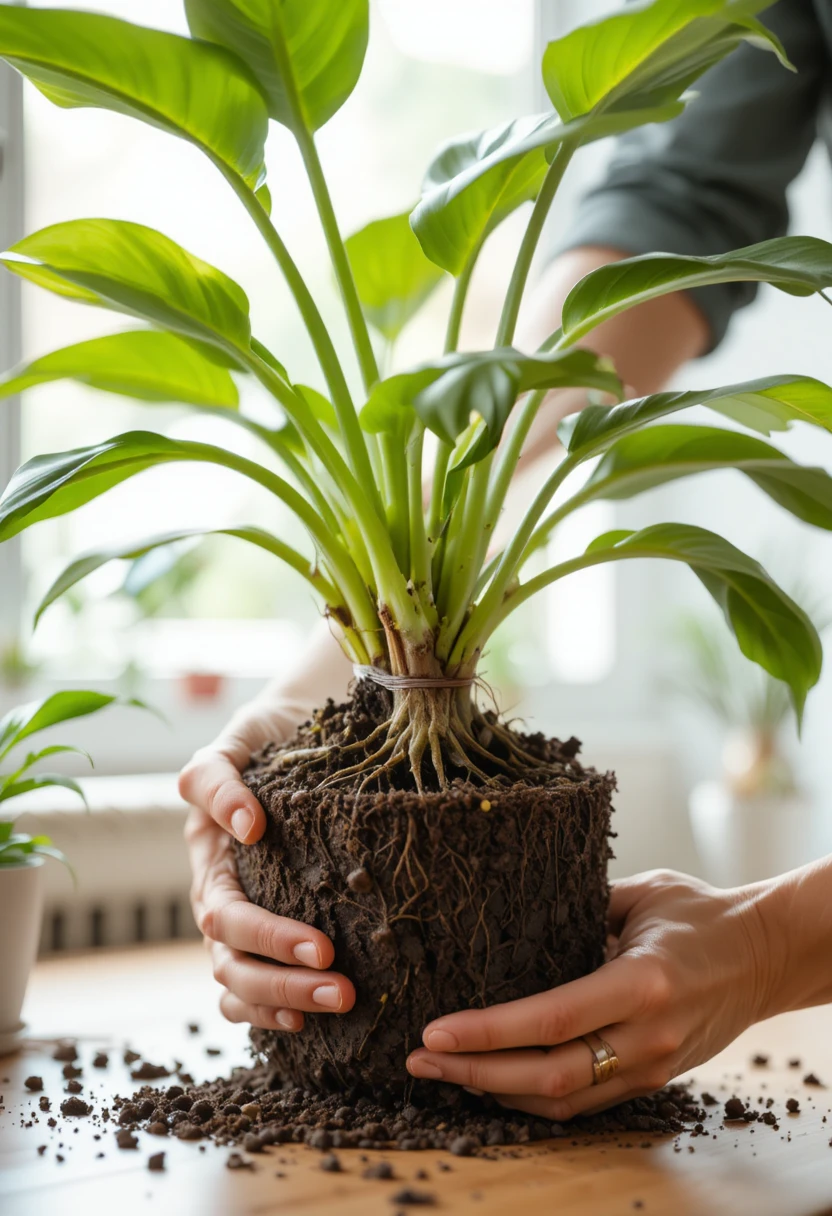
Even careful plant owners occasionally overwater by accident the important thing is catching it early.
If you notice soil that’s clearly waterlogged, use a turkey baster or similar tool to draw excess water out of the saucer or pot, and hold off on any further watering until the soil has had a real chance to dry out. Checking the roots for a soft, brown, or foul-smelling texture is also worth doing if a plant seems to be declining despite your best efforts that’s a sign root rot may already be setting in and needs more than just a pause in watering to fix.
Frequently Asked Questions About Watering Indoor Plants
How do I know if I’m overwatering my houseplants?
Common signs include yellowing leaves, a soft or mushy stem base, soil that stays wet for a long time, and fungus gnats hovering around the pot.
Is it better to underwater or overwater a houseplant?
Underwatering is generally easier to recover from. Most houseplants bounce back quickly once given water, while overwatering can cause root rot that’s much harder to reverse.
How often should I water my indoor plants?
There’s no single fixed schedule check the soil moisture individually for each plant rather than watering on a set weekly routine, since needs vary by plant type, pot size, light, and season.
Should I water houseplants less in winter?
Yes, in most cases. Many houseplants slow their growth in fall and winter and need noticeably less frequent watering during that dormant period.
Bringing It All Together
Properly watering houseplants isn’t about memorizing a perfect schedule it’s about learning to read what each plant is actually telling you through its soil, its leaves, and its growth. Check before you water, soak thoroughly when you do, and adjust for the season, the pot, and the plant type in front of you.
Once these habits become automatic, watering stops feeling like a stressful guessing game and turns into one of the simplest, most satisfying parts of keeping a happy, thriving indoor jungle.