
Starting seeds indoors is a practical way to give your spring garden an early beginning. Instead of waiting for outdoor conditions to become suitable, you can germinate selected vegetables, herbs, and flowers in a protected indoor space. With the right seed-starting mix, containers, moisture, temperature, and light, small seeds can develop into healthy seedlings ready for the garden.
Many gardeners get excited when spring approaches and immediately want to plant everything. However, starting seeds too early can create its own problems. Seedlings may become tall, weak, crowded, or difficult to maintain before outdoor weather is ready for them. The right timing and proper care are therefore just as important as choosing good seeds.
This guide is part of the +13 Seasonal Garden Guides approach to organized gardening. It explains when to start seeds indoors, which plants are suitable, what supplies you need, how to sow and care for seedlings, how to prevent common problems, and how to prepare young plants for life outdoors. Whether you are starting your first tray of seedlings or improving your established routine, these practical steps can help make spring seed starting easier.
Why Start Seeds Indoors in Spring?
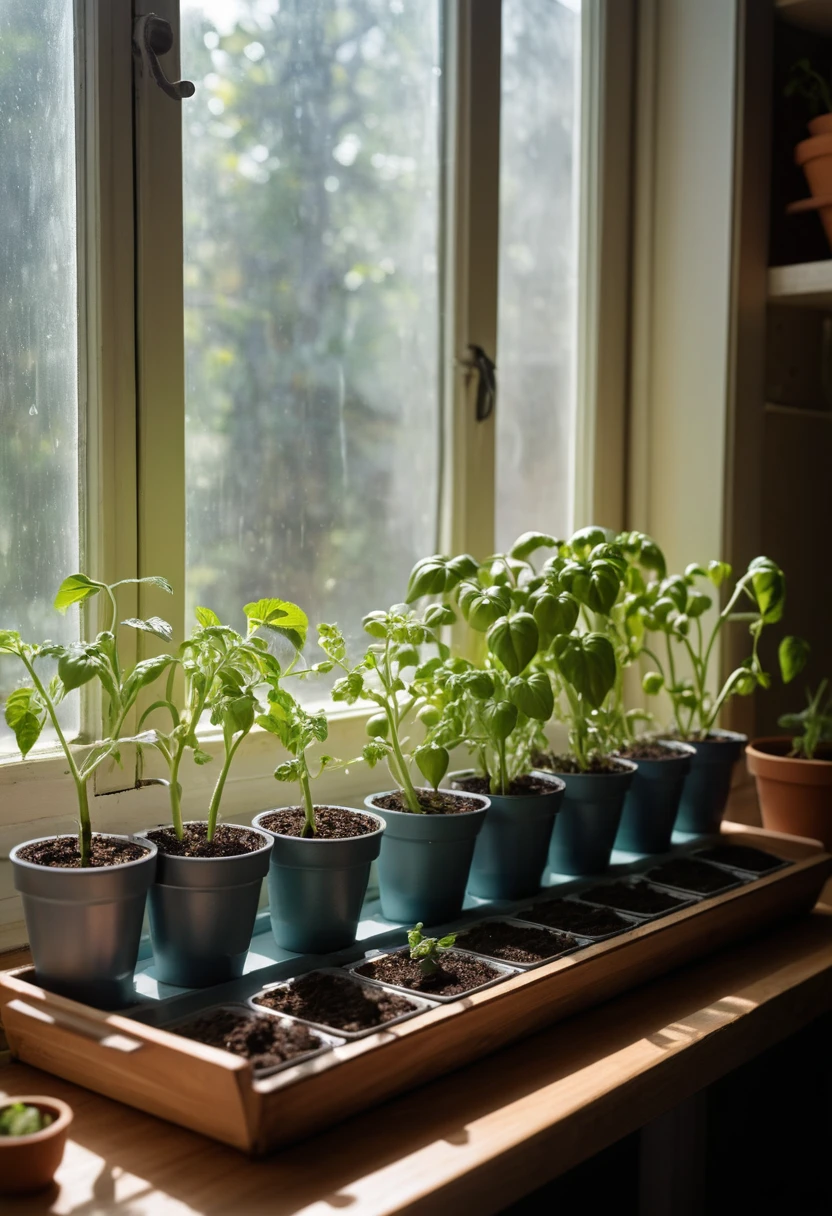
Starting seeds indoors gives gardeners greater control over the earliest stage of plant growth. Seeds can be protected from unpredictable outdoor temperatures while they germinate, and seedlings can receive consistent moisture and light. This can be particularly useful for crops that need a longer growing period before they are ready for harvesting. Recent Iowa State Extension guidance also emphasizes that indoor seed starting can produce healthier, more resilient transplants when the correct growing conditions are provided.
Another advantage is the variety available when growing from seed. Garden centers may have a limited selection of young plants, while seed catalogs can offer many varieties with different colors, flavors, sizes, growing periods, and characteristics. Starting your own plants can also be economical, especially when you want to grow a larger number of vegetables or flowers.
Main Benefits of Indoor Seed Starting
Starting seeds indoors can help you:
- Get a head start on the growing season
- Grow varieties that may not be available locally
- Produce many plants from a small quantity of seed
- Control moisture and early growing conditions
- Monitor seedlings closely
- Plan your garden more efficiently
- Experiment with different vegetable and flower varieties
The benefits are greatest when indoor sowing is carefully matched to the crop and your local outdoor planting conditions.
When Should You Start Seeds Indoors?
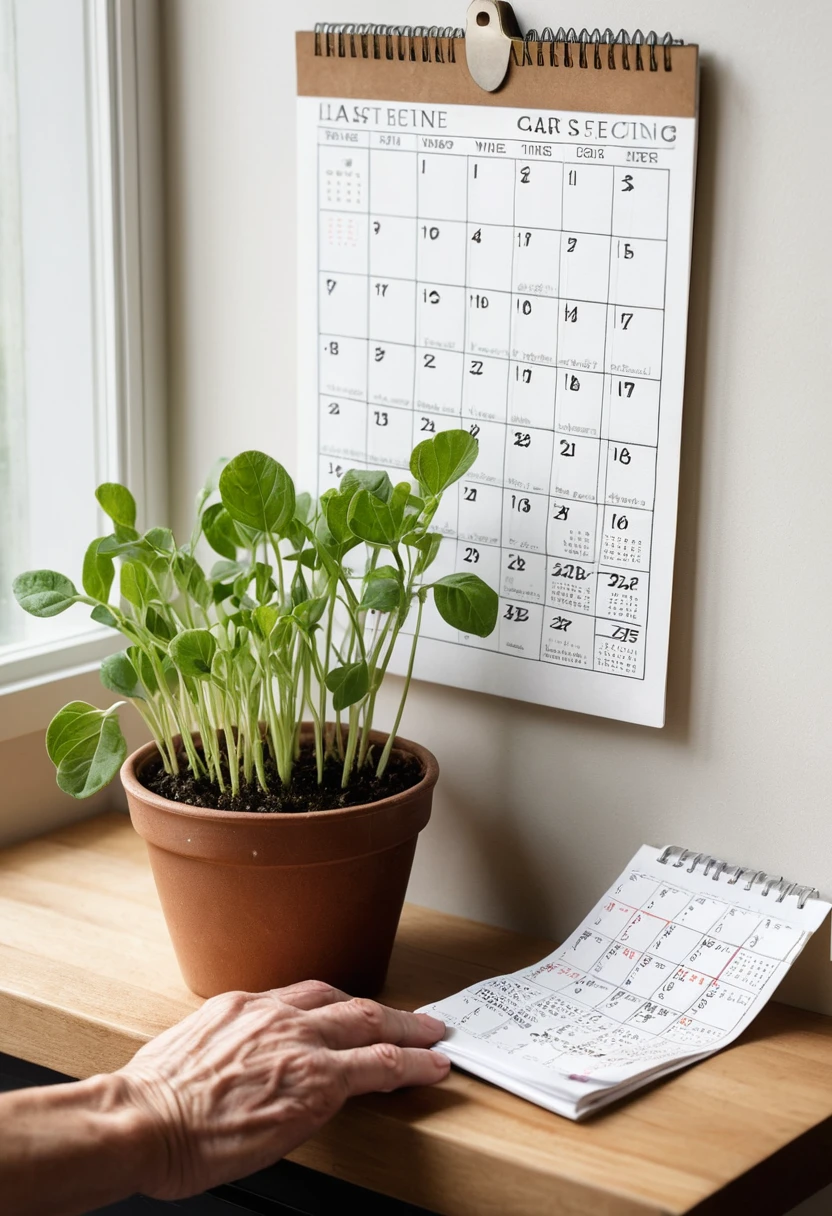
Timing is one of the most important parts of a successful spring seed-starting plan. There is no single date that works for every plant or every location. The correct timing depends on your local climate, expected last frost date, crop variety, germination speed, and the number of weeks recommended on the seed packet.
A useful method is to work backward from your expected outdoor planting date. Check the seed packet for the recommended indoor-growing period, then count backward. Iowa State Extension specifically recommends resisting the temptation to sow seeds too early because seedlings started prematurely can become lanky and may transplant poorly.
Use Your Seed Packet as a Calendar
Seed packets can provide important information about:
- When to start indoors
- When to transplant outdoors
- Planting depth
- Germination time
- Germination temperature
- Spacing
- Light requirements
- Expected days to maturity
Treat these instructions as the first source of information for each crop.
Avoid Starting Seeds Too Early
Starting seeds early may sound like a way to get an even bigger head start, but older indoor seedlings can become difficult to manage. If plants remain in small containers for too long, they may become crowded or root-bound.
A well-timed seedling should reach a suitable size close to the time when outdoor conditions are ready. This creates a smoother transition from indoor growing to the garden.
Which Plants Should You Start Indoors?
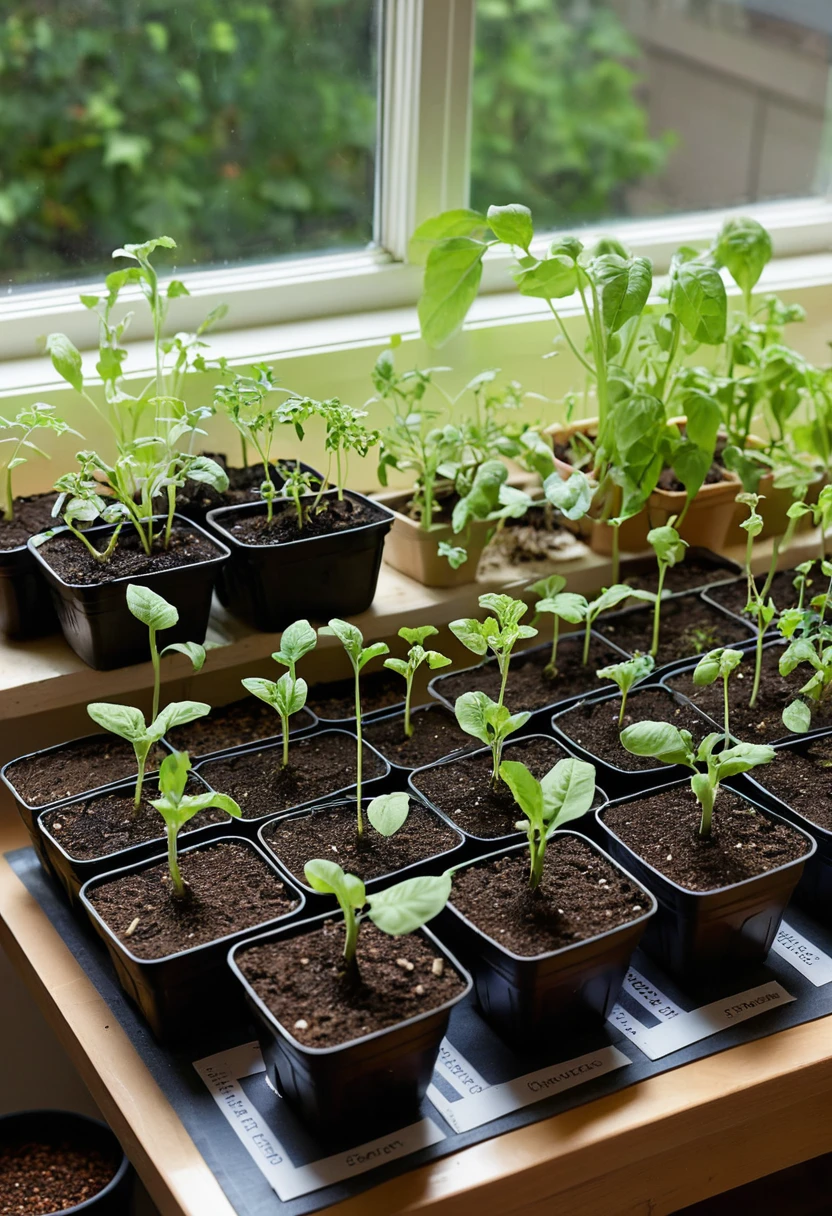
Some plants are excellent candidates for indoor seed starting, while others are better suited to direct sowing. Many vegetables, herbs, salad crops, and ornamental plants can be started indoors, especially those that benefit from warmth or need additional growing time. The Royal Horticultural Society notes that indoor sowing is particularly useful for tender and half-hardy ornamentals and vegetables that need protection or an early start.
Tomatoes, peppers, eggplants, broccoli, cabbage, cauliflower, kale, lettuce, herbs, and many flowers are commonly included in indoor seed-starting plans. However, individual varieties can differ, so always check the instructions provided with your seeds.
Warm-Season Vegetables
Tomatoes and peppers are popular choices because they generally need warm conditions and can benefit from a longer growing period before outdoor planting.
Eggplant is another warm-season crop that can be started indoors. These plants should remain protected until outdoor temperatures are suitable.
Cool-Season Vegetables
Broccoli, cabbage, cauliflower, and kale can also benefit from being started indoors. They generally tolerate cooler conditions better than warm-season crops.
Starting these plants at the right time can help you establish an early spring vegetable garden without waiting for seeds to germinate outdoors.
Herbs and Flowers
Many herbs and annual flowers can be started indoors. Basil, parsley, thyme, and other herbs may be grown from seed depending on their individual requirements.
Flowers are also excellent candidates when you want a wider choice of colors and varieties. Some ornamental seeds, however, have special requirements such as light exposure, soaking, or cold treatment, so read the packet carefully.
What Supplies Do You Need?
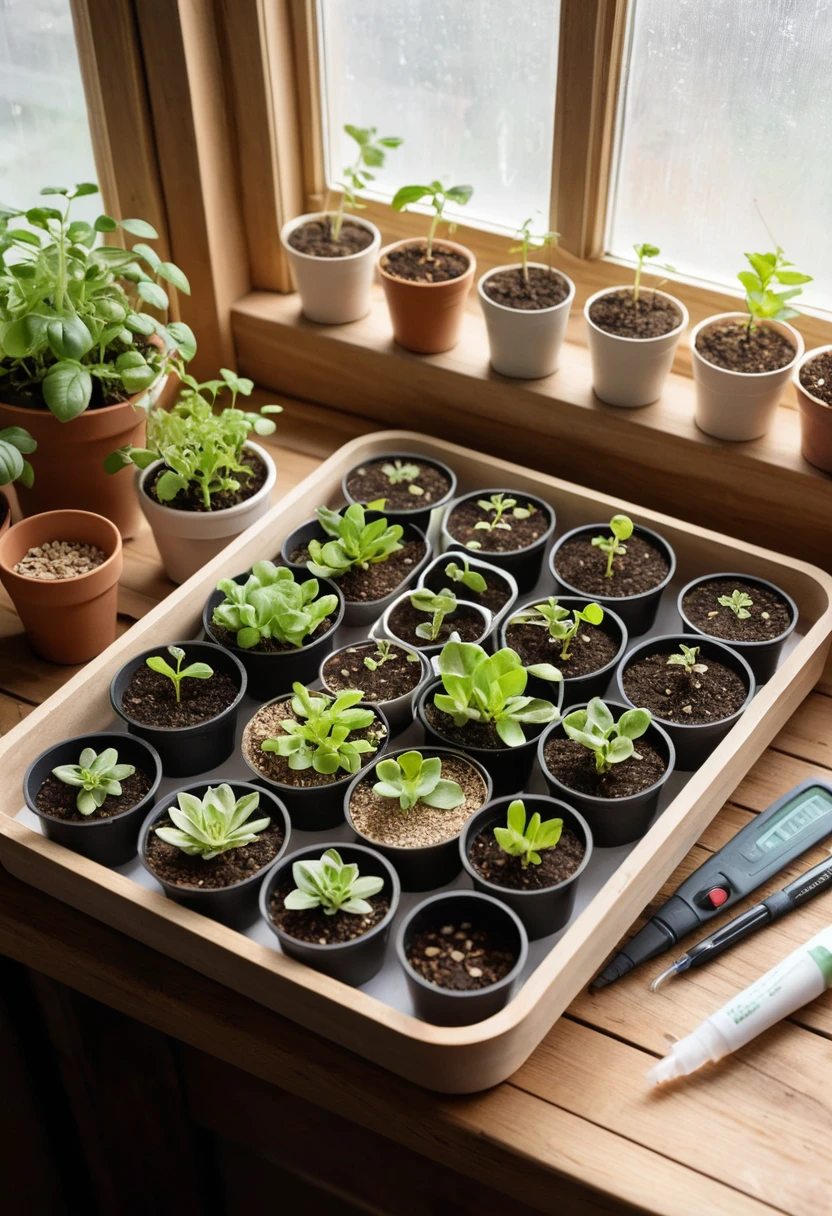
A successful indoor seed-starting station can be surprisingly simple. You do not need a greenhouse to begin. A suitable space, clean containers, seed-starting medium, seeds, water, and adequate light can provide the foundation for a productive setup.
Recent UMass Extension guidance recommends using suitable containers and a seed-starting medium while keeping newly planted seeds warm and moist.
Basic Seed-Starting Checklist
You may need:
- Quality seeds
- Seed trays or small pots
- Clean containers with drainage holes
- Seed-starting mix
- Water
- Plant labels
- Permanent marker
- Drainage tray
- Humidity dome or clear cover
- Grow light or suitable sunny location
- Small fan
- Heat mat, if needed
- Larger containers for growing seedlings
You do not need to purchase everything at once. Start with the essentials and add equipment as your garden grows.
How to Choose the Right Seed-Starting Mix
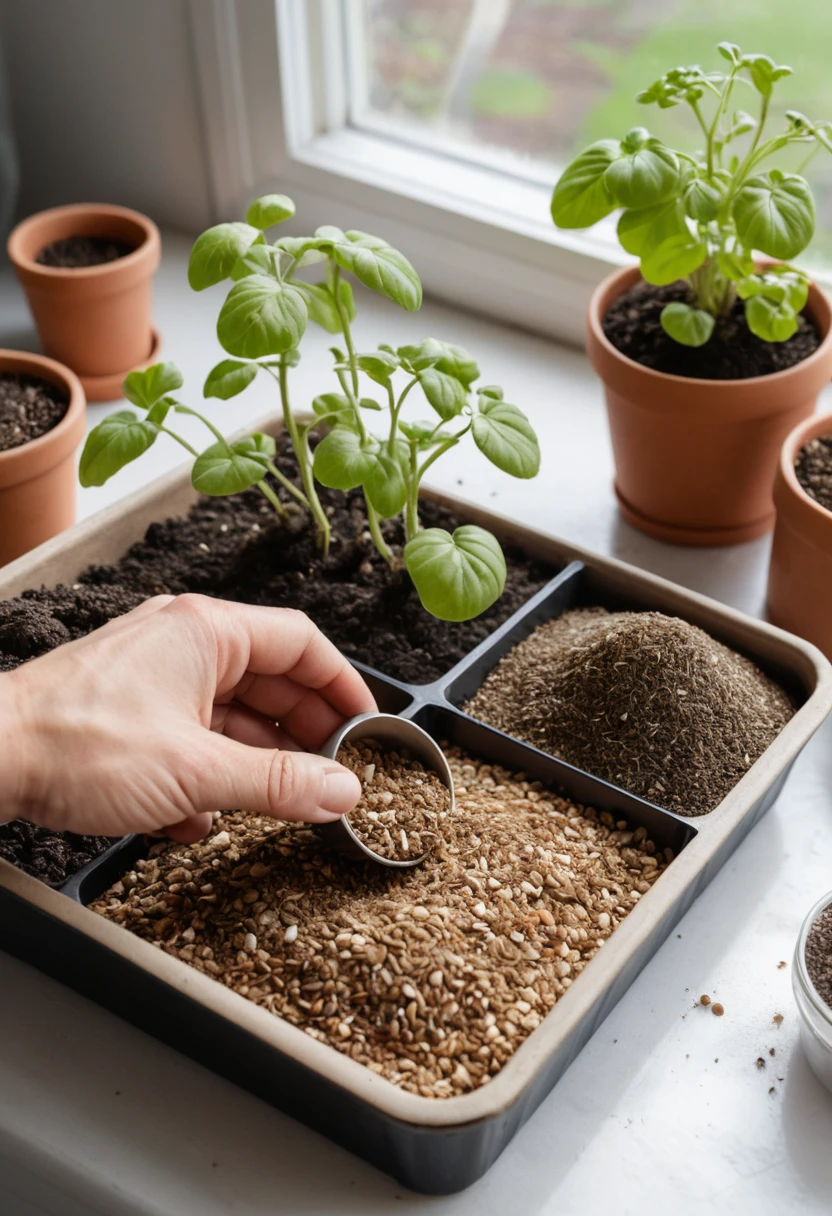
The growing medium is one of the foundations of successful germination. Regular garden soil is usually not ideal for small indoor containers because it can be heavy and compact. University of Nevada Extension recommends a sterile, lightweight seed-starting medium rather than ordinary garden soil.
A good seed-starting mix should hold moisture while allowing air to reach developing roots. Commercial seed-starting mixes are widely available, and some gardeners also use carefully prepared soilless mixes.
Prepare the Mix Before Planting
Moisten the mix before sowing. The medium should be evenly damp but not dripping wet.
Pre-moistening makes it easier to maintain consistent conditions around the seeds and reduces the chance of disturbing them with heavy watering immediately after planting.
Why Garden Soil Is Usually a Poor Choice
Garden soil can become compacted inside small containers and may drain poorly. It can also contain weed seeds or organisms that are not desirable in a controlled indoor seed-starting environment.
For this reason, a lightweight seed-starting medium is generally a better choice for the germination stage.
How to Start Seeds Indoors Step by Step
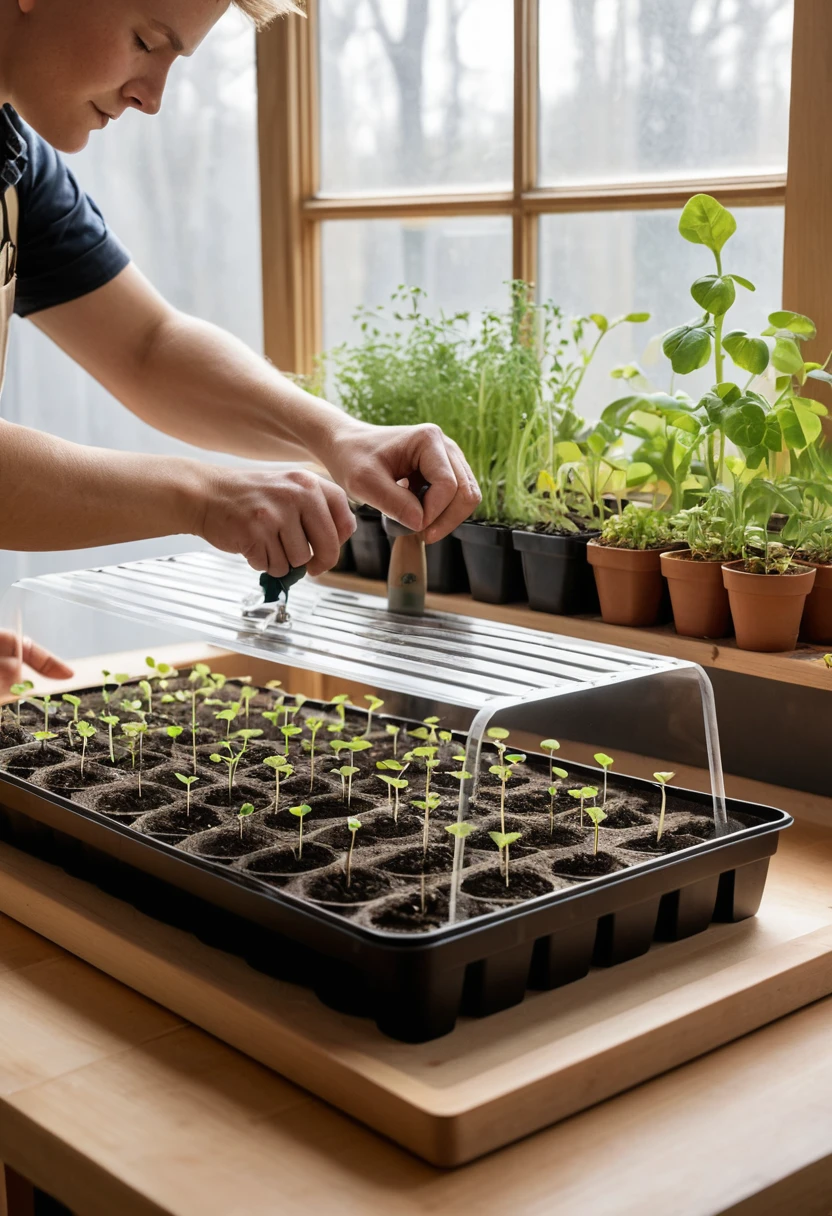
Once your supplies are prepared, planting is relatively simple. The important part is to follow the individual requirements of each crop. Seed depth, spacing, temperature, and light preferences are not identical for every seed.
The RHS recommends a straightforward process involving suitable containers, seed compost, sowing at the appropriate depth, gentle watering, labeling, covering when appropriate, and providing suitable warmth and light.
Step 1: Fill the Containers
Fill your clean containers with pre-moistened seed-starting mix. Gently level the surface.
Do not compress the medium excessively because roots need access to air as well as moisture.
Step 2: Make Planting Holes
Use your finger, a pencil, or another clean tool to make holes at the depth recommended on the seed packet.
Very small seeds may require little or no covering, while larger seeds can generally be planted deeper.
Step 3: Sow the Seeds
Place the recommended number of seeds in each container or cell.
Avoid putting too many seeds into a small space. Overcrowding makes it harder for seedlings to receive enough light and air.
Step 4: Cover the Seeds
Cover the seeds with the amount of growing medium recommended on the packet.
Do not automatically use the same depth for every crop.
Step 5: Label the Containers
Write the plant name, variety, and sowing date on a label.
This small step becomes extremely important when you have multiple varieties growing at the same time.
Step 6: Water Carefully
Water gently after sowing. A spray bottle or gentle watering method can prevent small seeds from being washed away.
Bottom watering is another useful option once seedlings are established.
How Much Light Do Seedlings Need?
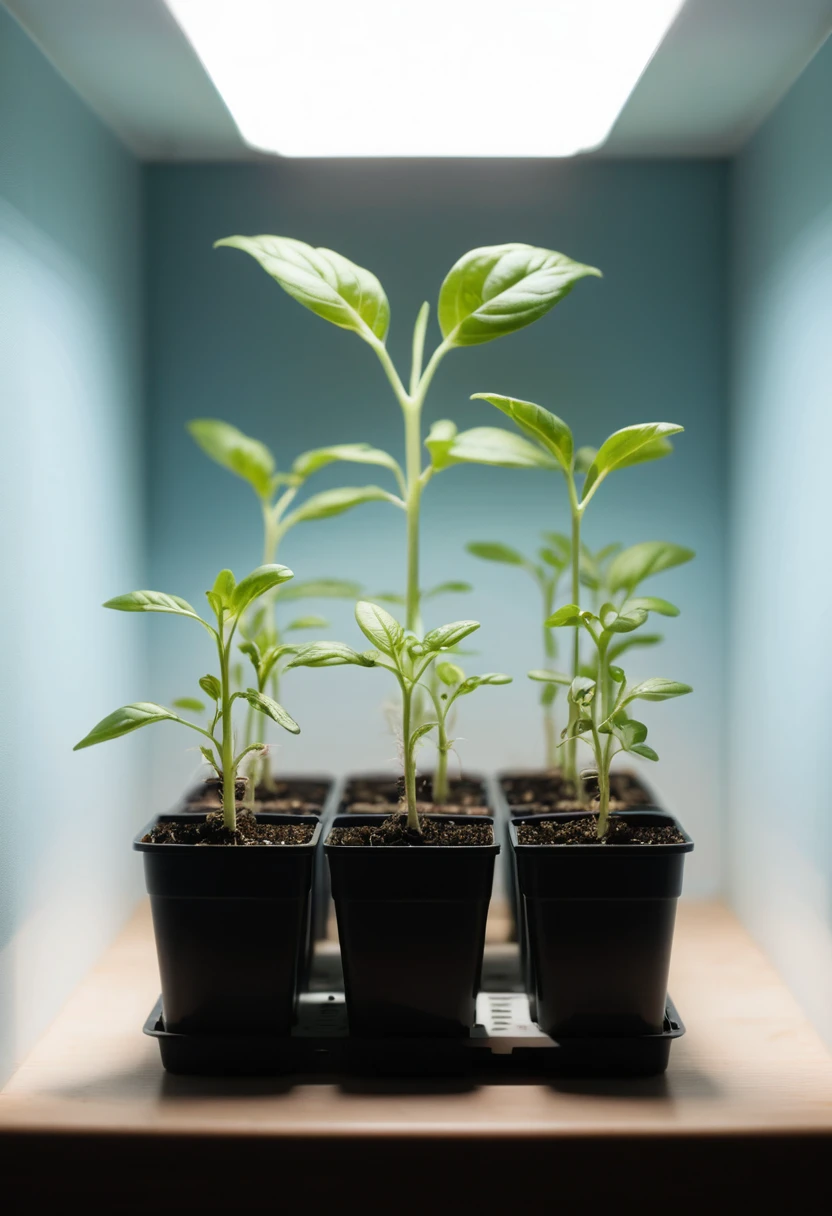
Light becomes especially important after seeds germinate. Newly emerged seedlings need sufficient light to develop sturdy stems and healthy leaves. Without enough light, seedlings can stretch toward a window and become thin and weak.
Iowa State Extension recommends approximately 12–16 hours of light each day for seedlings, depending on the setup and crop.
Can a Sunny Window Work?
A sunny window can work in some situations, particularly when it receives strong direct light for much of the day. However, natural light can be inconsistent, especially during early spring.
Seedlings grown in a weakly lit window may lean toward the glass. Rotating containers can help distribute light more evenly, but supplemental lighting may produce more consistent results.
Using Grow Lights
Grow lights can provide a controlled source of light for indoor seedlings. Position them according to the manufacturer’s recommendations and adjust their height as plants grow.
A simple timer can also make it easier to maintain a consistent lighting routine.
How Do You Control Temperature and Humidity?
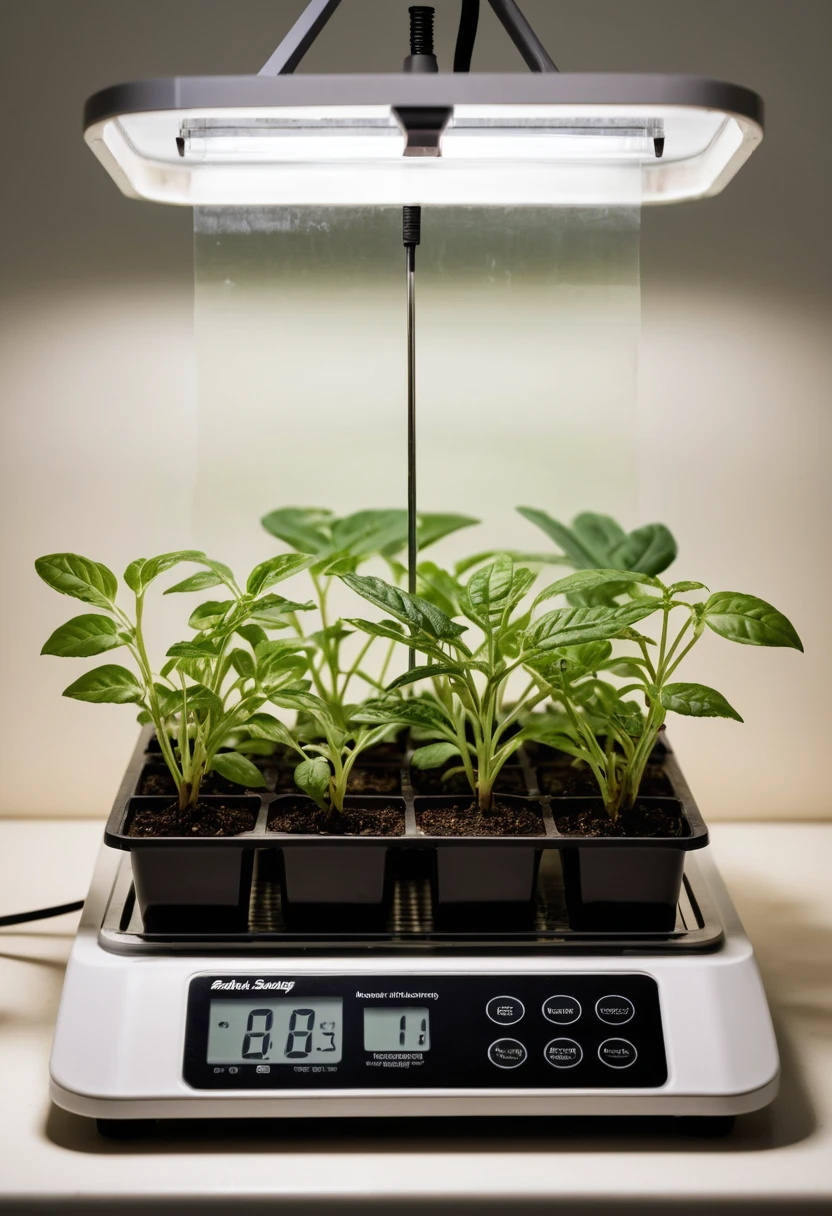
Seeds need suitable conditions to germinate, and temperature requirements vary by crop. Many common seeds germinate successfully in warm conditions, while cool-season plants may prefer lower temperatures.
UMass Extension recommends keeping newly seeded containers in a warm location, with its guidance giving approximately 70–75°F as an example for many seeds.
Maintaining Humidity
A clear cover can help keep the seed-starting mix from drying out during germination. It can act like a small greenhouse around the tray.
However, the cover should not remain sealed indefinitely.
Once seedlings emerge, remove or vent the cover and increase airflow. Excessive humidity combined with poor ventilation can encourage seedling problems.
When to Use a Heat Mat
A heat mat can be useful for warmth-loving seeds when the growing area is cool. It is not necessary for every crop.
Always follow the temperature requirements for the particular seed rather than assuming every plant needs additional bottom heat.
How Should You Water Indoor Seedlings?
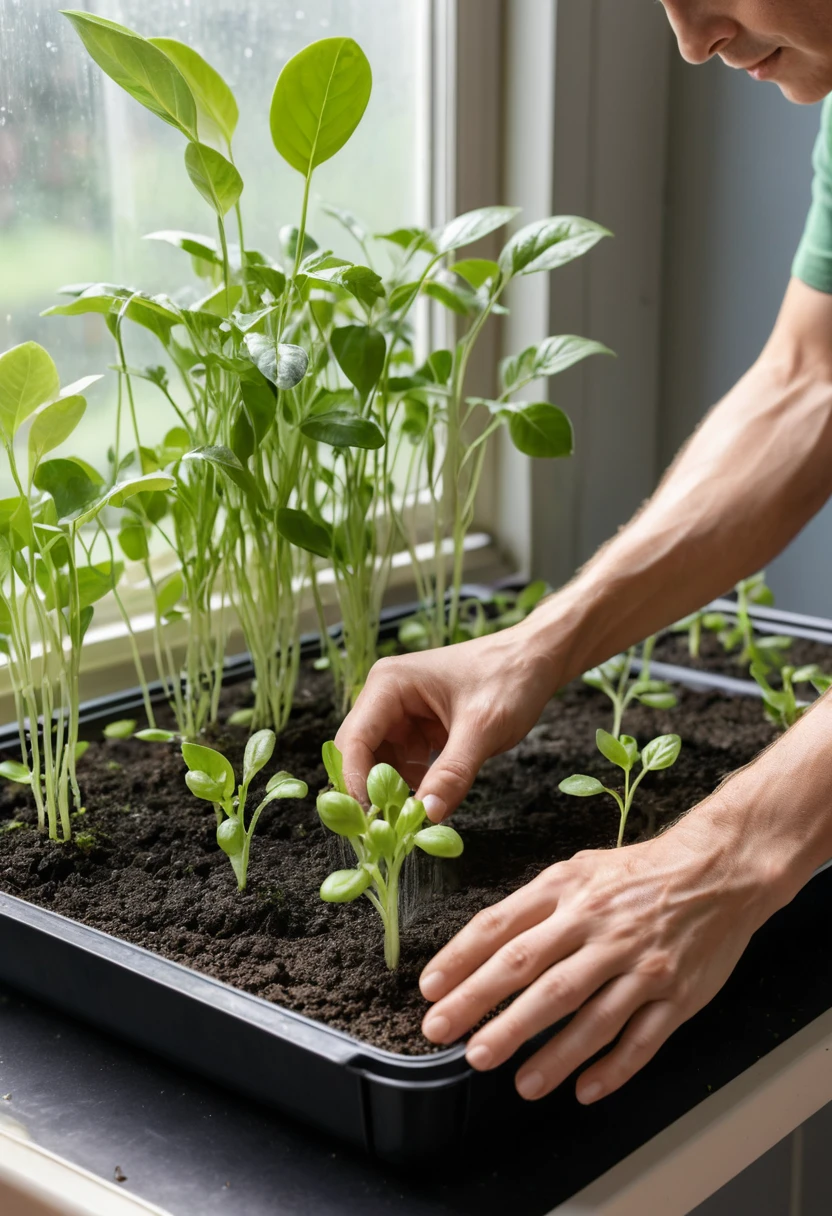
Watering is about balance. Seeds and seedlings need moisture, but saturated growing media can create poor root conditions.
Check the containers regularly. Do not follow a rigid schedule simply because you watered at the same time yesterday. Indoor temperatures, lighting, humidity, container size, and plant growth all influence how quickly the medium dries.
Bottom Watering
Bottom watering can be an effective way to provide moisture without disturbing delicate seedlings.
Place the seed tray into a shallow container containing water and allow the growing medium to absorb moisture from below. Remove the tray when the medium is sufficiently moist.
Avoid leaving containers standing in water continuously.
How Do You Prevent Leggy Seedlings?
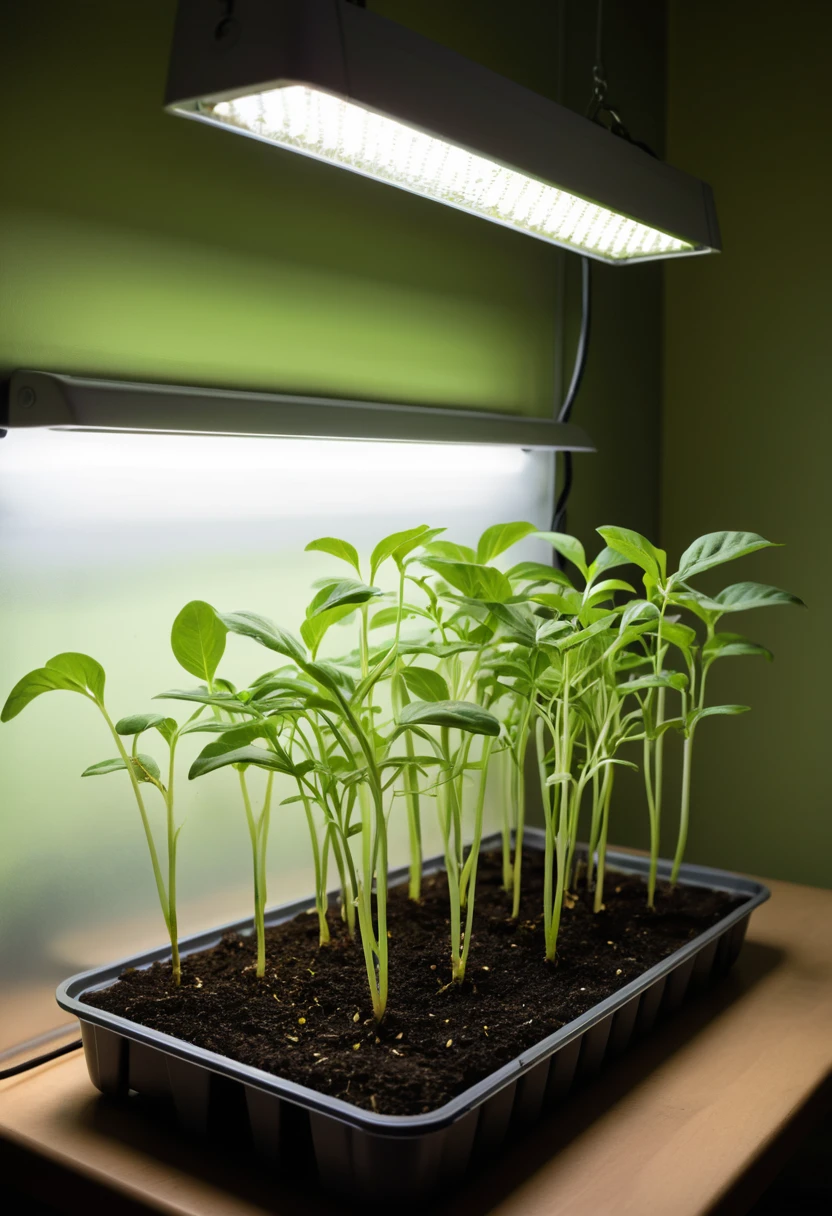
Leggy seedlings are tall, thin, and weak. They often lean toward the light rather than developing compact growth.
One of the main causes is insufficient light. Iowa State Extension also identifies excessive warmth, excessive watering, excessive fertilization, and crowded conditions as factors that can contribute to spindly growth.
Improve Light Early
The easiest way to prevent leggy seedlings is to provide adequate light as soon as they emerge.
Do not wait until plants are severely stretched before correcting the lighting setup. Strong early growth creates a much better foundation for transplanting.
Avoid Excessive Warmth
Warmth can help seeds germinate, but seedlings may not require the same conditions after emergence. Follow crop-specific recommendations and avoid placing trays directly beside strong heating sources.
When Should You Fertilize Seedlings?
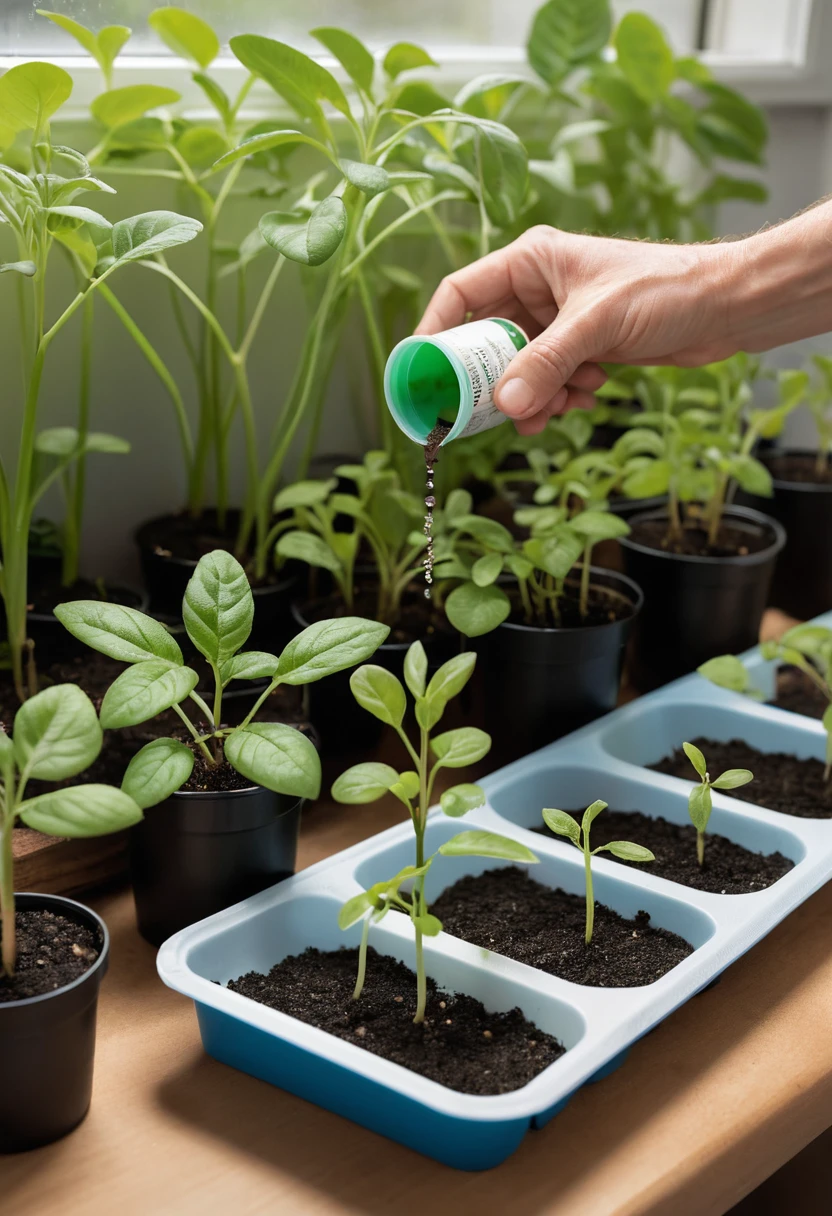
Very young seedlings initially depend on nutrients stored inside the seed. As they become established and produce additional leaves, their nutritional needs increase.
The need for fertilizer depends partly on the growing medium. Some seed-starting products contain little nutrition, while other mixes may include nutrients designed to support early growth.
Use Fertilizer Carefully
If fertilizer is needed, use an appropriate diluted product according to its label.
Avoid the temptation to apply extra fertilizer simply because you want faster growth. Excess nutrients can harm delicate roots and may contribute to weak or stressed plants.
If seedlings look unhealthy, first check light, moisture, temperature, drainage, and root conditions before assuming they need fertilizer.
When Should You Thin Seedlings?
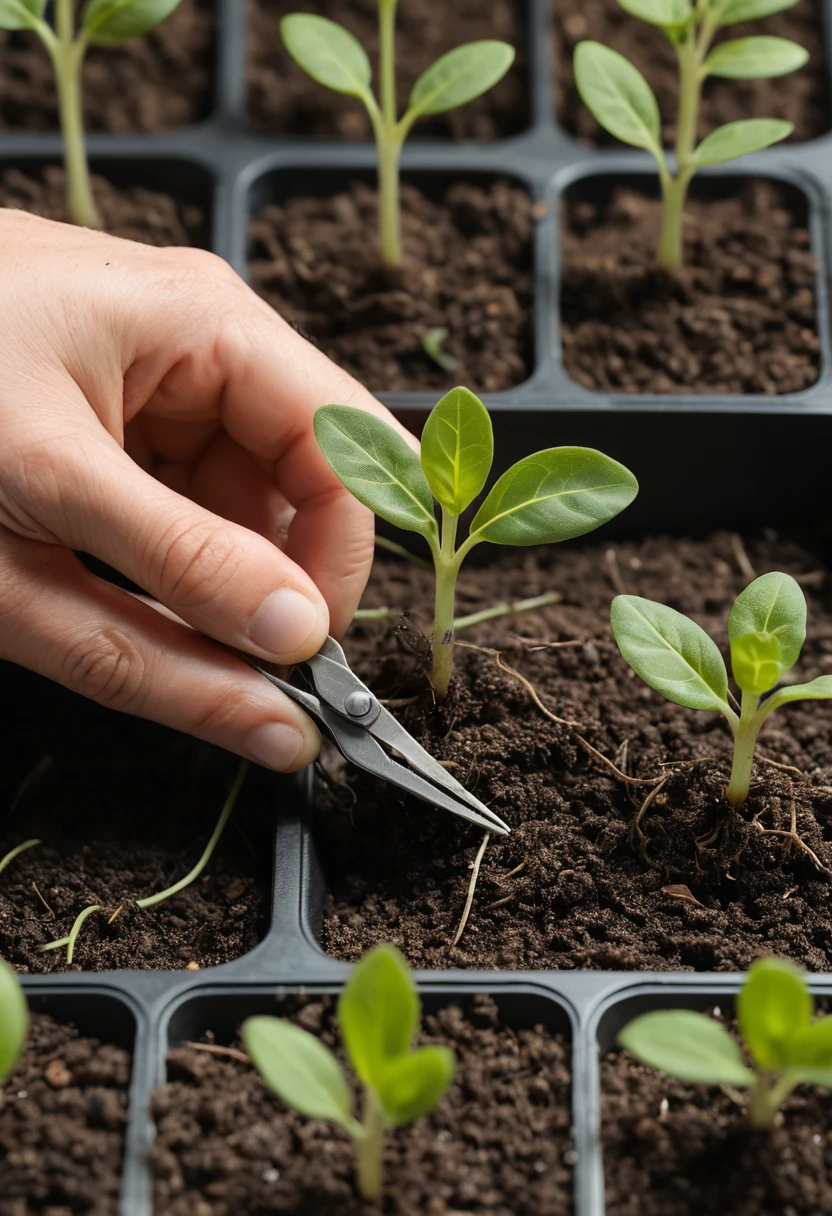
If several seeds germinate in one cell, the young plants can quickly become crowded. Competition for light, water, nutrients, and root space can reduce seedling quality.
Thinning allows the strongest plant or plants to remain at a suitable spacing.
How to Thin
Remove excess seedlings carefully. Depending on the crop, you may be able to separate and transplant them, but some tiny seedlings are better removed rather than disturbed.
For larger seeds, it can be easier to sow directly into individual containers from the beginning. UMass Extension notes that crops such as cucumber and muskmelon can be started in containers where they will continue growing, while smaller seeds can be sown and later thinned or transplanted.
When Should You Move Seedlings Into Larger Pots?
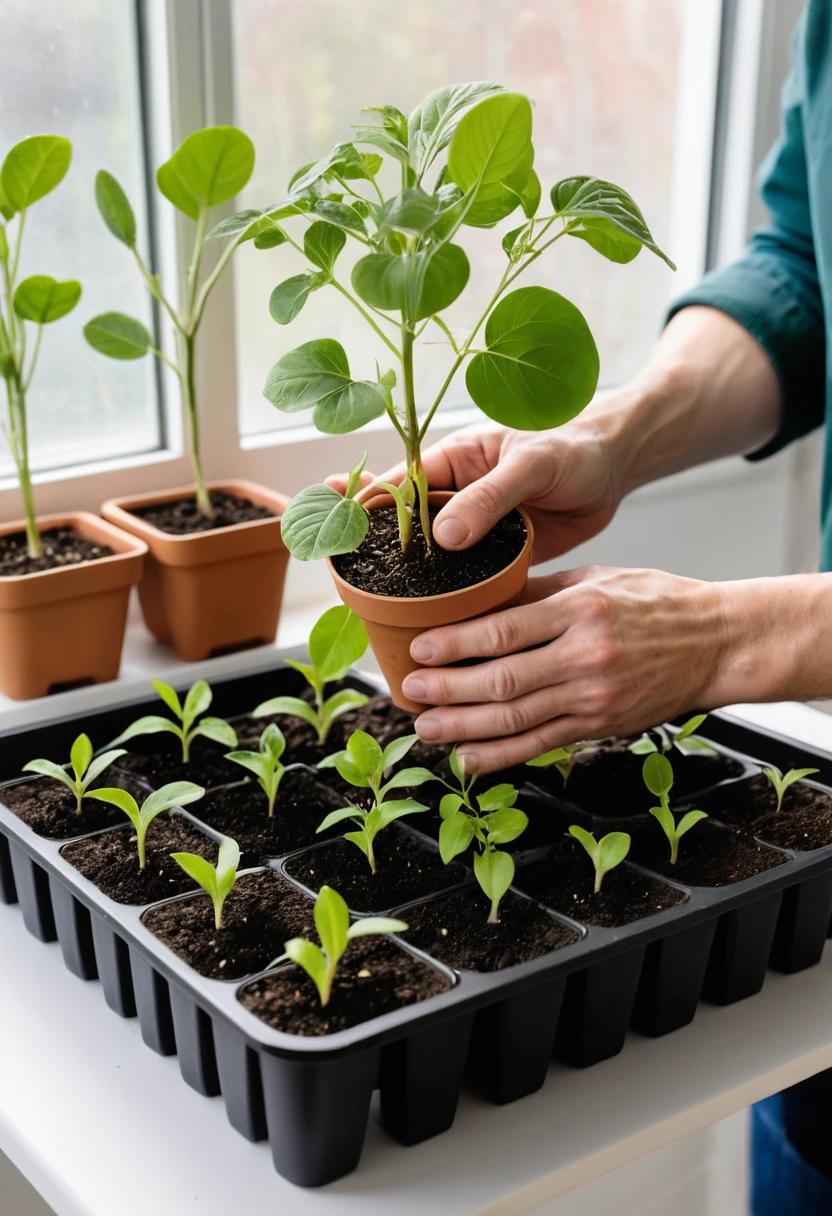
Seedlings eventually outgrow their original containers. When roots need additional space or plants become established enough to handle, they can be moved into larger pots.
Look for healthy foliage, developing true leaves, and roots that have begun filling the original container without becoming severely root-bound.
Handle Seedlings Carefully
When transplanting indoors, avoid pulling the plant by its stem.
Support the seedling and handle the root area gently. Water after transplanting if needed and return the plant to its suitable lighting environment.
Not every plant needs to be moved into a larger container. Some crops can remain in individual cells or appropriately sized pots until outdoor planting.
How Do You Harden Off Seedlings?
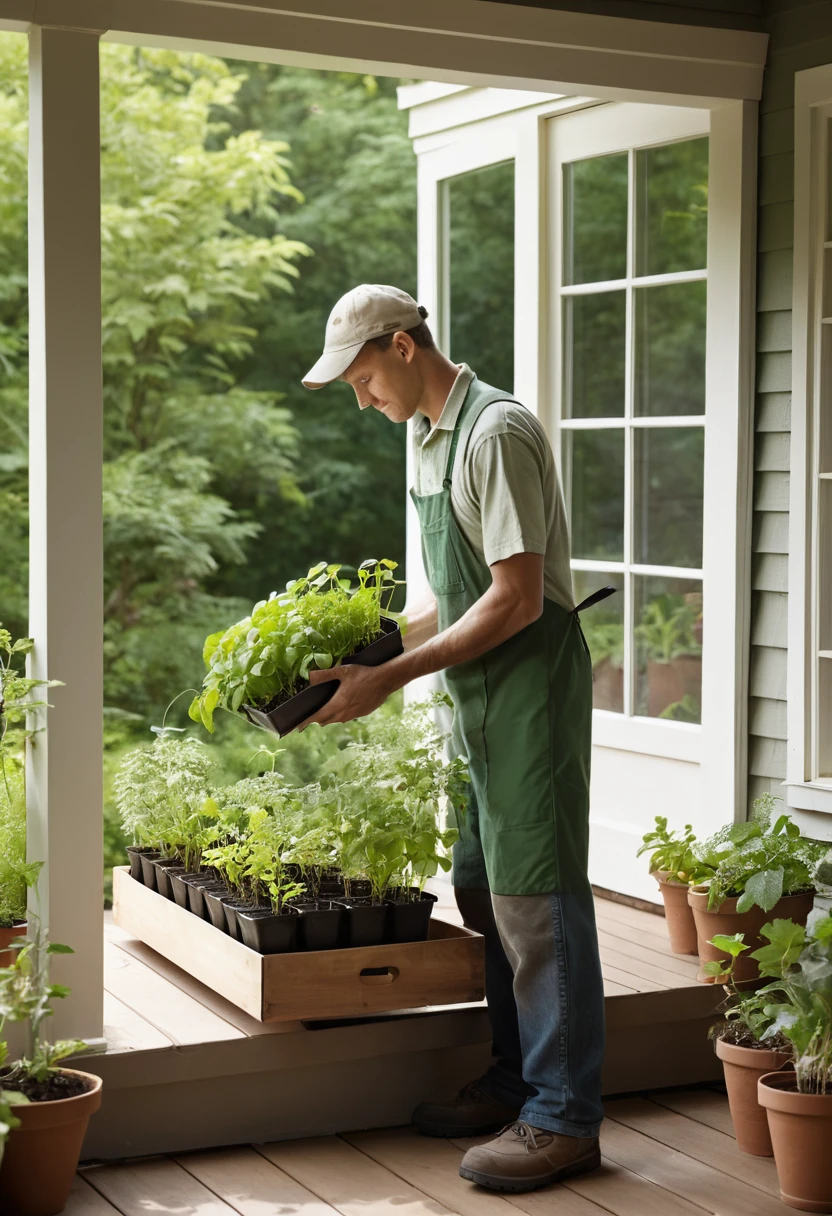
Hardening off is the gradual process of preparing indoor-grown seedlings for outdoor conditions. Plants grown inside have been protected from strong sunlight, wind, temperature fluctuations, and rain. A sudden move outdoors can therefore be stressful.
Gradual acclimation helps plants adjust before permanent transplanting. Extension guidance recommends increasing outdoor exposure progressively rather than moving tender indoor seedlings directly into full outdoor conditions.
A Simple Hardening-Off Routine
You can use the following general approach:
- Begin with a short period outdoors in a protected, shaded location.
- Gradually increase the amount of outdoor time.
- Introduce stronger sunlight slowly.
- Allow seedlings to experience gentle outdoor airflow.
- Monitor temperatures carefully.
- Protect tender plants during cold weather.
- Continue the process until plants tolerate normal outdoor conditions.
- Transplant once they are properly acclimated.
The exact schedule depends on your weather and crop, so adjust it when conditions are particularly cold, windy, or sunny.
When Is It Safe to Transplant Outdoors?
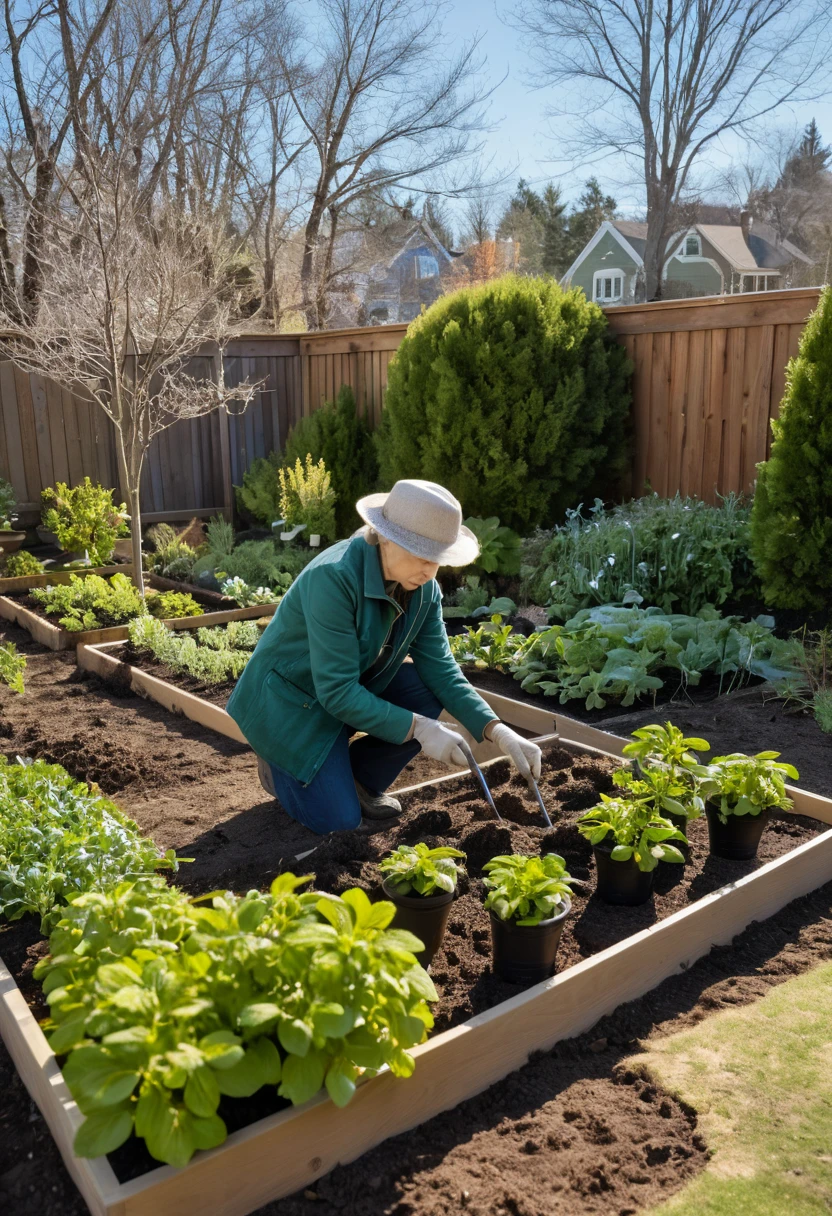
The calendar alone should not determine transplanting day. Consider your local frost conditions, soil temperature, weather forecast, and crop requirements.
Cool-season vegetables can generally tolerate cooler conditions than tender warm-season crops. Tomatoes, peppers, and eggplants should not be moved outdoors simply because the seedlings have reached a certain size.
Check the Weather
Before transplanting, look at the upcoming weather rather than focusing only on today’s temperature.
A short cold period after transplanting can stress tender seedlings, especially if they have not been properly hardened off.
Prepare the Garden First
Make sure the outdoor planting area is ready before moving seedlings.
Prepare the soil, confirm spacing, remove competing weeds, and ensure the location provides the light conditions required by the crop.
Common Indoor Seed-Starting Problems
Problems are normal when learning to start seeds indoors. The good news is that many issues can be traced to a small number of environmental factors.
Rather than changing everything at once, examine the growing conditions carefully.
Seeds Do Not Germinate
Possible reasons include:
- Incorrect planting depth
- Incorrect temperature
- Too little moisture
- Excessive moisture
- Poor seed quality
- Old seed
- Special germination requirements
Check the seed packet before making changes.
Seedlings Are Pale or Weak
Insufficient light is a common possibility. Check the lighting setup before adding fertilizer.
Seedlings Collapse Near the Soil Line
This may be associated with damping-off or other moisture-related problems. Improve drainage, avoid excessive watering, increase airflow, and use clean materials.
Growing Medium Stays Wet
Check drainage holes and watering habits. A container without adequate drainage can keep roots excessively wet.
Seedlings Grow Too Quickly
Excess warmth combined with inadequate light can encourage weak, stretched growth. Review both temperature and lighting rather than focusing on one factor alone.
A Simple Spring Seed-Starting Schedule
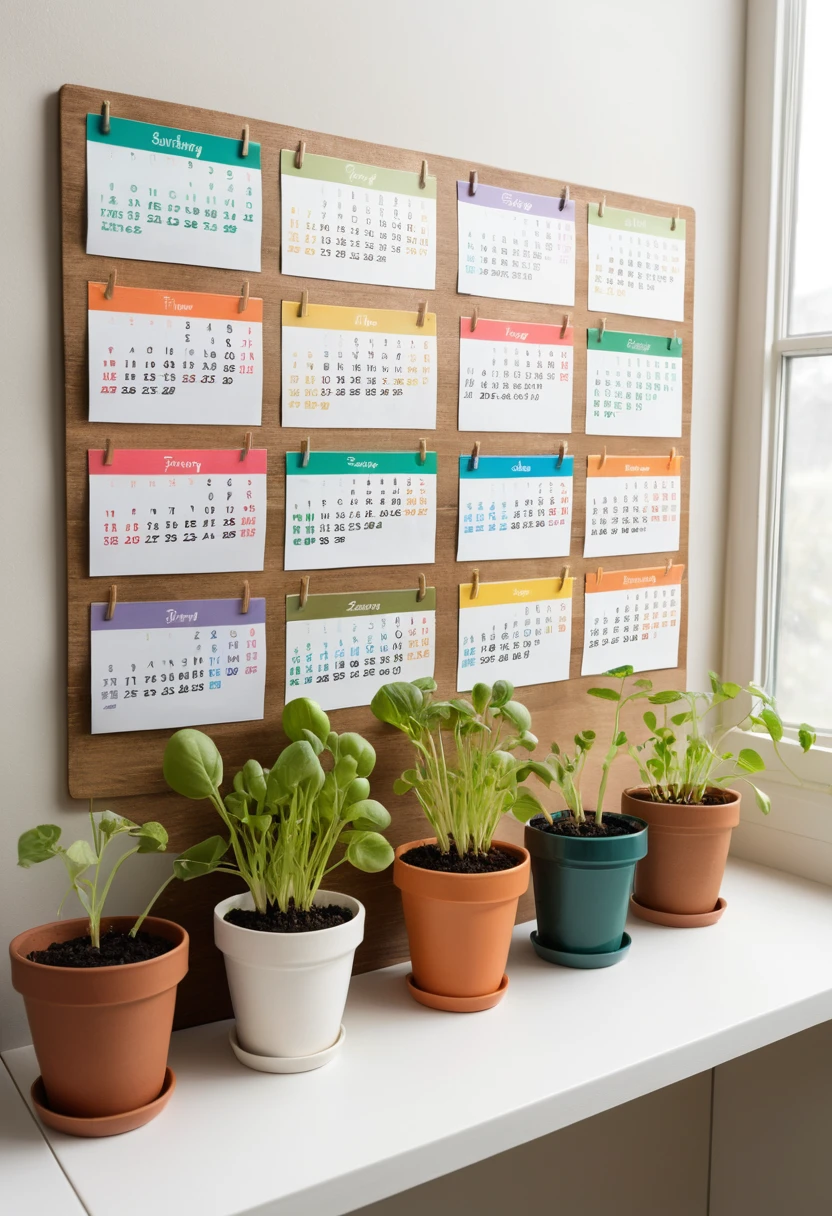
A planting schedule makes indoor gardening easier because different crops need different amounts of time. Instead of starting every seed on the same day, organize your sowing around the expected outdoor planting date.
Iowa State Extension recommends using the seed packet’s indoor-growing recommendation and counting backward from the frost-free or transplanting date.
10–12 Weeks Before Outdoor Planting
Review your seed collection, clean your containers, prepare your lighting area, and identify crops that require a longer indoor period.
8–10 Weeks Before Outdoor Planting
Start suitable long-season crops according to their individual seed-packet recommendations.
6–8 Weeks Before Outdoor Planting
Many gardeners may begin selected vegetables, herbs, and flowers during this period, depending on crop requirements.
4–6 Weeks Before Outdoor Planting
Continue with crops that require a shorter indoor period. Monitor established seedlings and move crowded plants into larger containers when necessary.
1–2 Weeks Before Outdoor Planting
Begin hardening off appropriately sized seedlings and watch the weather carefully.
Planting Week
Once seedlings are hardened and outdoor conditions are suitable, transplant them into prepared garden beds or containers.
13 Practical Tips for Better Spring Seed Starting
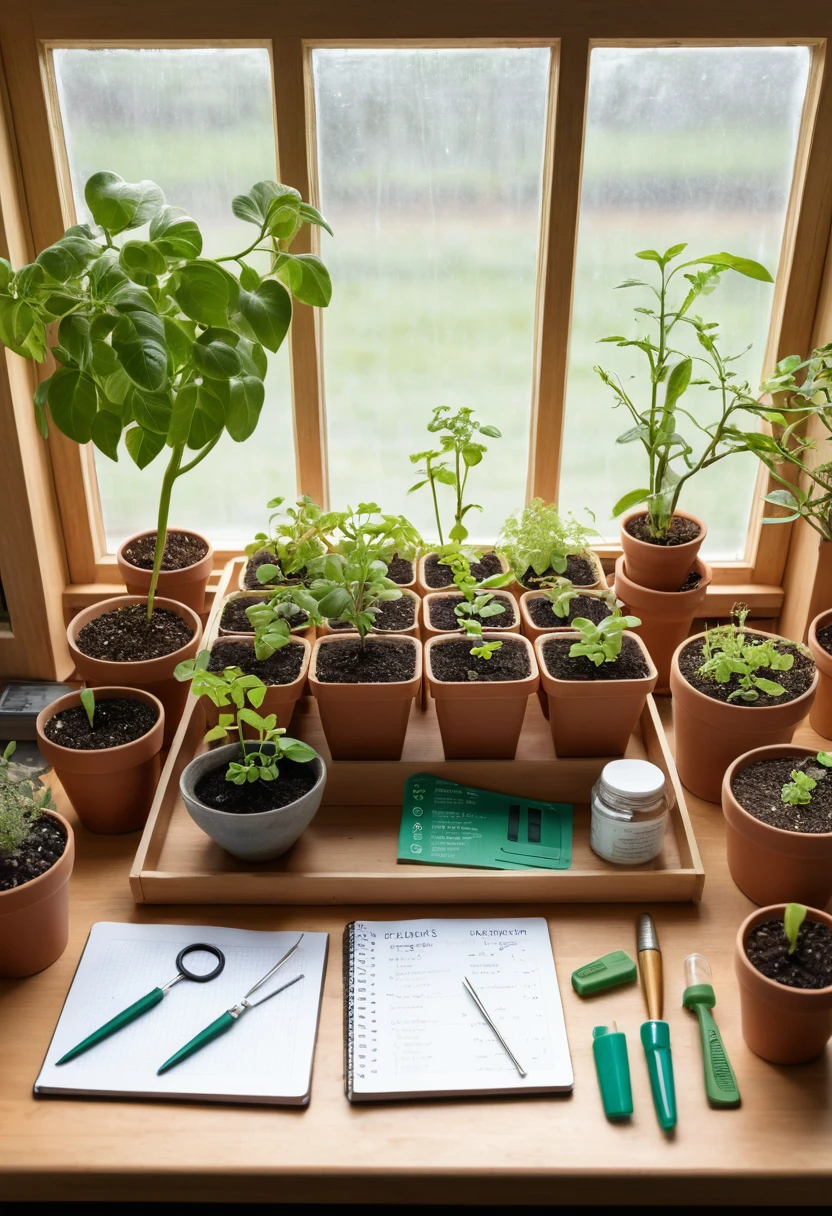
A reliable indoor seed-starting routine does not have to be complicated. Small details can make a significant difference, particularly when growing several varieties at once.
- Read the seed packet before planting.
- Calculate your sowing date instead of guessing.
- Do not start seeds excessively early.
- Use clean containers with drainage holes.
- Choose a lightweight seed-starting medium.
- Moisten the growing medium before sowing.
- Plant seeds at the recommended depth.
- Label every container.
- Provide strong light after germination.
- Keep moisture consistent without waterlogging.
- Give seedlings adequate airflow.
- Avoid unnecessary fertilizer.
- Harden seedlings gradually before transplanting.
These simple habits can make the difference between weak seedlings and strong plants that transition successfully into the garden.
How Spring Seed Starting Fits Into +13 Seasonal Garden Guides
Spring seed starting is only one part of a complete gardening year. A seasonal gardening approach connects indoor preparation with outdoor planting, summer maintenance, harvesting, fall cleanup, soil improvement, and preparation for the next growing season.
The +13 Seasonal Garden Guides concept can help gardeners organize these tasks rather than treating gardening as a collection of unrelated activities. When seed starting is planned alongside other seasonal responsibilities, it becomes easier to know what needs attention and when.
Keep a Personal Garden Calendar
Record:
- Seed variety
- Date planted
- Germination date
- Transplanting date
- Fertilizing dates
- Weather observations
- Harvest dates
- Problems encountered
- Successful varieties
After several seasons, this information can become one of your most useful gardening resources. You will have your own record of what worked in your particular growing environment.
Frequently Asked Questions
Starting seeds indoors is simple once the basic principles are understood, but beginners often have questions about timing, light, watering, and transplanting. The following answers cover some of the most common concerns gardeners have when preparing spring seedlings.
What month is best for starting seeds indoors?
There is no single month that works for every garden. The correct timing depends on your location, crop, expected outdoor planting date, and seed-packet instructions. Count backward from your intended transplanting date using the recommended indoor-growing period.
Can I start every vegetable indoors?
No. Some vegetables are better suited to direct sowing, particularly crops that dislike root disturbance or develop best when planted directly outdoors. Many vegetables can be started indoors, but each crop should be evaluated individually.
Do seeds need light before they germinate?
Not all seeds have the same requirements. Some germinate without light, while others need or benefit from light. Always check the seed packet. Once seedlings emerge, adequate light becomes essential for healthy growth.
How long should seedlings stay indoors?
The answer depends on the crop. Some seedlings may only need a few weeks, while others benefit from a longer indoor period. Follow the seed packet and monitor plant development rather than keeping every seedling indoors for a fixed number of weeks.
Do I need a grow light to start seeds indoors?
Not necessarily, but a grow light can make indoor seed starting more reliable when natural light is weak or inconsistent. Seedlings need strong, adequate light after germination, and poor lighting is a common reason plants become stretched.
Final Thoughts
Starting seeds indoors gives gardeners an opportunity to begin spring with a clear plan. Instead of waiting for outdoor conditions to become perfect, you can prepare selected plants in a controlled environment and give them the time they need to develop before transplanting.
The most important elements are timing, suitable growing media, proper moisture, adequate light, appropriate temperature, and gradual acclimation. Do not assume that starting seeds as early as possible will produce the best garden. Healthy, compact seedlings started at the right time are much more useful than oversized plants that have spent too long indoors.
As part of +13 Seasonal Garden Guides, indoor seed starting can become a dependable part of your annual gardening calendar. Keep records, follow crop-specific instructions, observe your plants closely, and adjust your routine based on your local growing conditions. With consistent care, a small collection of seeds can become a productive vegetable garden, fragrant herb collection, or colorful spring and summer flower display.

