
Every garden needs a path. Not just for looks, but for practical reasons too, so you can move easily to tend plants, flowers, and homegrown produce without trampling everything in your way.
The problem is that a professionally installed path can cost thousands of dollars, especially with premium materials. The good news is that a genuinely great looking path does not require a premium budget at all.
Save this guide now, because idea 5 uses a material most people already have sitting around and it costs almost nothing to install.
Here’s the thing. Once you have decided where a path should go, how long it needs to be, and what it should connect, you can build it with inexpensive materials now and upgrade later if you ever want to. Many people never feel the need to.
Decide What You Actually Need From This Path First
Before picking a material, think through three things: how much foot traffic the path will handle, how much upkeep you are willing to do, and how it should look next to your existing garden style.
So what does this mean for you? A path built for a busy family with kids and a wheelbarrow needs a sturdier base than a quiet path winding through a flower bed. Match the material to the job, not just the picture that inspired you.
[Image placement: An empty garden path area marked out with string and stakes before construction begins. Alt text: “Planning a cheap DIY garden path layout before building.”]
1. Pea Gravel and Large Stepping Stones
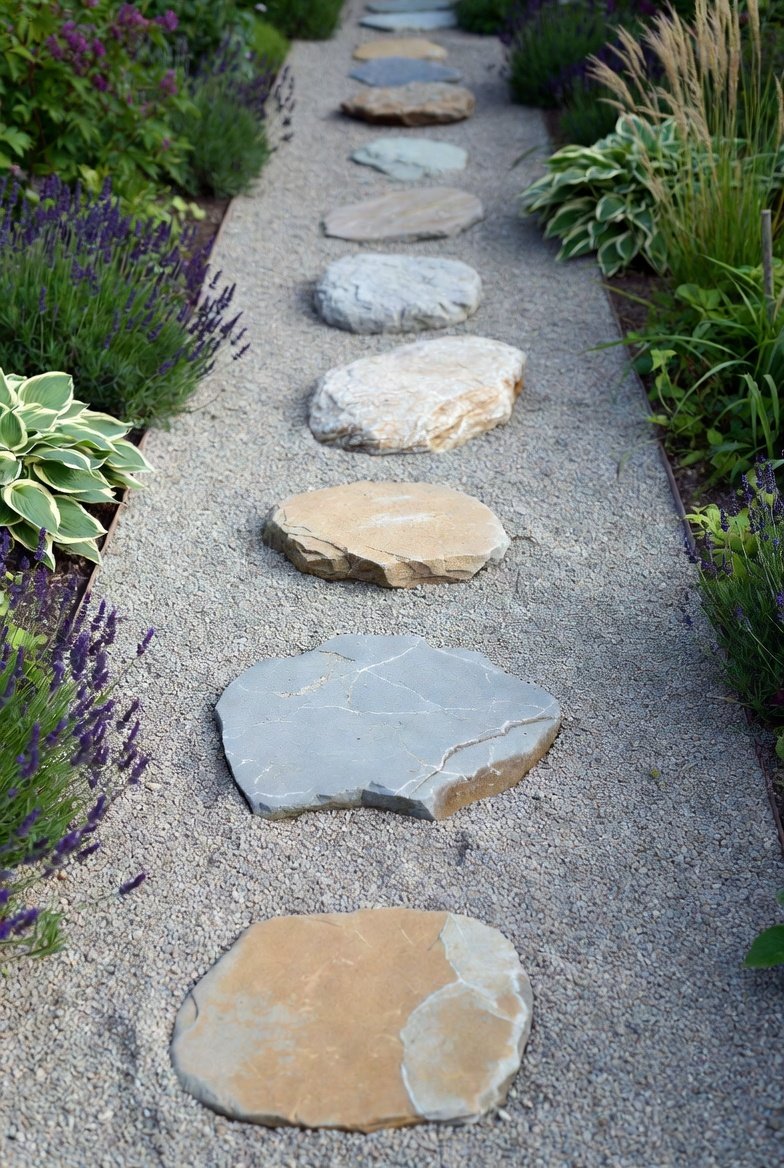
This combination is one of the most popular cheap garden path ideas for good reason. Large stepping stones spaced at a natural walking distance, filled in between with pea gravel, cost roughly $8 per stone and $5 per bag of gravel, and the whole path can realistically be finished in a single day.
Quick tip: space the stones so your foot naturally lands on them rather than the gravel, which keeps the path both comfortable and low maintenance.
2. Mulch Paths for a Natural, Rustic Look
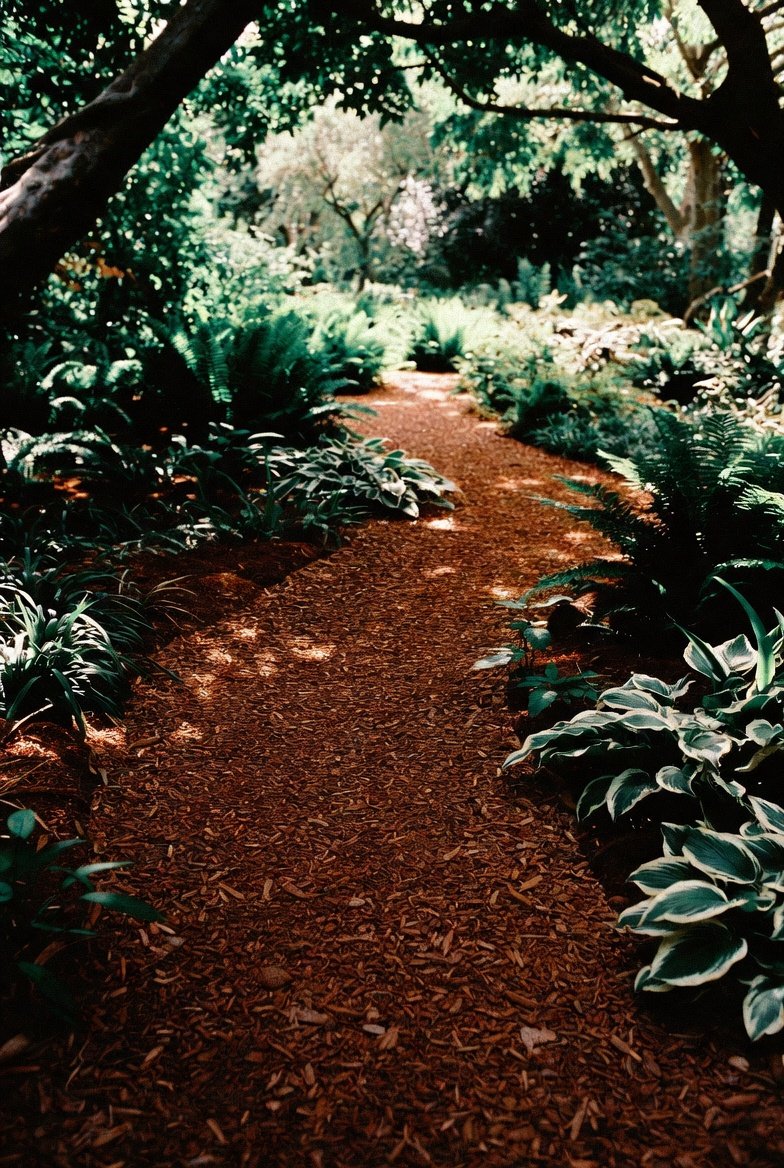
Mulch paths are inexpensive, easy to lay, and give a garden a soft, natural feel while keeping weeds down between beds. The tradeoff is that mulch alone will wear away over time under heavy foot traffic, so it works best in lower traffic areas of the garden.
Save worthy tip: laying a simple flagstone trail through a mulch path keeps the mulch looking fresher for much longer, since foot traffic gets concentrated on the stone instead of scattering the mulch.
3. Reclaimed Brick Paths
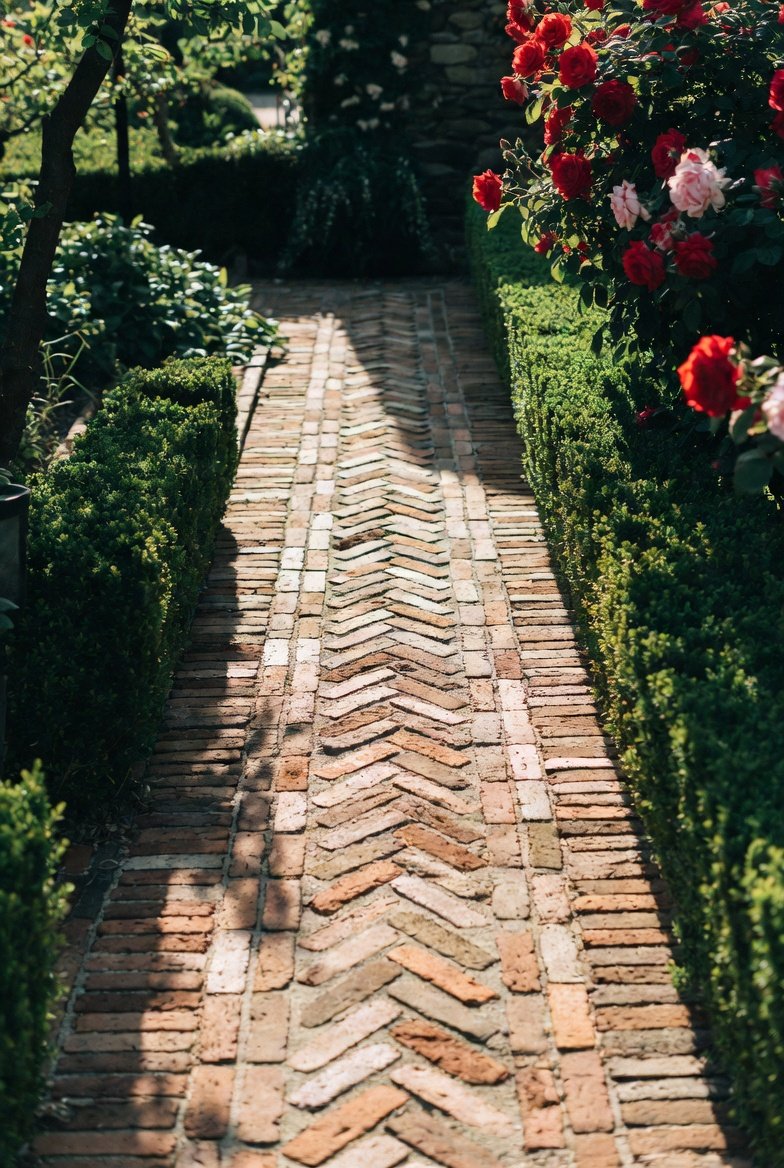
Reclaimed bricks look classic and are often free if you can salvage them from an old patio, driveway, or construction site. A brick path adds a timeless, cottage style feel to a garden and holds up well over many years with very little maintenance.
[Image placement: A reclaimed brick path winding through a flower bed. Alt text: “Reclaimed brick garden path idea for a cheap DIY project.”]
4. Concrete Paver Paths
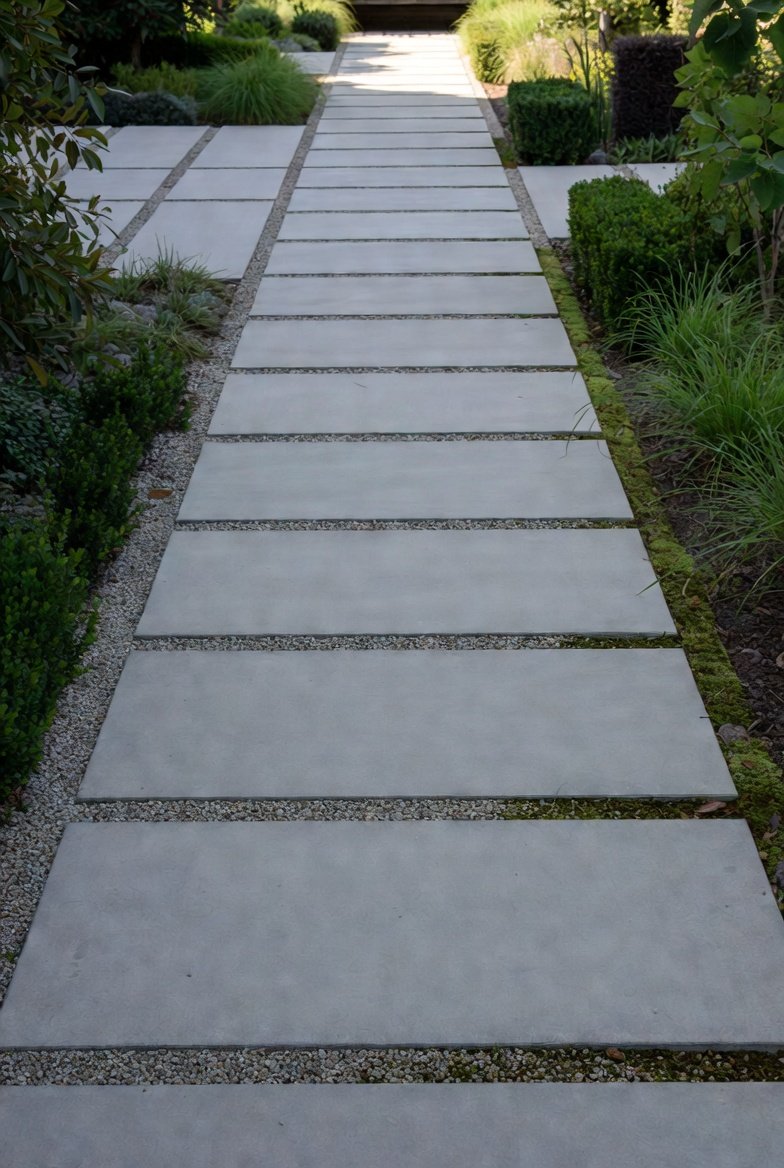
Concrete pavers are cheap, durable, and available in a wide range of colors and shapes, making them a flexible option for almost any garden style. To install them properly, dig out a trench about 100 to 150mm deep, lay a base of road base or crushed rock, compact it, then place the pavers and tap them into position with a rubber mallet before filling the gaps with fine gravel or sand.
Read Also: 15+ Backyard Garden Ideas on a Budget That Actually Look Expensive
5. Repurposed Decking Boards
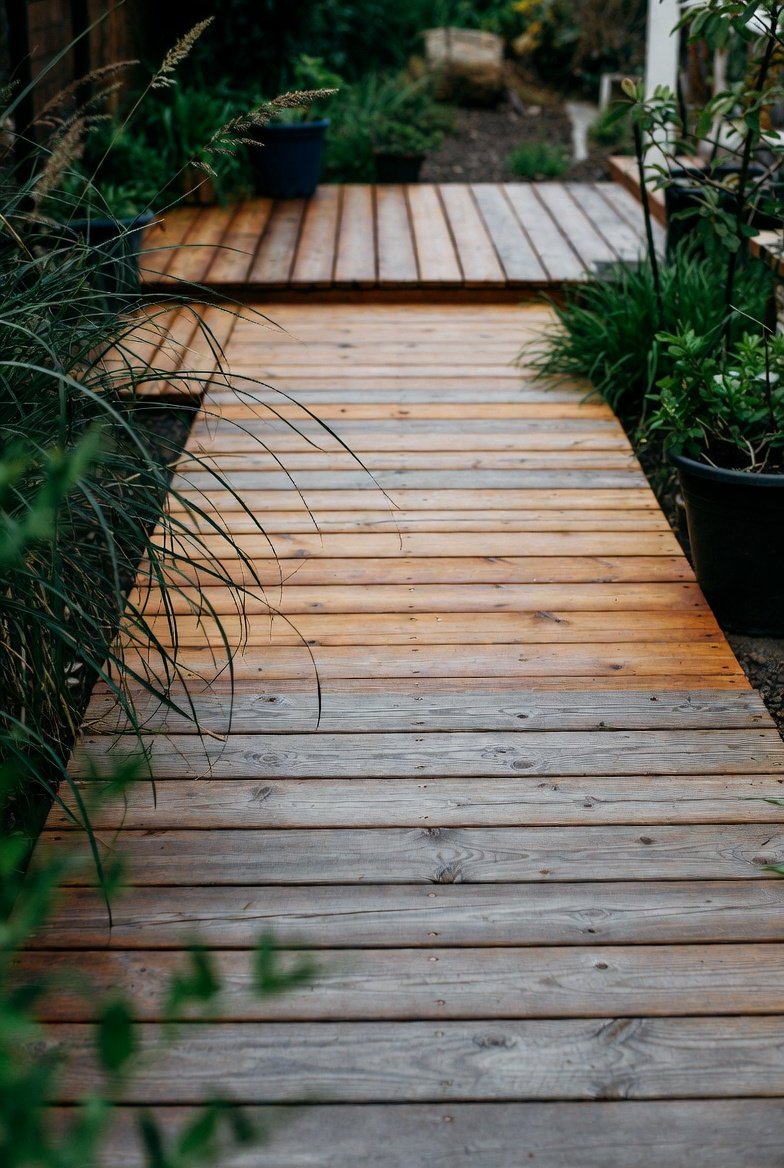
Old decking boards, whether leftover from a previous project or picked up secondhand, can be arranged into a coastal style path when paired with pebbles alongside them. It is one of the easiest ways to give a plain garden path real character using materials that might otherwise be thrown away.
Bucket brigade moment. So what is the catch with wood paths? They need occasional sealing or treatment to resist rot, especially in wetter climates, but the visual payoff is well worth the small upkeep.
6. Crushed Stone and Sand Mix
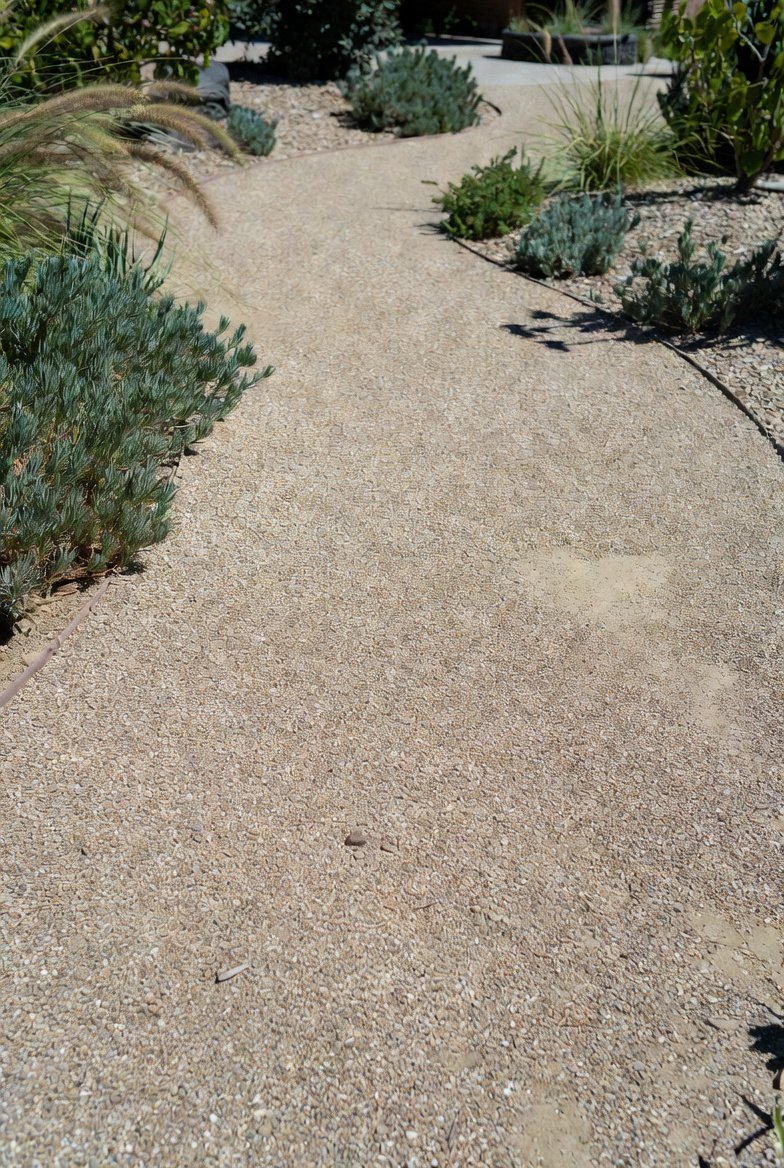
For a balance between loose gravel and a solid paved surface, a crushed stone and sand mix hits a genuine sweet spot. The stone provides stability while the sand fills the gaps, creating a surface that is easy to walk on and drains water effortlessly. This method can be shaped into curves or geometric patterns without any heavy lifting, making it especially popular with DIY enthusiasts chasing a professional look without a professional price tag.
[Image placement: A curved path made from a crushed stone and sand mix winding between garden beds. Alt text: “Crushed stone and sand garden path idea for easy drainage.”]
7. Concrete Slabs
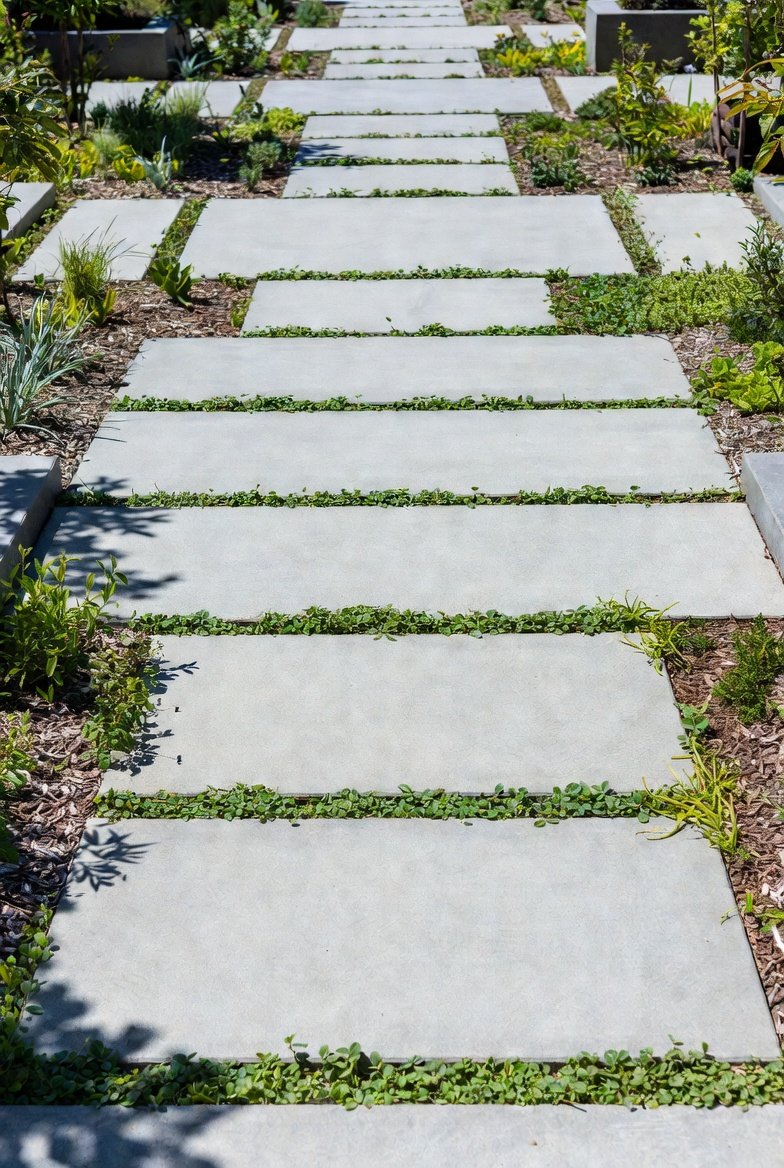
Concrete slabs are easy to DIY yourself or buy premade from a local landscaping supplier, giving you flexibility depending on your budget and available time. They offer a clean, uniform look that suits more modern garden designs, and they hold up extremely well under regular use.
8. Bluestone for a Premium Look on a Budget
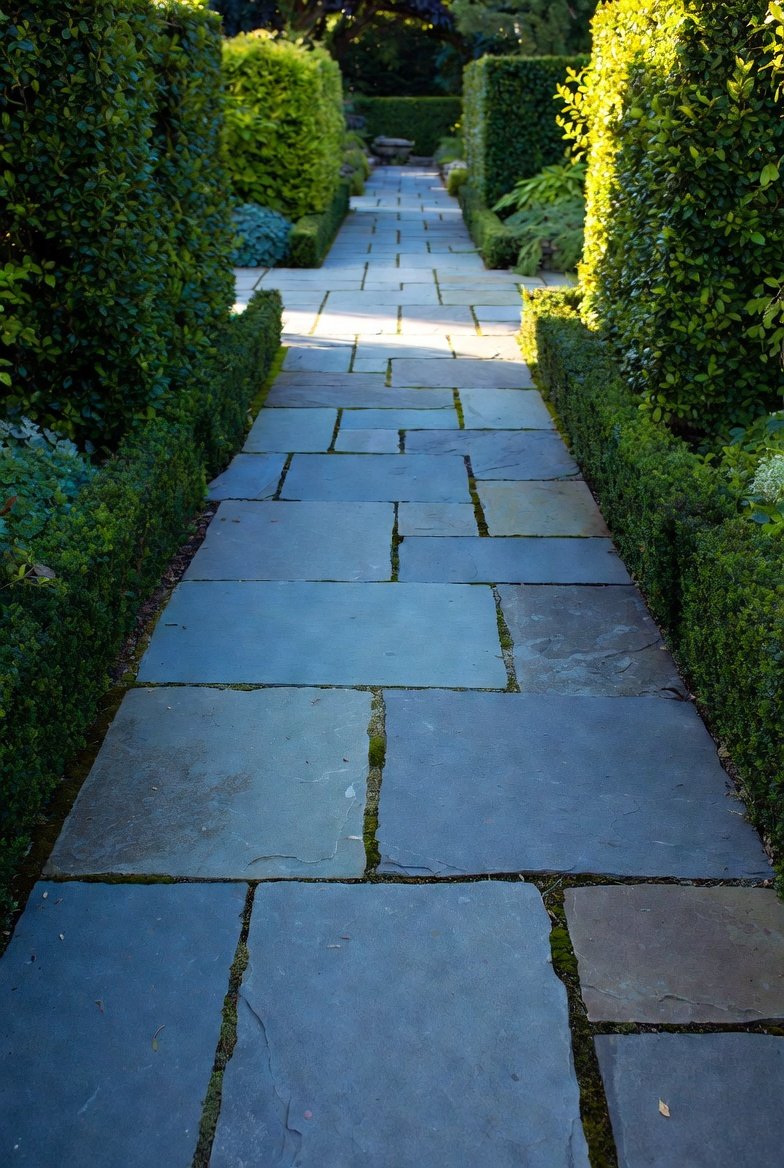
If you want something that looks a step above basic pavers, bluestone delivers a premium appearance, though it does tend to cost more than concrete or gravel. For gardeners willing to spend slightly more in one area of the yard, a bluestone path near an entryway or patio can make a strong first impression.
9. Stabilize Loose Materials With Gravel Grids
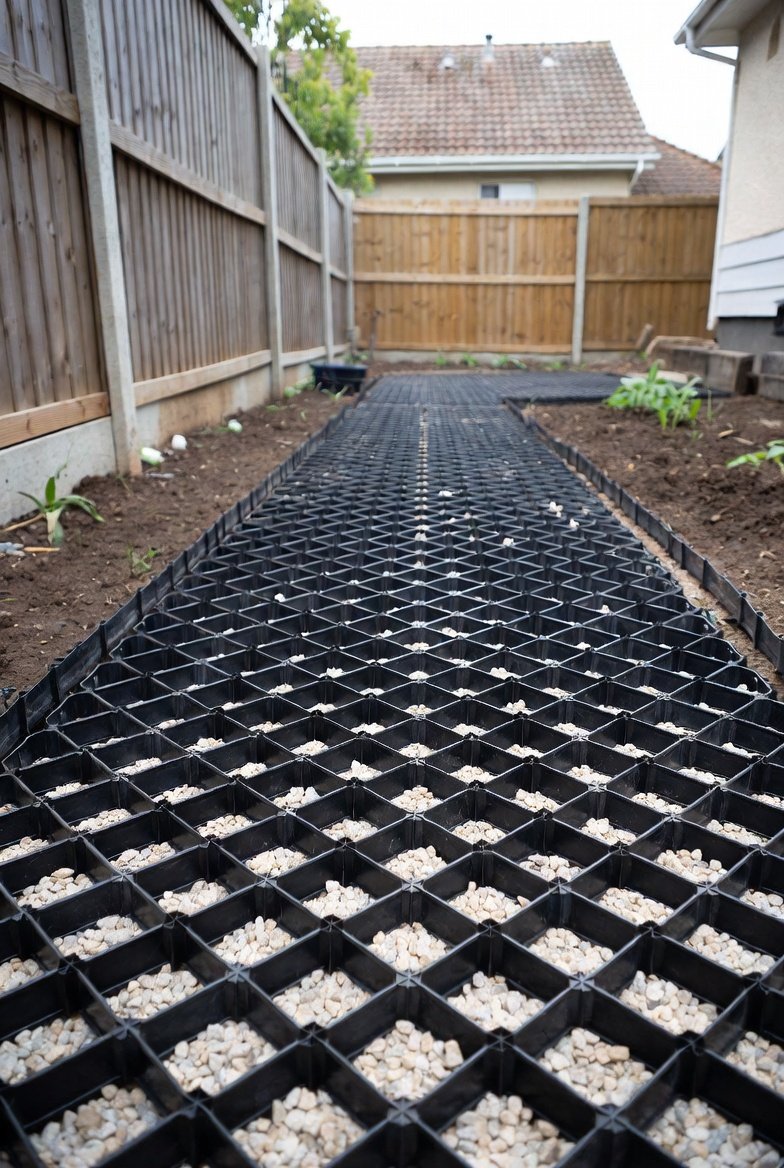
Loose gravel and paver paths tend to shift and scatter over time, especially with regular foot traffic. Gravel grids placed beneath the surface stabilize pavers and stone, stopping movement and helping the whole path last significantly longer without needing repairs or top ups.
[Image placement: A gravel path installation showing the grid structure beneath the loose stone. Alt text: “Gravel grid stabilization idea for a cheap DIY garden path.”]
10. Stone Paths That Improve Drainage
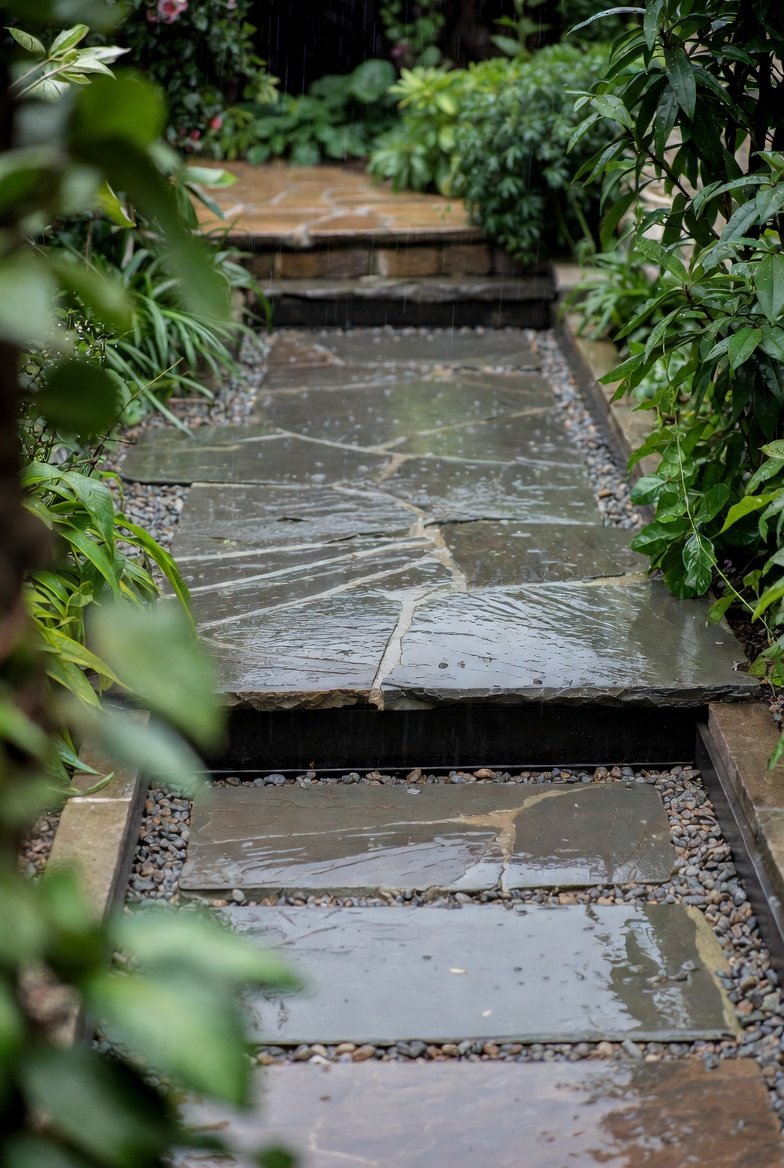
The natural irregularity of stone paths actually helps manage water flow. Rather than sitting on a flat surface, rain trickles into the small gaps between stones and soaks into the soil below, which helps prevent puddles and muddy patches after a storm.
Quick tip: surround the stones with mulch or small gravel to keep them stable underfoot and make cleanup significantly easier.
11. Custom Concrete Molds for a Personal Touch
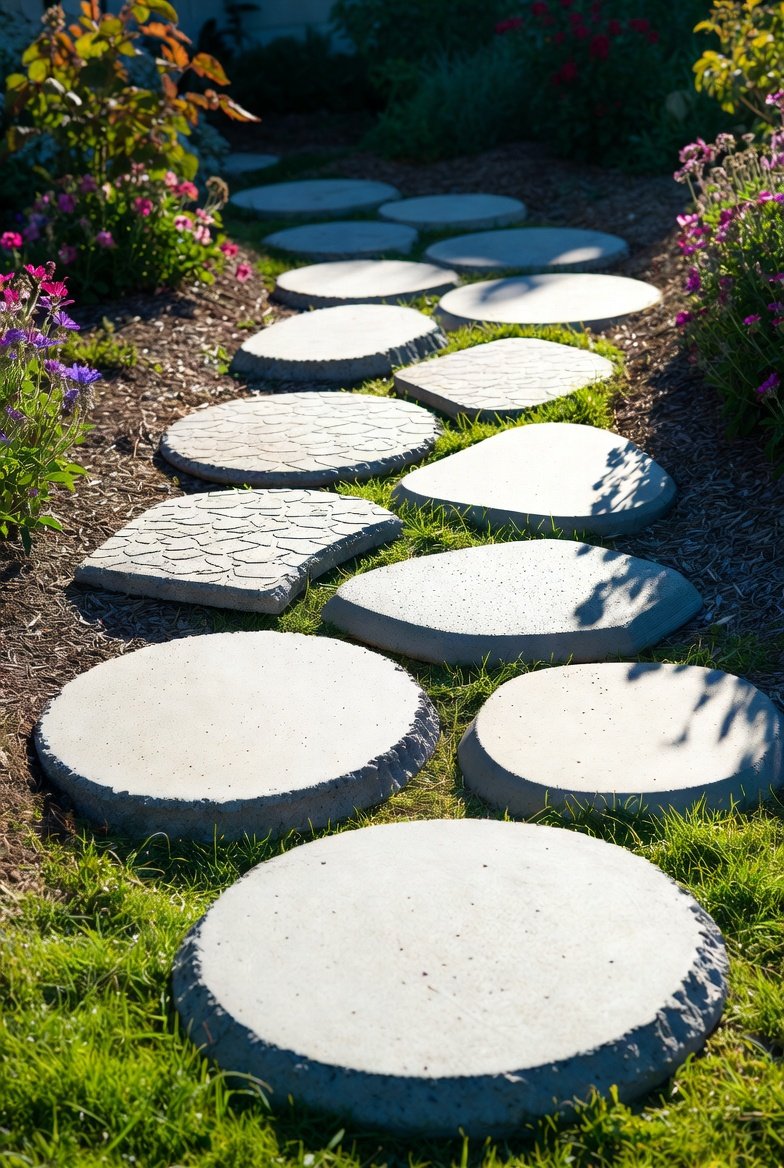
Concrete molds let you create custom shapes and patterns rather than relying on standard pavers, adding a genuinely personal touch to the finished path for very little extra cost. Even arranging simple shapes in a spiral or wave pattern can turn an ordinary path into a real conversation piece.
12. Tuck Low Growing Plants Between Stones
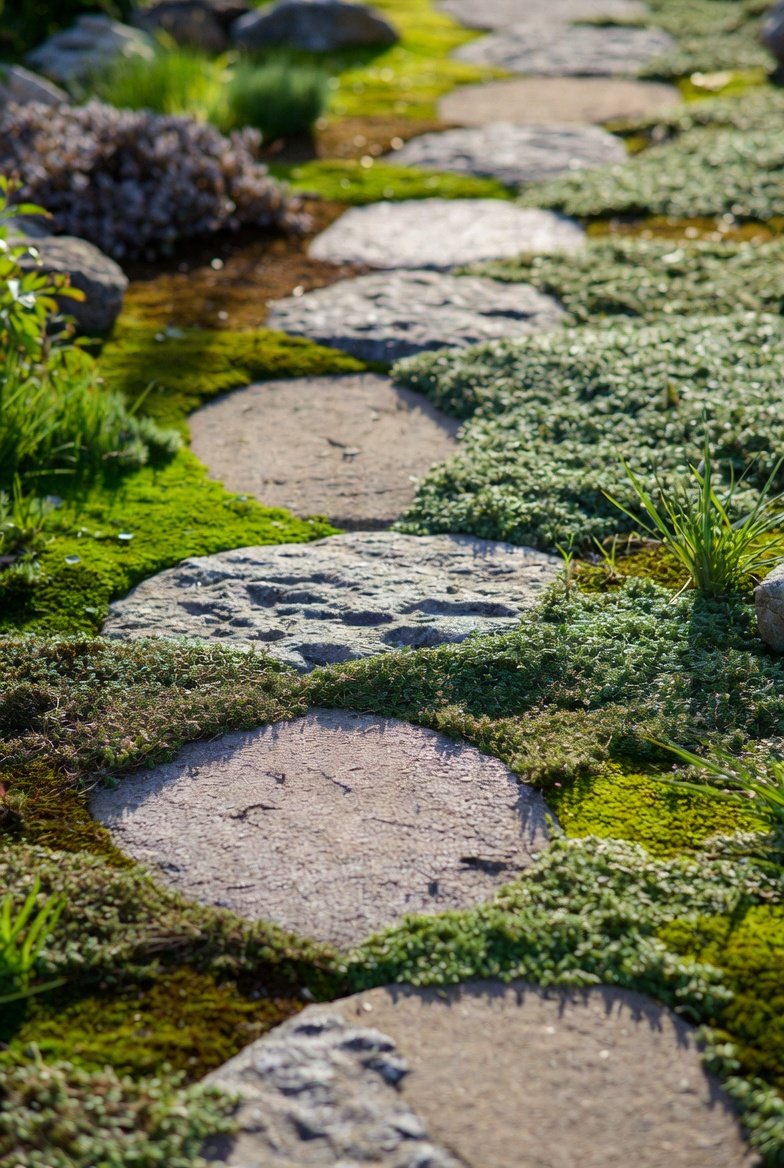
Adding low growing plants like creeping thyme or moss between stepping stones softens the look of a stone path and adds a pleasant fragrance underfoot as you walk. This idea works particularly well in flower beds, where the path should feel like part of the planting rather than a separate hard surface running through it.
[Image placement: Stepping stones with creeping thyme growing in the gaps between them. Alt text: “Low growing plants between stepping stones for a soft garden path.”]
13. Reinforce Edges to Keep the Path Neat
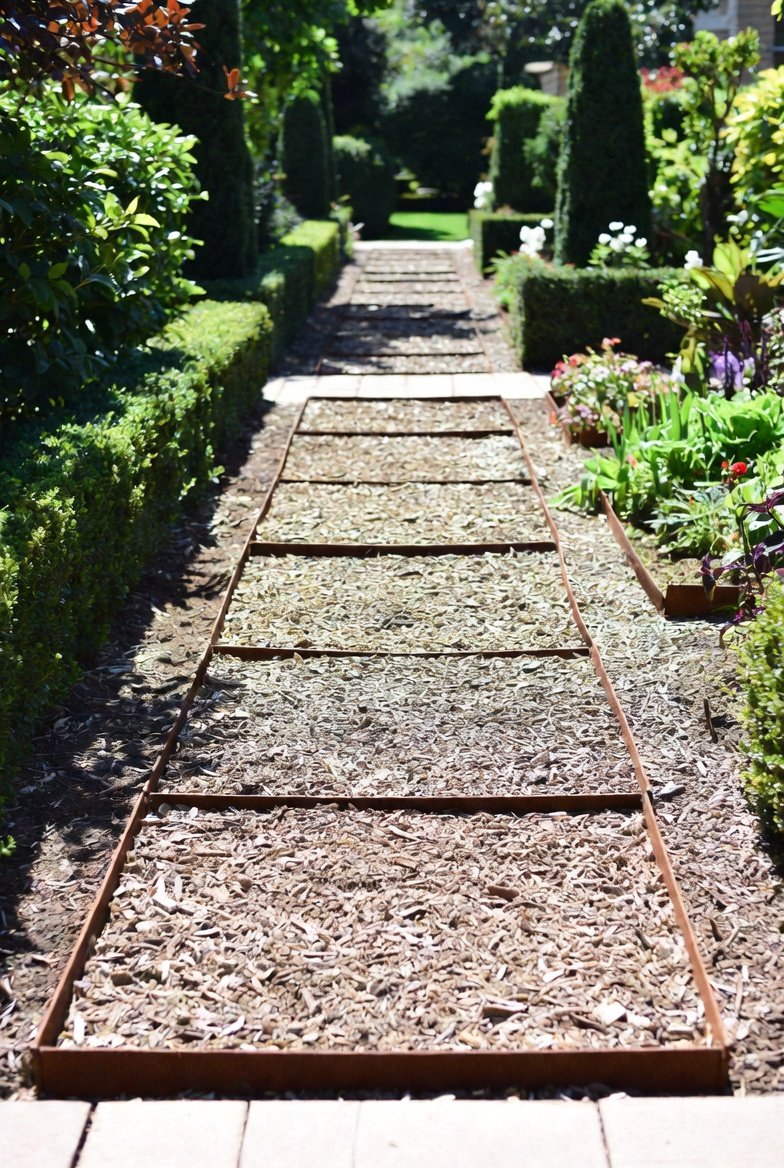
Loose materials like gravel or a crushed stone and sand mix tend to spread over time without a defined edge. Reinforcing the border with timber, stone, or recycled materials keeps the path looking neat and contained, which is a small step that makes a big difference in how finished the whole project looks.
14. Repurpose Random Materials Already in Your Yard
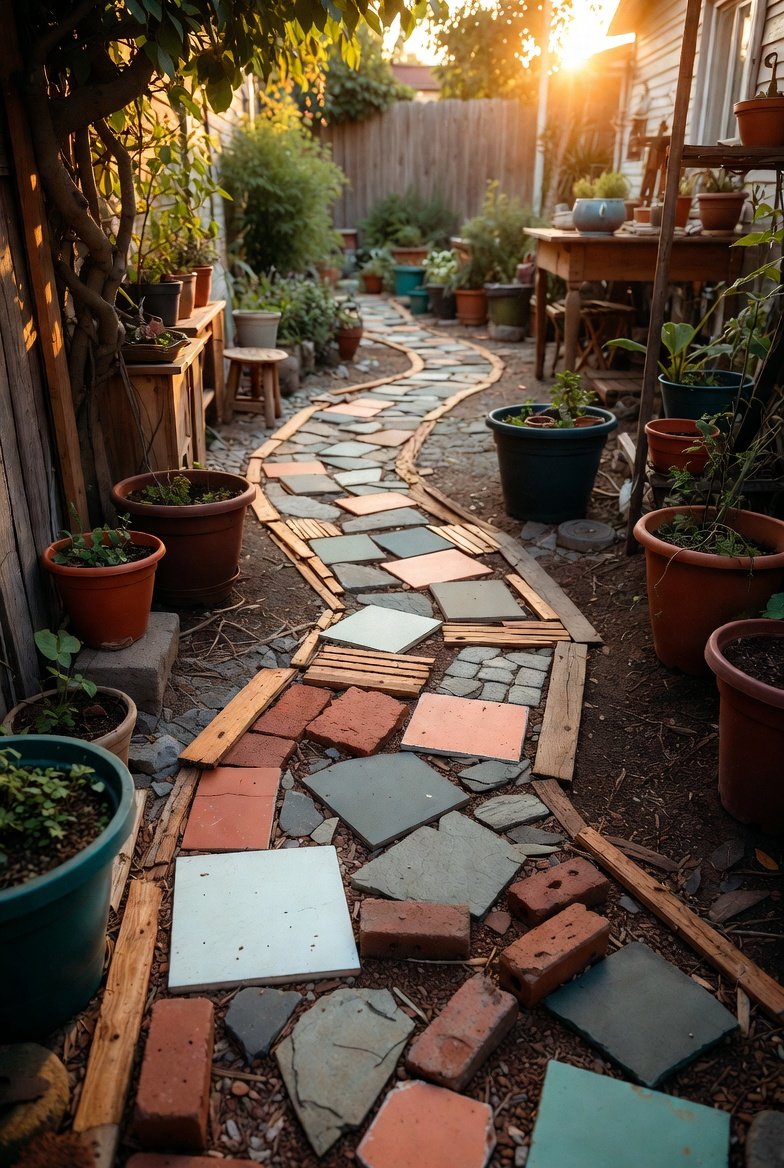
Some of the cheapest, most charming garden paths come from materials that are already sitting around unused. Leftover stones from another project, spare bricks, or even scrap wood planks can all be combined into a functional, good looking path without spending much at all.
Quick recap of the fastest builds if you only try three. Pea gravel with stepping stones, a simple mulch path, and reclaimed brick. All three can be completed in a single weekend with basic tools and a bit of patience.
Frequently Asked Questions
What is the cheapest material for a DIY garden path?
Mulch is generally the least expensive option to lay, though pea gravel combined with stepping stones is a close second and holds up better under regular foot traffic.
How deep should the base be for a paver or gravel path?
A trench roughly 100 to 150mm deep, filled with compacted road base or crushed rock, gives most paths a stable, long lasting foundation.
Do cheap garden paths need a lot of maintenance?
It depends on the material. Mulch paths need periodic refreshing, wood paths may need occasional sealing, while gravel, stone, and paver paths generally require very little ongoing upkeep once properly installed.
Can I build a garden path myself without hiring a professional?
Yes. Most of the ideas above can be completed by anyone with a basic grasp of DIY, which also saves on labor costs compared to hiring a landscaper.
Final Thoughts
A garden path does not need a large budget to look intentional and well built. Start by deciding what the path needs to do, choose a material that matches your traffic and maintenance preferences, and build the base properly from the start. Whether you go with simple mulch, reclaimed brick, or pea gravel and stepping stones, a well planned cheap path can look just as good as one that cost ten times more.

