
Planting tulip bulbs in fall is one of the simplest ways to prepare your garden for a colorful spring display. +12 Seasonal Garden Guides for fall bulb planting can help gardeners choose healthy bulbs, select the right location, prepare well-drained soil, determine planting depth, and protect bulbs through winter. Tulips are spring-flowering bulbs that benefit from a period of cold dormancy before producing their characteristic flowers.
Imagine walking outside after a long winter and seeing rows of red, pink, yellow, purple, or white tulips opening across your garden. That beautiful display actually begins months earlier, when the garden may look quiet and empty. A few decisions made during fall—especially about bulb quality, soil drainage, planting depth, and timing—can make a noticeable difference when spring arrives.
This +12 Seasonal Garden Guides article takes you through the complete fall tulip planting process, from choosing bulbs and preparing the bed to spacing, watering, mulching, container planting, winter protection, and spring aftercare. Whether you’re planting your first few bulbs or creating a large colorful display, these practical steps can help you make the most of the planting season.
Why Fall Is the Best Time to Plant Tulip Bulbs
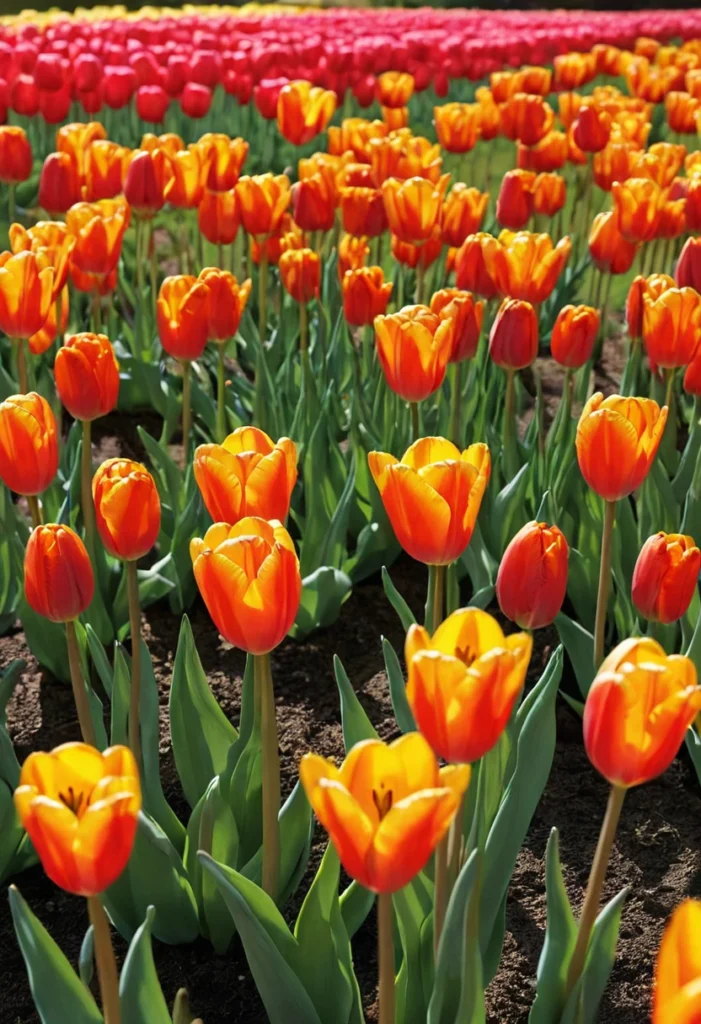
Tulips are generally planted in fall so they can establish roots before winter and experience the cold period associated with their normal growth cycle. University of Illinois Extension identifies fall as the prime planting season for hardy spring-flowering bulbs and notes that bulbs can generally be planted until the ground freezes.
For +12 Seasonal Garden Guides, the important point is that fall planting isn’t simply about getting bulbs underground before winter. The bulbs need an appropriate environment where roots can develop without sitting in constantly wet soil. Planting at the right time gives them an opportunity to settle before severe winter conditions arrive.
Choose the Right Fall Window
The ideal calendar date depends on your climate. In many regions, gardeners plant tulips several weeks before the ground normally freezes. Penn State Extension, for example, recommends September to October for western Pennsylvania, while Iowa State guidance identifies October as an ideal month in Iowa.
Rather than copying another region’s calendar, consider your local winter pattern. The goal is to plant while the soil remains workable and cool enough for fall root development, but before the ground becomes frozen and difficult to dig.
Don’t Plant Too Early
Planting too early can expose bulbs to warmer soil conditions for longer than necessary. This can encourage premature growth in some climates.
For +12 Seasonal Garden Guides, buy bulbs early if you want the best selection, but store them properly until your local planting window arrives. Keep unplanted bulbs in a cool, dry, well-ventilated place and follow supplier instructions.
Select High-Quality Tulip Bulbs
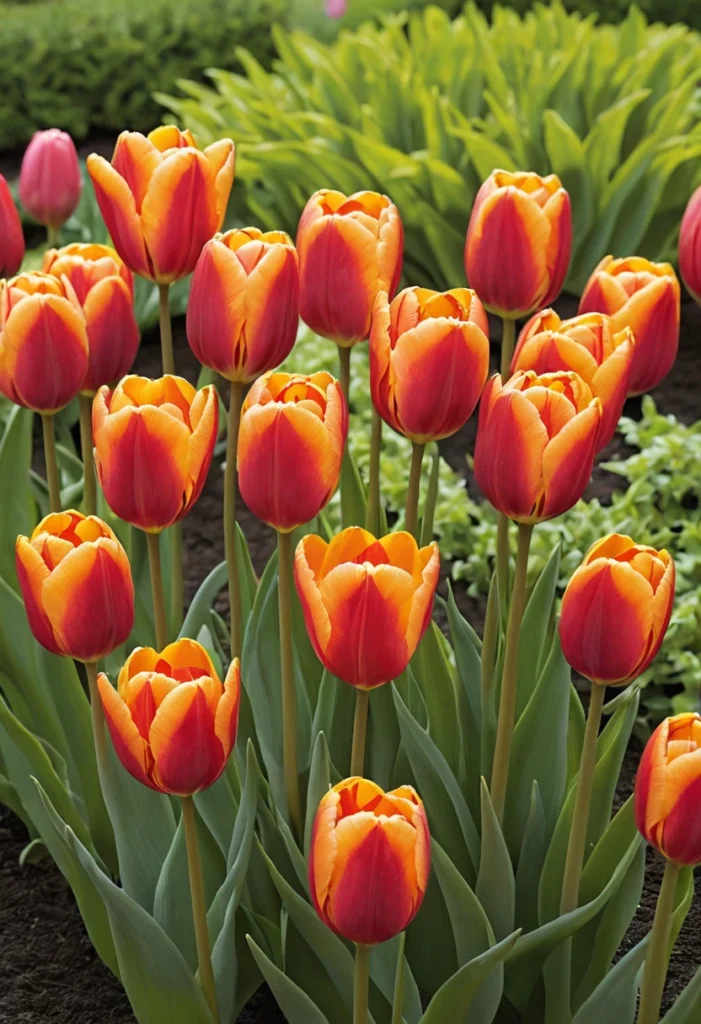
The quality of the bulb you plant has a direct influence on the potential quality of the spring display. Look for bulbs that feel firm and substantial rather than soft, shriveled, moldy, or visibly damaged. Penn State Extension recommends purchasing high-quality bulbs from reputable growers and checking that they are firm and free from cuts or gashes.
For +12 Seasonal Garden Guides, think of bulbs as the plant’s stored energy package. A healthy bulb has the resources needed to produce roots, foliage, and flowers after winter. Saving money on badly damaged or undersized bulbs can result in disappointing growth.
Check for Damage
Inspect bulbs before planting. Avoid bulbs with obvious soft spots, deep cuts, rot, mold, or strong signs of disease.
A little dry outer skin isn’t necessarily a problem, but a bulb that feels unusually soft or shows active decay is a poor candidate for planting.
Consider Bulb Size
Larger bulbs often produce stronger flowers because they contain greater stored reserves. This is particularly useful when you want a dramatic first-year display.
For +12 Seasonal Garden Guides, compare bulbs within the same variety rather than assuming every tulip bulb should be identical in size. Packaging information can also help you understand expected flower height, bloom period, and planting requirements.
Pick the Best Location for Tulips
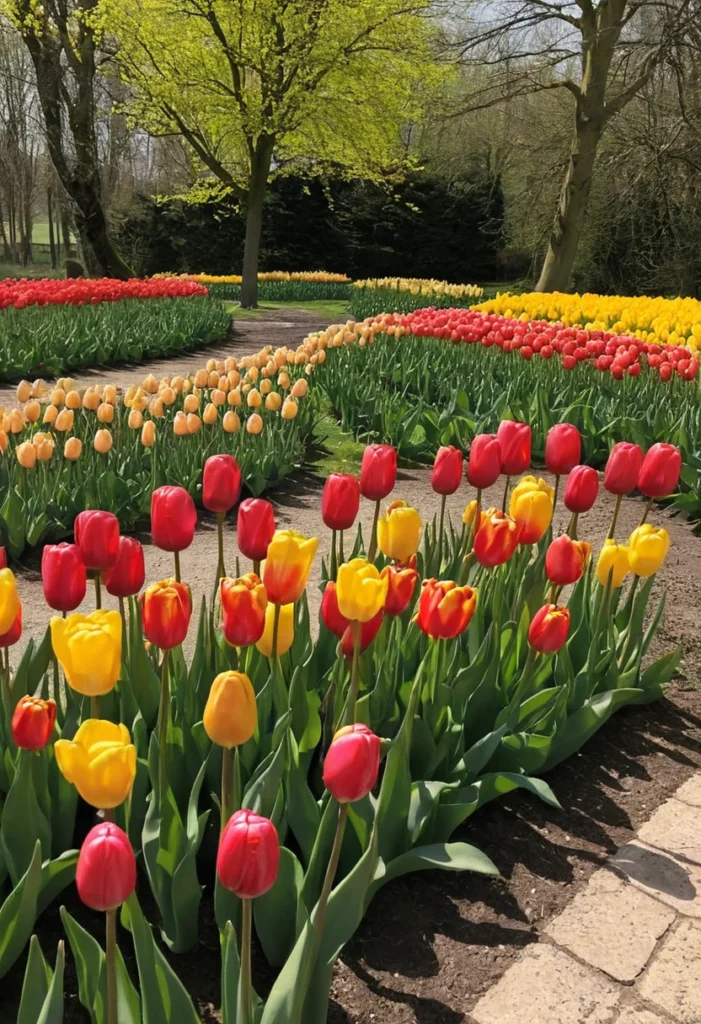
Tulips generally perform best in locations with plenty of sunlight and well-drained soil. University of Illinois Extension recommends fertile, well-drained soil and notes that many spring bulbs need substantial sunlight for maximum flowering.
For +12 Seasonal Garden Guides, observe your chosen bed throughout the day. A location that looks sunny in the morning may become shaded later, while a south-facing area may receive stronger light and warmer conditions. Consider both sunlight and drainage before committing to a large planting.
Use Sunny Beds
A sunny border can make tulip colors stand out beautifully. Planting groups of tulips in open beds, along paths, or among compatible perennials can create strong spring interest.
Don’t forget that nearby trees and shrubs may change the amount of light reaching the bed as the season progresses. Spring-flowering bulbs can sometimes take advantage of sunlight before deciduous trees fully leaf out.
Avoid Waterlogged Areas
Poor drainage is one of the biggest concerns when planting bulbs. Constantly wet soil can encourage bulb rot and reduce successful establishment.
For +12 Seasonal Garden Guides, avoid low areas where rainwater repeatedly collects. If necessary, improve the planting area with appropriate organic matter or choose a better-drained location rather than forcing tulips into unsuitable ground.
Prepare the Soil Before Planting
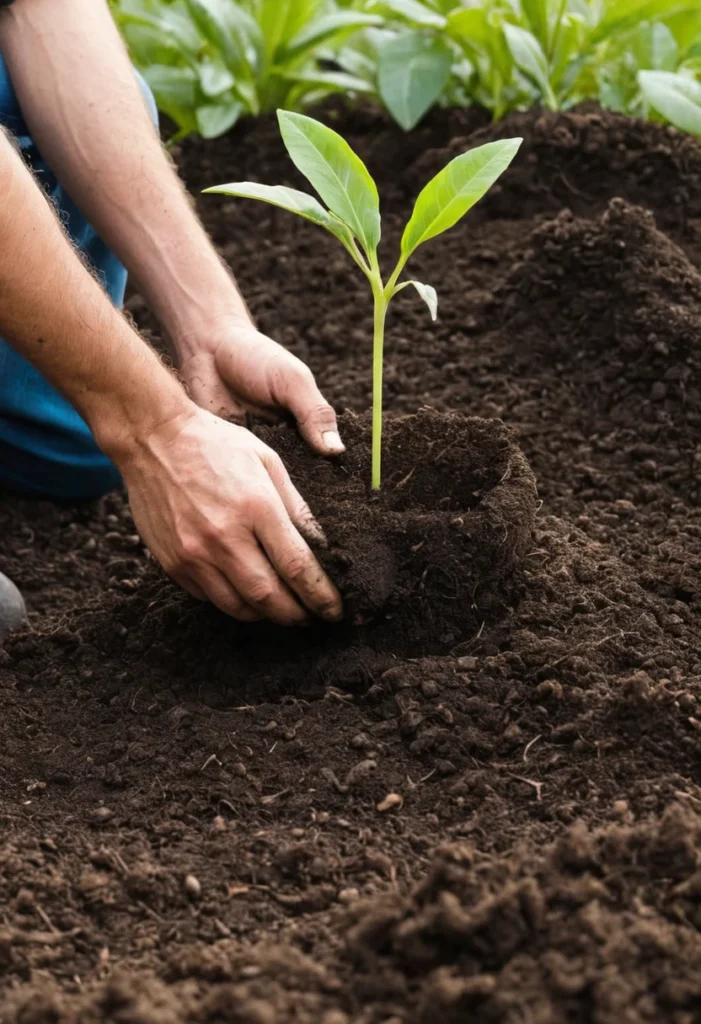
Good soil preparation gives tulip roots room to develop. Loosen the planting area deeply enough to remove compacted layers and large stones, while incorporating suitable organic matter when the soil needs improvement.
University of Illinois Extension recommends improving poorly drained or heavy soil with organic material and preparing the soil before planting.
For +12 Seasonal Garden Guides, don’t assume that every garden needs large amounts of fertilizer. Start with soil condition and drainage. A bed with good structure and reasonable fertility may need little more than careful preparation and appropriate organic matter.
Improve Heavy Soil
Clay-heavy soil can hold water and become difficult for bulbs to grow through. Incorporating suitable organic matter can help improve structure and drainage over time.
Work the soil when it is moist enough to crumble but not saturated. Digging or compacting very wet soil can create additional structural problems.
Avoid Fresh Manure
Fresh manure isn’t the best choice for immediate bulb planting because it can be too strong and may introduce unwanted issues.
Instead, use mature compost or another well-finished organic amendment when soil improvement is needed. Keep the planting bed loose and well drained rather than excessively rich.
How Deep Should Tulip Bulbs Be Planted?
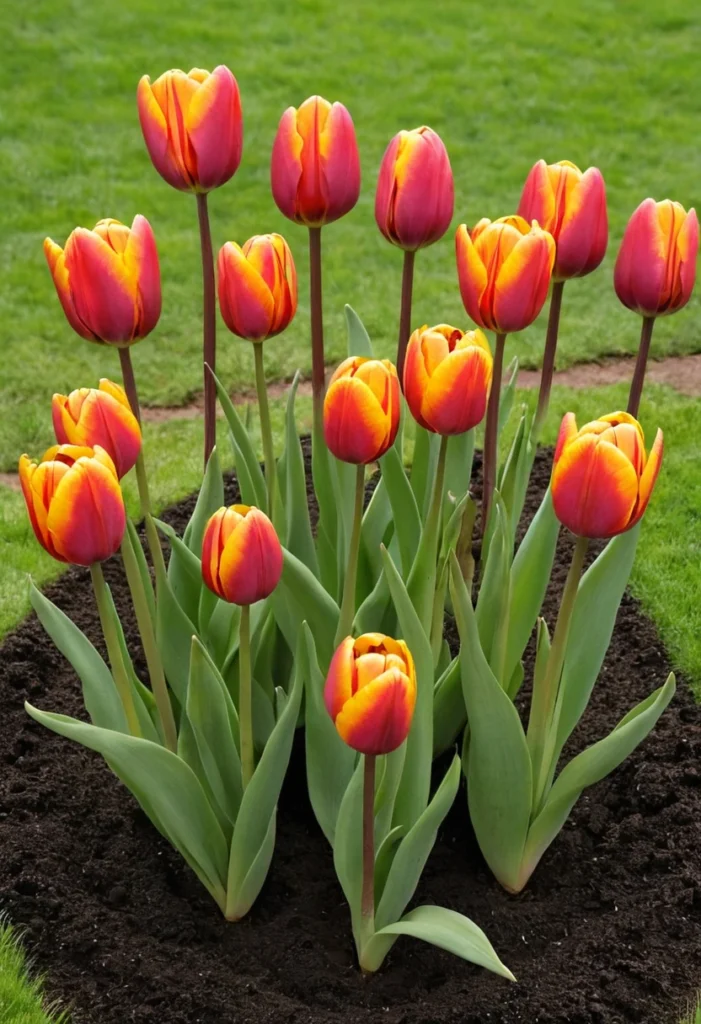
Planting depth is one of the most important parts of successful fall bulb planting. General extension guidance commonly recommends planting spring bulbs around two to three times their height or following the specific depth stated on the bulb packaging. University of Illinois sources give approximately 6–8 inches for many large tulip bulbs, while other horticultural guidance uses the bulb’s dimensions to determine depth.
For +12 Seasonal Garden Guides, always check the instructions supplied with your particular tulip variety. Depth can vary according to bulb size, soil type, climate, and the specific planting recommendation. Measure from the bottom of the bulb to the soil surface.
Position the Bulb Correctly
Place the pointed growing end upward and the flatter root plate downward. This gives emerging growth the correct orientation and allows roots to develop from the basal plate.
If you aren’t sure which end is which, examine the bulb carefully before planting. The pointed end is generally easier to identify as the growing tip.
Don’t Guess the Depth
Planting too shallowly can leave bulbs more exposed to temperature fluctuations, while unnecessarily deep planting can affect emergence and performance.
For +12 Seasonal Garden Guides, use a ruler or measuring stick when planting your first few bulbs. Once you establish the correct depth for your bulbs, maintaining consistent planting becomes much easier.
Read Also: 12+ Garden Ideas: Smart Garden Layout Planner Ideas for a Beautiful Outdoor Space
Space Tulips for a Strong Display
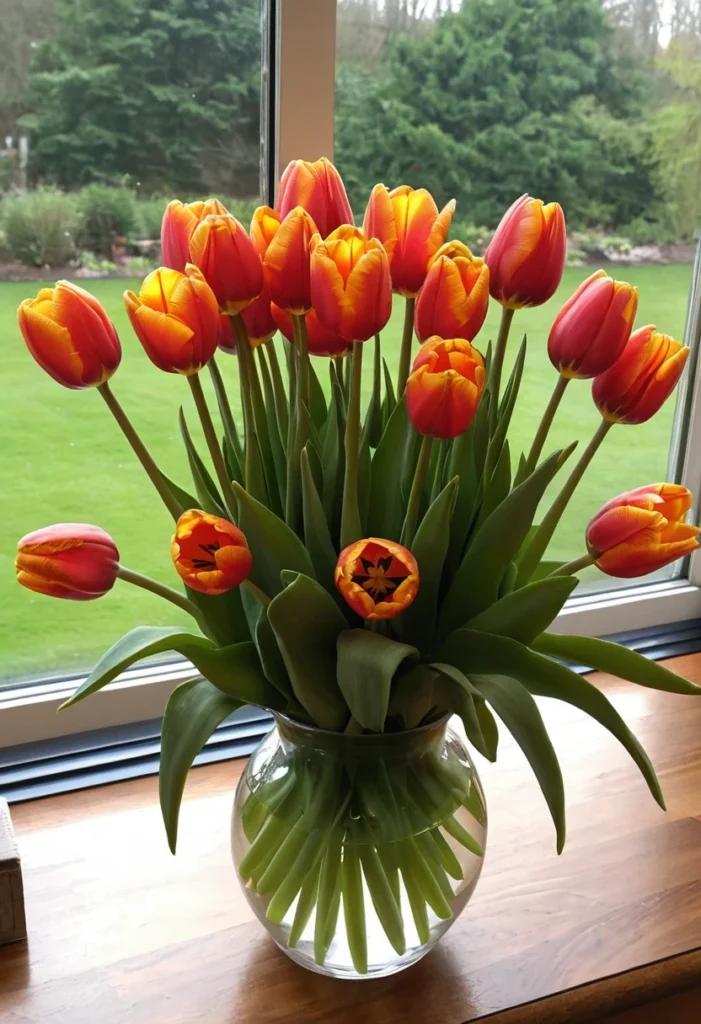
Spacing depends on the variety and the effect you want to create. Extension recommendations commonly place larger tulip bulbs several inches apart, with Illinois guidance giving roughly 4–8 inches for tulips depending on the source and planting situation.
Instead of scattering individual tulips randomly, consider planting them in groups. University of Illinois Extension recommends groups or clusters for greater visual impact and suggests planting larger bulb species such as tulips in groups of at least five.
Plant in Groups
A cluster of one tulip variety often looks more impressive than individual bulbs spread widely across a border.
For +12 Seasonal Garden Guides, try groups of five, ten, or more bulbs depending on the available space. Repeating the same group elsewhere can create a more intentional landscape design.
Mix Colors Carefully
You can combine colors for a cheerful informal garden or select one color for a more sophisticated effect. Consider bloom time as well as flower color when combining varieties.
For example, early, mid-season, and late tulips can create a longer sequence of spring interest. Keep taller varieties behind shorter ones where possible.
Plant Tulip Bulbs Step by Step
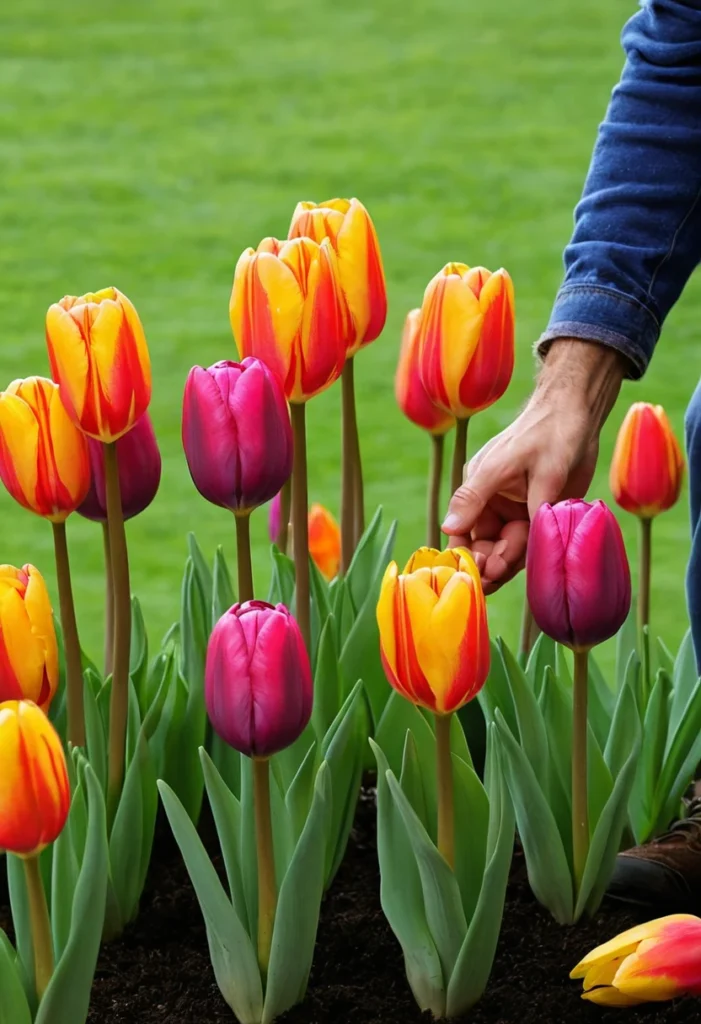
Once the location and bulbs are ready, planting is straightforward. Prepare the entire bed or planting area rather than making the soil loose only in tiny individual holes.
For +12 Seasonal Garden Guides, a prepared bed makes it easier to maintain consistent depth, spacing, and drainage. It also gives roots room to move outward into loosened soil after planting.
Step 1: Mark the Planting Area
Arrange the bulbs on the soil surface before digging. This lets you experiment with spacing and group size without repeatedly moving bulbs.
Think about how the finished spring display will look from windows, paths, patios, or other frequently viewed areas.
Step 2: Dig to the Correct Depth
Dig a broad planting area or individual holes according to the recommended depth for your bulbs. Make sure the bottom of the planting space is loose rather than hard and compacted.
Place the bulb with its pointed end upward and root plate downward. Then cover it gently with soil without pressing the ground excessively hard.
Step 3: Water After Planting
Water the planting area after covering the bulbs. University of Illinois Extension notes that watering helps settle soil around bulbs and initiates root development, while warning against excessive watering that can contribute to bulb rot.
For +12 Seasonal Garden Guides, continue monitoring the bed if fall conditions are unusually dry, but don’t keep the soil saturated. Natural rainfall may provide sufficient moisture in many regions.
Add Mulch for Winter Protection
A light layer of mulch can help moderate soil temperature fluctuations and conserve moisture. Illinois Extension recommends approximately a 2-inch layer after planting, while Penn State Extension recommends around 2–3 inches for winter protection.
For +12 Seasonal Garden Guides, mulch is especially helpful where winter temperatures fluctuate significantly. Use a suitable organic material and spread it evenly rather than creating a thick mound over the planting bed.
Use Leaves or Other Organic Mulch
Clean shredded leaves, straw, or another suitable organic mulch can provide seasonal protection.
Avoid creating a heavy, compacted layer that stays excessively wet. The mulch should protect the soil while still allowing air and moisture movement.
Remove Excess Mulch in Spring
As temperatures rise, watch the planting bed. If a thick layer remains compacted over emerging shoots, gently reduce it.
Don’t rush to remove every bit of mulch immediately. Let the weather and plant growth guide your timing.
Protect Tulip Bulbs From Squirrels and Other Pests
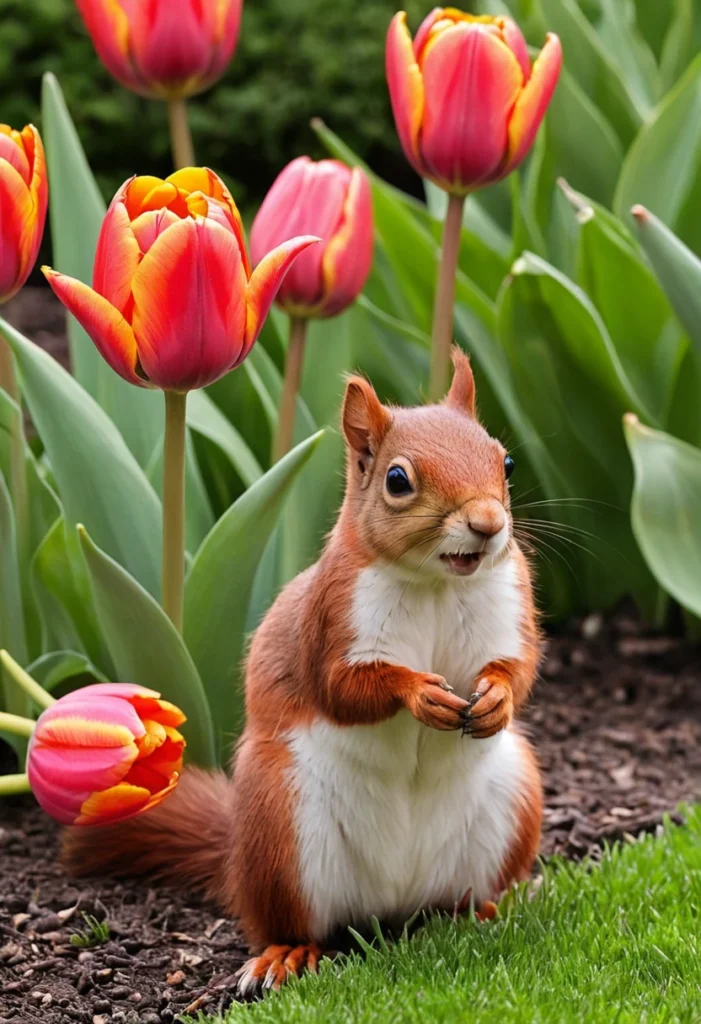
Tulip bulbs can attract squirrels, chipmunks, and other animals that dig in freshly disturbed soil. A carefully planted bed can be frustrating if animals excavate the bulbs before winter.
For +12 Seasonal Garden Guides, physical protection can be useful when wildlife pressure is high. Illinois Extension suggests using chicken wire or hardware mesh over newly planted bulbs and covering it with mulch.
Cover the Planting Area
Place protective mesh across the bed after planting, making sure it is secured and doesn’t interfere with future plant growth.
The barrier can discourage animals from digging while still allowing rainfall to reach the soil.
Avoid Attractive Fertilizer Additions
Some natural fertilizers can attract wildlife because of their smell. Illinois Extension specifically cautions that materials such as fish emulsion or bone meal may attract animals in bulb beds.
For +12 Seasonal Garden Guides, don’t add a fertilizer simply because you’ve heard it is traditionally used for bulbs. Soil conditions and plant requirements should guide your approach.
Can Tulips Grow in Containers?
Yes, tulips can be grown successfully in containers when the pot has adequate drainage and enough growing medium to accommodate the bulbs and roots. Containers also make it easier to position spring displays near patios, entrances, balconies, and other small spaces.
For +12 Seasonal Garden Guides, choose a container deep enough for the recommended planting depth and use a quality, well-draining growing medium. Avoid containers without drainage holes because standing water can damage bulbs.
Try Layered Bulb Planting
A large container can be used for a layered bulb display, sometimes called a bulb lasagna. Different bulb types or varieties can be arranged at different depths according to their planting requirements.
University of Illinois Extension describes layered container planting as a way to create a dramatic, multi-level spring display.
Protect Container Bulbs in Winter
Container-grown bulbs can experience colder temperature fluctuations than bulbs planted in the ground because the surrounding soil volume is smaller.
Move containers to a suitably protected location when necessary for your climate, while maintaining appropriate cold exposure for the bulbs. Do not place them somewhere warm if the variety requires winter chilling.
Choose Tulip Types for Your Garden
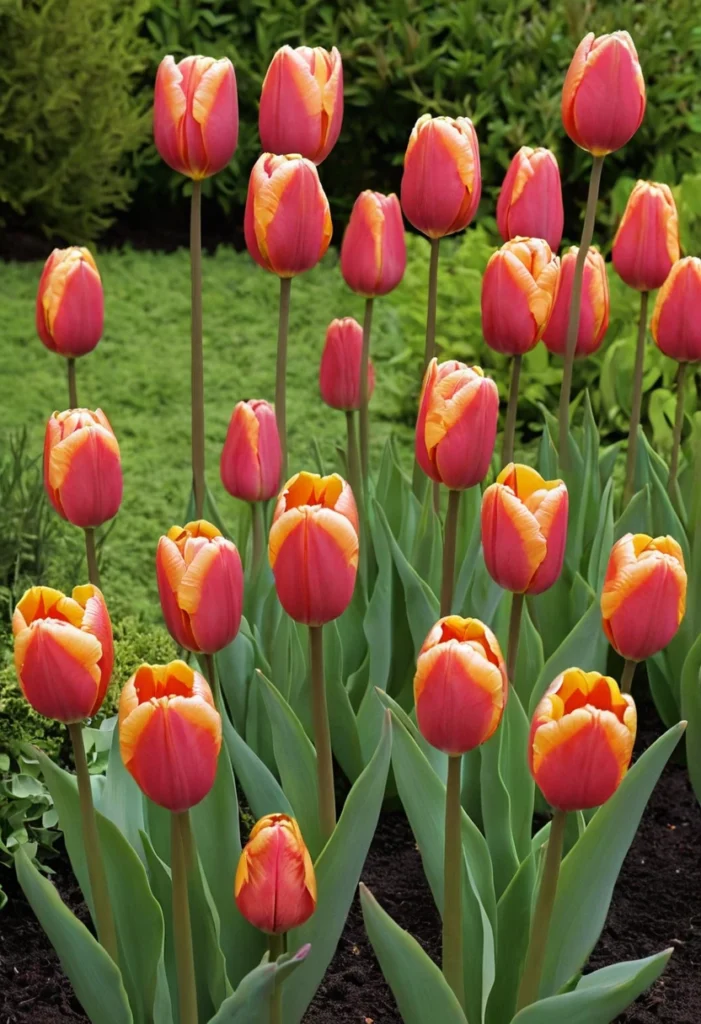
Not all tulips behave exactly the same way. Different classes vary in height, flower shape, bloom time, and their tendency to return in later years.
For +12 Seasonal Garden Guides, consider both the appearance you want and how long you expect the planting to last. Some modern tulip hybrids are often grown for their strongest first-year display, while certain Darwin Hybrid, Fosteriana, and species tulips can perform better over multiple seasons under favorable conditions. Iowa State Extension notes that Darwin Hybrid tulips are among the longer-lived hybrid types and that species tulips can naturalize in suitable conditions.
Darwin Hybrid Tulips
Darwin Hybrid tulips are known for large flowers and tall stems. They can be an excellent choice for bold borders and repeated color blocks.
Their strong visual presence makes them useful toward the middle or back of a flower bed, depending on the height of neighboring plants.
Species Tulips
Species or botanical tulips are generally smaller than many modern hybrids and can work well toward the front of beds, rock gardens, or more naturalistic plantings.
For +12 Seasonal Garden Guides, they can be worth considering if your priority is a tulip that has a greater chance of returning under suitable growing conditions.
Should Tulips Be Fertilized at Planting?
Fertilizer recommendations vary, and there is no reason to automatically add a large amount of fertilizer to every bulb bed. Soil testing and the specific needs of the planting area provide a better basis for nutrient decisions.
For +12 Seasonal Garden Guides, concentrate first on drainage, soil structure, planting depth, and bulb quality. University of Illinois Extension discusses fertilizer and phosphorus in bulb production, but its guidance also emphasizes preparing soil according to its condition rather than applying amendments blindly.
Test Before Adding Nutrients
A soil test can tell you whether nutrients or pH adjustments are actually needed.
This is especially useful in established garden beds where fertilizers or compost have been added repeatedly over previous seasons.
Follow Product Directions
If fertilizer is appropriate, use a product intended for the crop and follow its label.
More fertilizer isn’t automatically better. Excessive applications can create nutrient imbalances and environmental losses.
Caring for Tulips After Winter
Once spring arrives, tulip shoots may appear quickly as soil temperatures rise. Keep an eye on moisture, especially during unusually dry weather, and allow foliage to remain after flowering.
For +12 Seasonal Garden Guides, remember that the leaves are not just decorative leftovers. They continue photosynthesis and help replenish the bulb’s stored resources for future growth. Penn State Extension recommends allowing foliage to remain after flowering until it naturally declines.
Remove Faded Flowers
After tulips finish flowering, removing spent flower heads can help prevent energy from being directed toward seed production.
Don’t remove the green leaves at the same time. Leave them in place until they yellow naturally.
Let Foliage Die Back
Tulip foliage can look untidy after flowering, but cutting it down too early can weaken the bulb’s ability to rebuild energy.
University of Illinois Extension advises allowing tulip foliage to remain until it has naturally yellowed.
Do Tulips Come Back Every Year?
Tulips can return, but repeat flowering depends heavily on variety, climate, soil, drainage, and growing conditions. Many gardeners treat modern hybrid tulips as seasonal plantings and replace them regularly for a dependable display.
For +12 Seasonal Garden Guides, don’t assume that every tulip will create the same show year after year. Darwin Hybrid, Fosteriana, and species tulips are among the types that may have better perennial performance under favorable conditions.
Encourage Repeat Performance
Choose tulip varieties known for perennializing, provide good drainage, avoid overcrowding, and allow foliage to mature naturally after flowering.
Healthy leaves are essential to rebuilding stored energy. Patience after flowering can therefore be just as important as careful planting in fall.
Replace When Necessary
If hybrid tulips decline noticeably after a few seasons, replacing them with fresh bulbs is a perfectly reasonable garden strategy.
For +12 Seasonal Garden Guides, annual replanting can also give you an opportunity to experiment with new colors, flower forms, and bloom periods.
Common Fall Tulip Planting Mistakes
Even experienced gardeners can make simple mistakes when planting bulbs. Most problems are avoidable when you focus on drainage, timing, depth, bulb quality, and aftercare.
For +12 Seasonal Garden Guides, use the following list as a final check before covering your planting bed:
- Planting in waterlogged soil
- Choosing soft or damaged bulbs
- Planting at inconsistent depths
- Placing bulbs upside down
- Ignoring recommended spacing
- Planting too early for the local climate
- Waiting until the ground is frozen
- Overwatering after planting
- Using excessive fertilizer
- Cutting foliage immediately after flowering
- Ignoring wildlife digging
- Overcrowding the bed
- Choosing a variety unsuitable for your climate
Avoiding these mistakes gives your bulbs a much better foundation for spring growth.
Create a Beautiful Fall Bulb Garden Design
Tulips don’t have to be planted in straight rows. Curved drifts, repeated clusters, borders, containers, and mixed perennial beds can all create attractive results.
For +12 Seasonal Garden Guides, think about how the garden will look from several viewpoints. A large mass of one color can create a strong visual statement, while smaller groups of complementary colors can produce a more relaxed appearance.
Consider placing later-emerging perennials around tulips so that their foliage can gradually disguise the fading bulb leaves. This creates a more polished garden without requiring you to remove the tulip foliage prematurely.
Your Fall Tulip Planting Checklist
Before finishing your fall planting, walk through the garden with a simple checklist. Make sure the bulbs are healthy, the bed drains properly, the depth matches the variety, and the planting location receives appropriate light.
A practical +12 Seasonal Garden Guides checklist includes:
- Choose firm, healthy tulip bulbs.
- Select a sunny, well-drained location.
- Improve heavy soil when necessary.
- Plant during the appropriate local fall window.
- Follow the recommended planting depth.
- Position pointed ends upward.
- Space bulbs according to variety.
- Water after planting without creating soggy soil.
- Apply a suitable light mulch layer.
- Protect bulbs from digging wildlife when needed.
- Mark your planting locations.
- Keep notes about varieties and bloom times.
- Allow spring foliage to mature naturally.
These small steps make the planting process more organized and give you useful information for planning future seasons.
FAQs About Fall Tulip Bulb Planting
When is the best time to plant tulip bulbs in fall?
Plant tulip bulbs several weeks before the ground normally freezes in your region, giving them time to establish roots before winter.
How deep should tulip bulbs be planted?
Many tulips are planted about 6–8 inches deep, but the correct depth depends on bulb size, variety, soil, and package instructions.
Which way should tulip bulbs face when planting?
Place the pointed growing end upward and the flatter root plate downward.
Should tulip bulbs be watered after planting?
Yes, water after planting to settle the soil and encourage root development, but avoid keeping the planting area continuously soggy.
Do tulips come back every year?
Some tulips can return for several years, but many modern hybrids are less reliable for repeat flowering; Darwin Hybrid, Fosteriana, and species tulips can be better choices for perennial performance.
Conclusion
Successful tulip gardening begins months before the flowers appear. Choosing firm bulbs, selecting a sunny and well-drained site, preparing the soil carefully, planting at the appropriate depth, and protecting the bulbs through winter all contribute to a healthier spring display. A thoughtful +12 Seasonal Garden Guides approach focuses on giving bulbs the right conditions rather than relying on complicated maintenance.
Once your bulbs are in the ground, patience becomes part of the process. Let winter provide its natural seasonal cycle, then enjoy the first shoots when spring arrives. With good planning and a little observation, your fall planting can become a colorful foundation for a more beautiful and rewarding garden next season.

