
There’s a particular kind of houseplant guilt that creeps up on you you glance at your pothos and realize its roots are curling out of the drainage hole, or your fiddle leaf fig has started tipping over every time you water it. That’s your plant’s way of saying it’s outgrown its home.
Repotting sounds intimidating if you’ve never done it, but it’s honestly one of the most straightforward things you can do for your houseplants and the payoff (bigger growth, healthier roots, a plant that actually looks perky again) is huge. Here are 12+ repotting houseplants step-by-step ideas covering exactly when, how, and what to watch for, from the first warning signs to the final watering.
Save this guide step 9 below is the single most common mistake people make, and it can undo all the good you just did.
First: Signs Your Houseplant Actually Needs Repotting
Before grabbing a new pot, confirm your plant genuinely needs one. Look for:
- Roots growing through the drainage hole at the bottom of the pot
- Roots pushing the plant up and out of the pot
- Growth that’s noticeably slower than normal (not just seasonal winter dormancy)
- A plant that’s extremely top-heavy and tips over easily
- Soil that dries out much faster than it used to
- Visible salt or mineral buildup on the plant or the pot itself
If you’re seeing one or more of these, it’s time. If not, your plant is probably happy right where it is repotting isn’t something to do “just because.”
Image idea: a vertical shot of roots visibly circling out of a plant’s drainage hole. Alt text: “Houseplant roots growing out of the drainage hole, a sign it needs repotting.”
1. Time It Right Spring and Summer Are Usually Best

Spring, right before the active growing season kicks in, is generally the best time to repot houseplants your plant is waking up and ready to use the extra room and fresh nutrients. Fall is a solid second option too, since plants are entering a slower growth phase and are less likely to experience shock from the disruption.
Quick summary: avoid repotting most houseplants in the depths of winter, when they’re dormant and least equipped to bounce back from the stress.
2. Gather Your Supplies Before You Start

Here’s the thing: repotting goes a lot smoother when everything is within reach before you begin. You’ll want:
- A new pot with drainage holes (1-2 inches larger in diameter than the current one)
- Fresh, high-quality potting mix suited to your plant
- A small trowel
- Gloves, if you’d rather skip the dirt under your nails
- A drop cloth, tarp, or newspaper to catch the mess
If your new pot doesn’t have drainage holes, keep the plant in a plastic nursery pot and place that inside the decorative one instead of planting directly into it.
3. Water the Plant a Couple of Days Beforehand
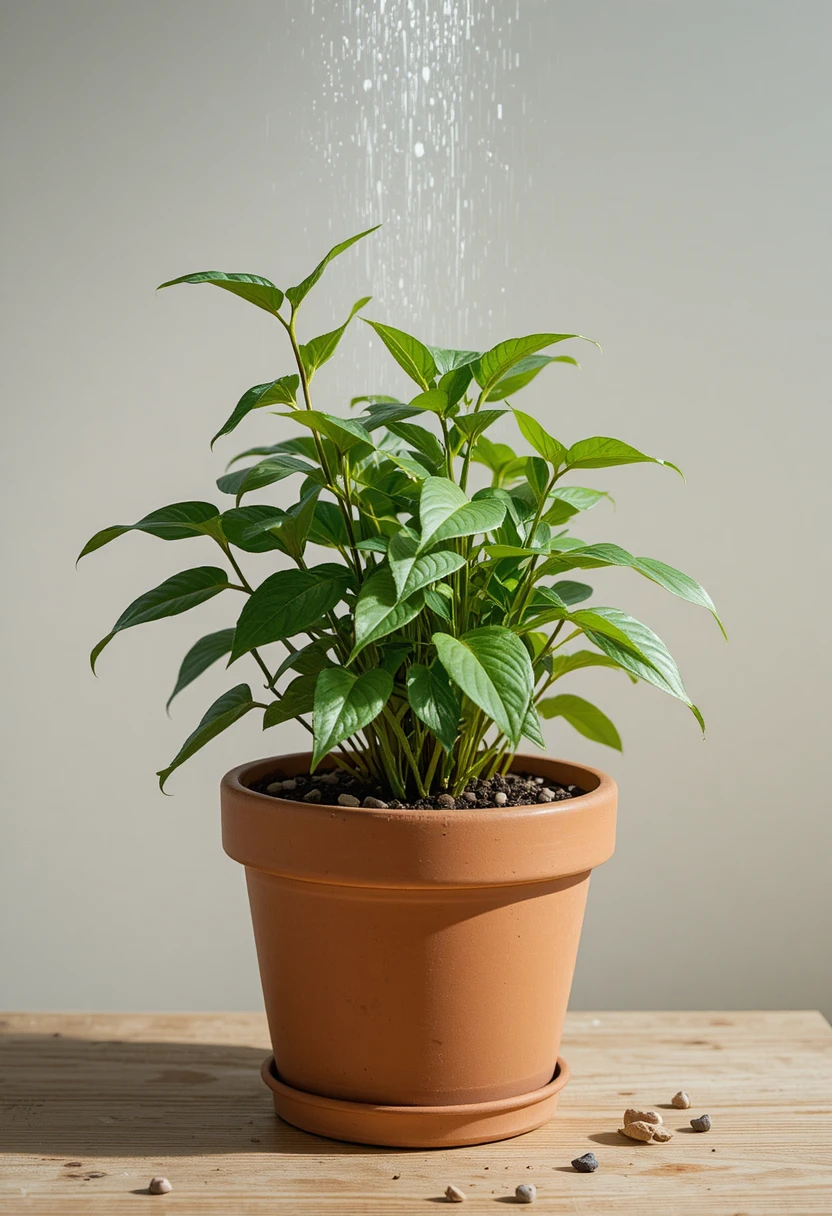
Thoroughly watering your plant about two days before repotting makes the whole process easier the roots and soil hold together better, and the plant handles the transition with less stress than if it’s bone dry.
4. Remove the Plant Gently From Its Current Pot
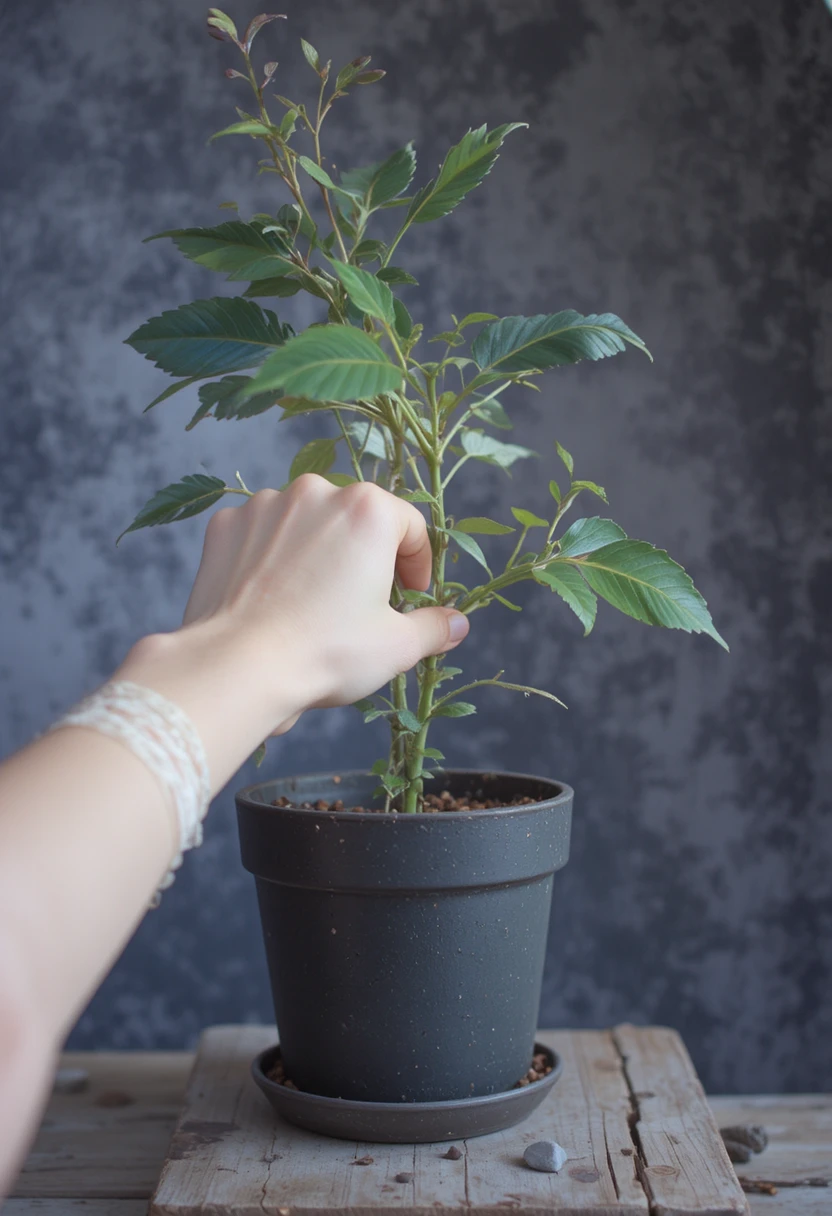
Turn the pot on its side, hold the plant gently by its stems or base, and tap or squeeze the bottom and sides of the container until the plant slides free. If it feels stuck, run a trowel or old kitchen knife around the inside edge of the pot to loosen it and if it’s really stubborn, a little water and a few minutes’ wait usually does the trick.
Image idea: a vertical shot of a plant being gently removed from its pot, roots visible. Alt text: “Removing a houseplant from its pot to prepare for repotting.”
Read Also: Green Nest Hubs
5. Loosen and Inspect the Roots
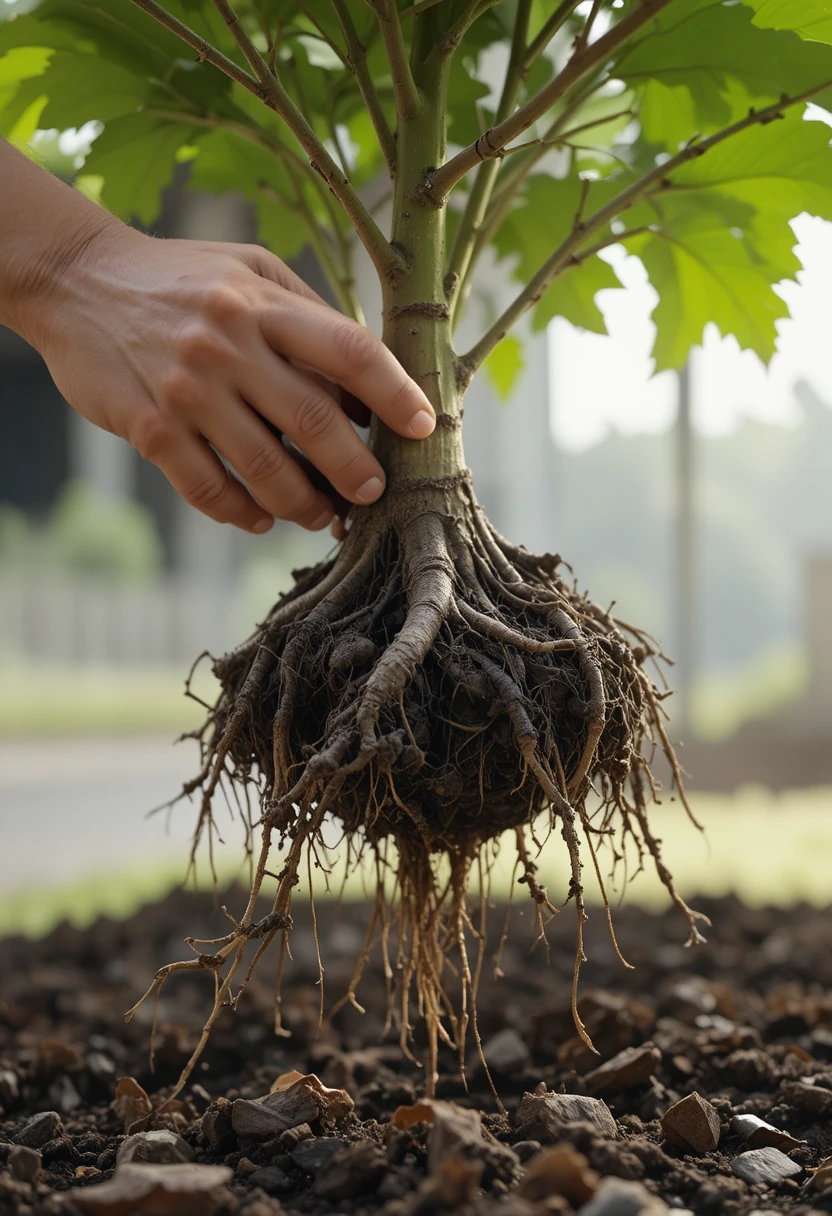
Once the plant is out, use your fingertips to gently loosen the root ball, especially if it’s root-bound and tightly wound. Don’t be afraid to be a little firm here loosening compacted roots actually helps the plant settle happily into its new home instead of continuing to grow in the same restrictive circular pattern.
Save-worthy tip: while you’re in there, snip off any dead, mushy, or damaged roots, along with any dead leaves or stems this is the easiest access you’ll get to do that kind of cleanup.
6. Refresh the Soil, Even If You’re Reusing the Same Pot
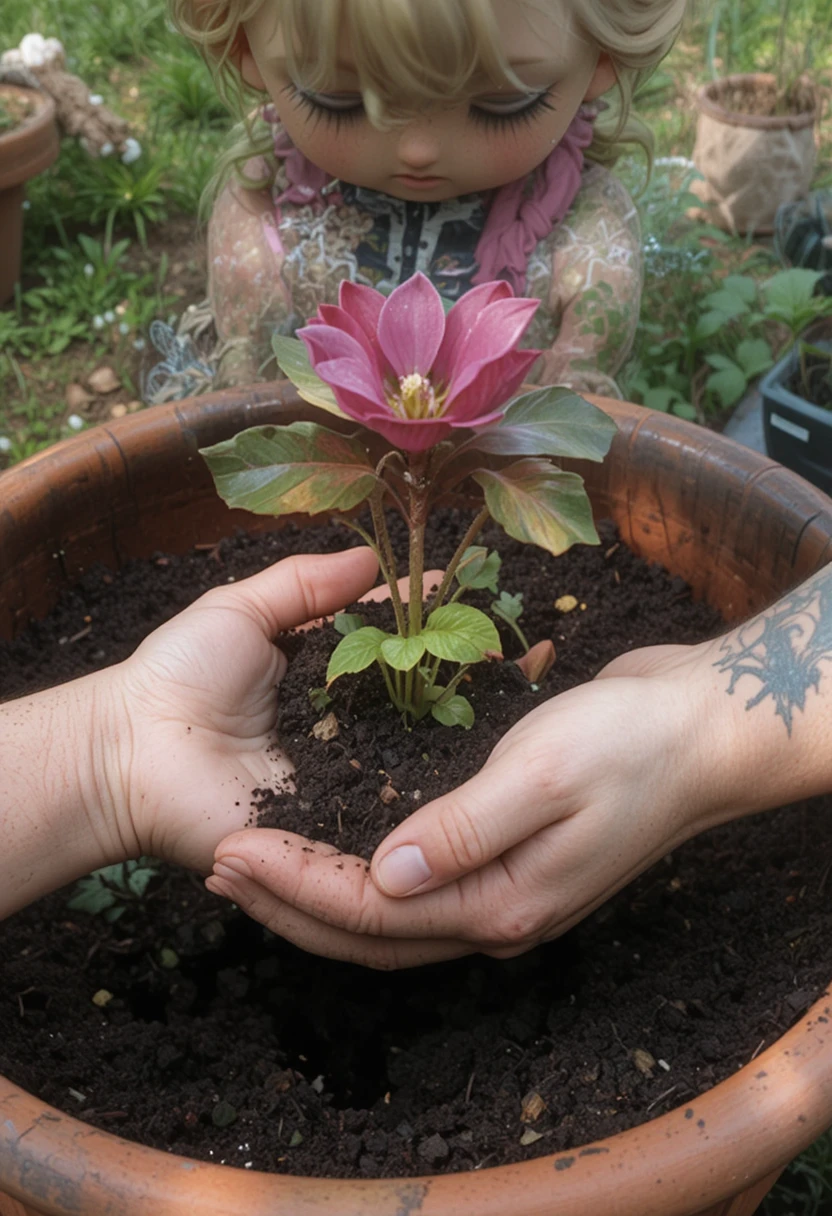
So what does this mean for you? Repotting doesn’t always mean sizing up sometimes it just means swapping out old, depleted soil for fresh. Over time, nutrients get used up, soil compacts, and salts from tap water or synthetic fertilizer can build up, causing burnt leaf tips or a white crust on the pot’s surface. Removing about a third of the old soil and replacing it with fresh mix can revive a plant that isn’t outgrowing its pot but is still struggling.
7. Choose a New Pot That’s Only Slightly Bigger
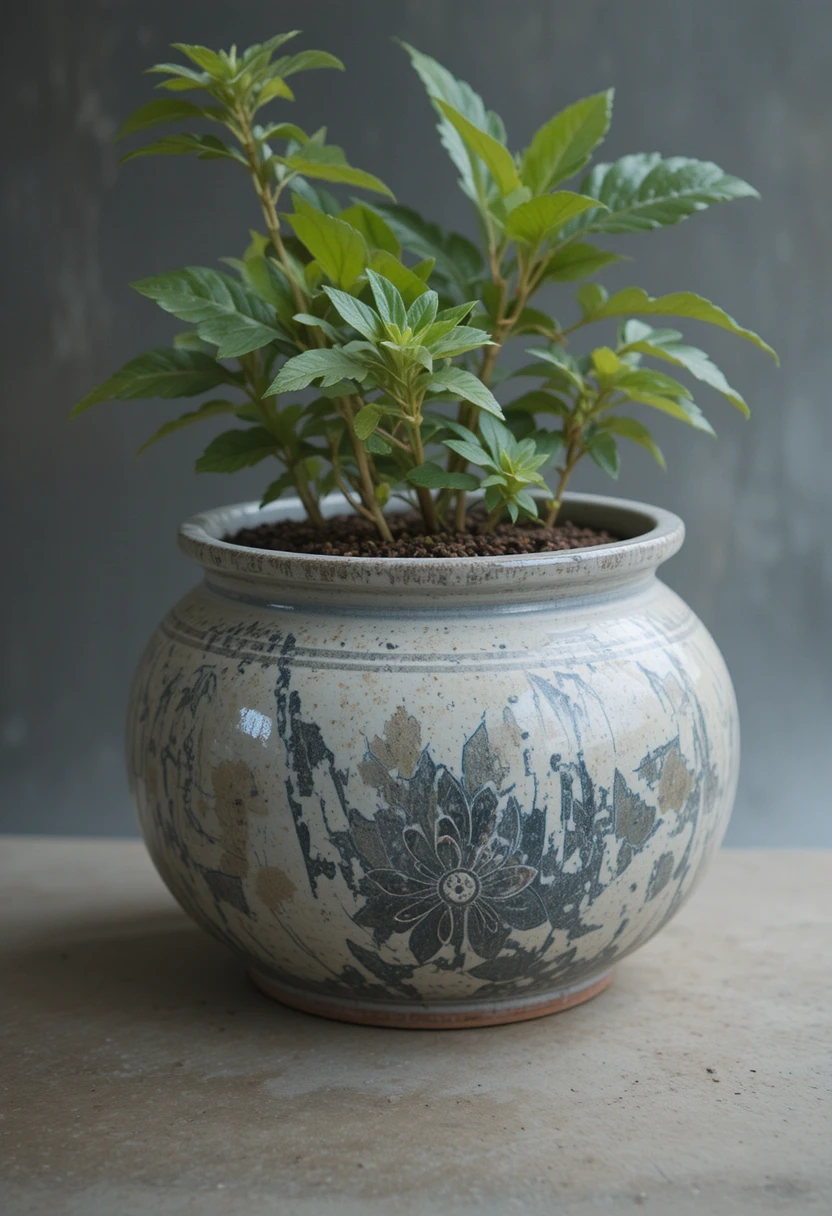
This is where good intentions go wrong most often: bigger isn’t better. Stick to a pot no more than 1-2 inches larger in diameter for tabletop plants (up to 4 inches for large floor plants). A pot that’s too large holds far more soil than the roots can use, and that excess wet soil sitting around a small root system is a recipe for root rot.
Quick tip: if you’re repotting a very small plant, it may only need a pot about an inch larger scale the jump to match the plant’s current size.
8. Add a Layer of Fresh Potting Mix to the Bottom
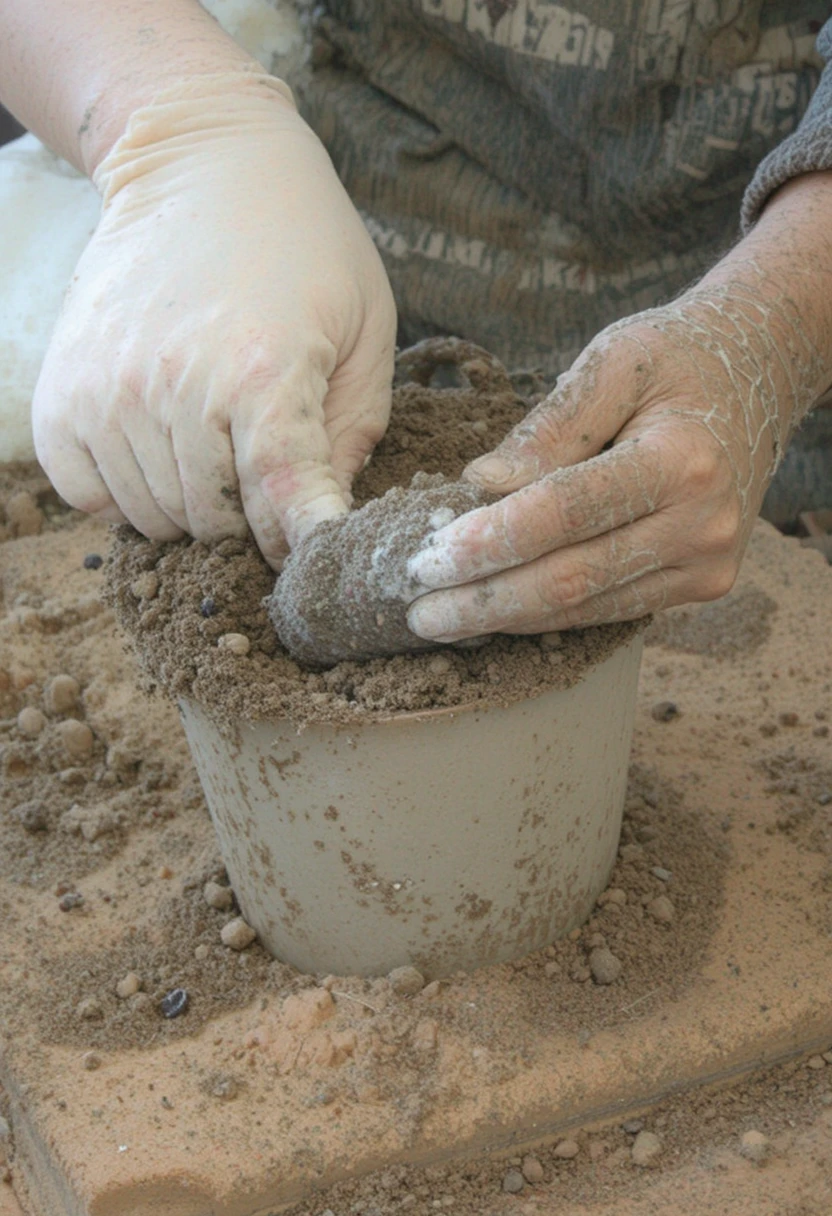
Fill the bottom third of the new pot with fresh, appropriate potting mix a good all-purpose blend works for most houseplants, though cacti and succulents do best in a specialized, fast-draining mix. Avoid using garden soil, which is too dense and heavy for containers.
9. Position the Plant at the Correct Depth
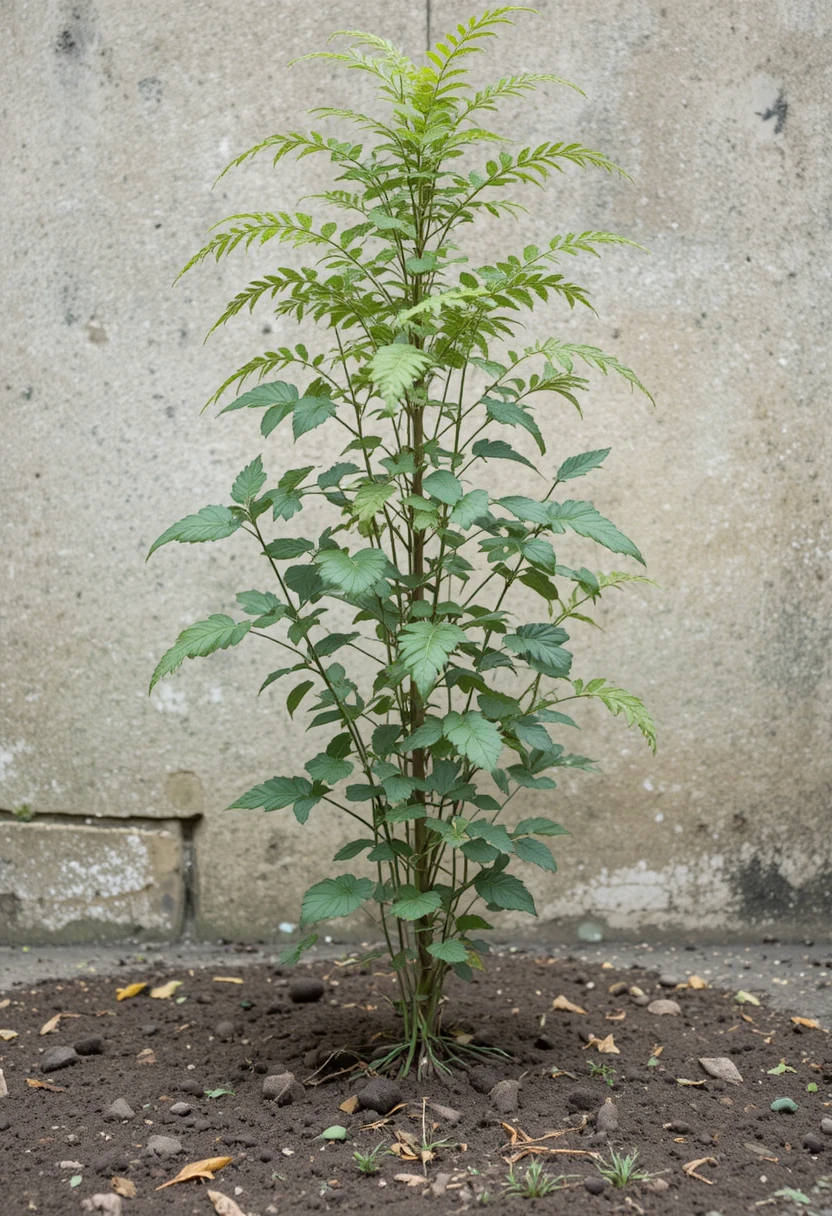
Bucket brigade here’s the mistake to avoid: planting too deep or too shallow. Set the plant in the new pot so the base of the stem sits about 1/4 to 1/2 inch below the rim, at roughly the same depth it was growing at before. Planting too low can smother the stem; planting too high leaves roots exposed and unstable.
10. Fill In Around the Roots

Add fresh soil around the sides of the root ball, gently pressing it in as you go to eliminate large air pockets, without packing it down so tightly that drainage suffers. Leave a little space between the soil surface and the pot’s rim this gives you room to water without everything overflowing.
Image idea: a vertical shot of hands filling fresh soil around a newly potted plant. Alt text: “Adding fresh potting soil around a houseplant’s roots during repotting.”
11. Water Thoroughly Right After Repotting
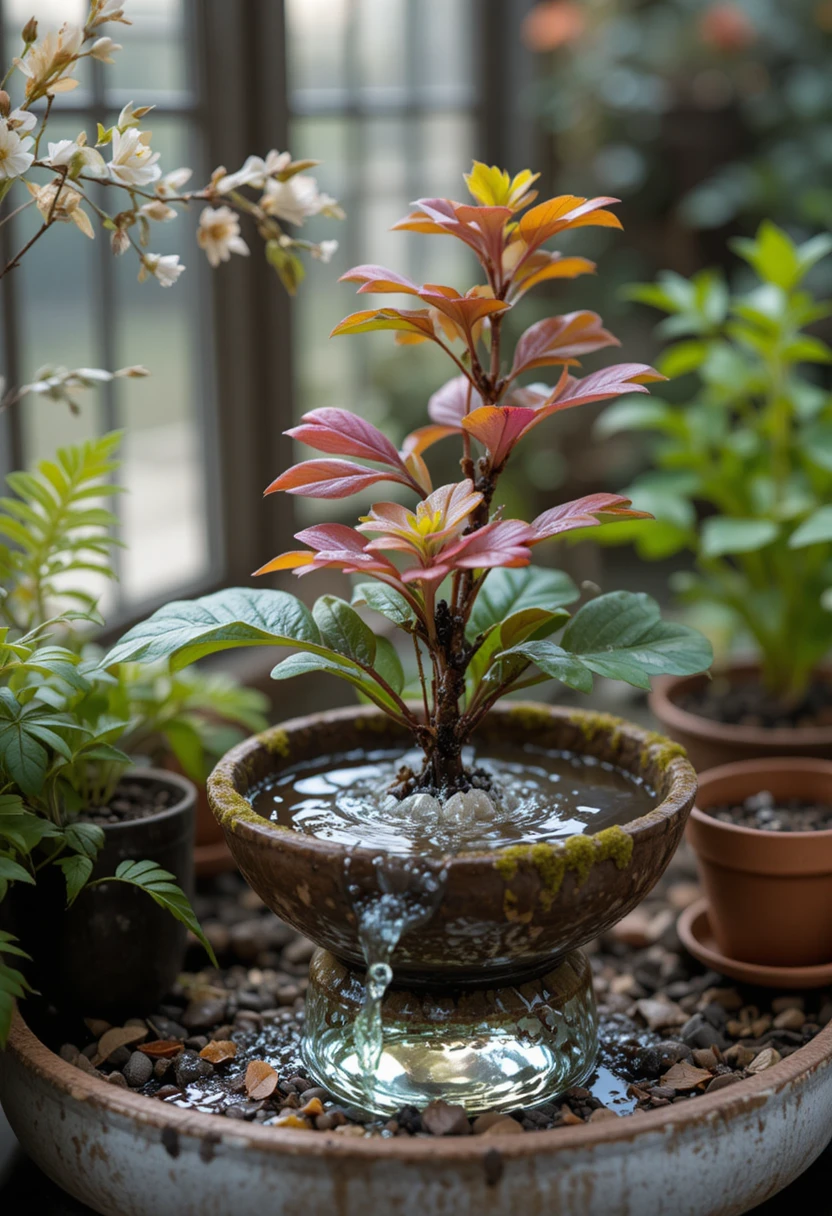
Give your newly repotted plant a good, thorough watering to help the soil settle around the roots and eliminate any remaining air pockets. This first watering is important it essentially “introduces” the roots to their new soil environment.
12. Return It to Its Usual Spot and Be Patient

Place the plant back in its normal location and give it time to adjust it can take a few weeks for a plant to settle into its new pot. During this period, avoid the temptation to overwater; the plant is focused on establishing itself, not on rapid new growth just yet.
Bonus: Don’t Repot Just for the Sake of Repotting
Not every houseplant needs a bigger pot every year. Some slow growers can happily stay in the same container for years, needing only a soil refresh rather than a full size-up. Always check for genuine signs of need from the list at the top of this guide before disturbing a plant that’s actually doing just fine where it is.
Common Repotting Mistakes to Avoid
- Sizing up too much at once a pot that’s dramatically larger leads to overly wet soil and root rot risk.
- Skipping root inspection repotting without loosening or checking roots wastes the opportunity to catch problems early.
- Repotting during dormancy doing this in the depths of winter adds unnecessary stress.
- Using garden soil instead of potting mix garden soil is too dense and compacts quickly in containers.
- Overwatering immediately after one thorough watering at repotting time is enough; let the plant settle before resuming a normal schedule.
Frequently Asked Questions
How often should houseplants be repotted?
It varies by plant, but many houseplants benefit from repotting or a soil refresh every one to two years, while slow growers may go several years between repottings.
What size pot should I choose when repotting?
Choose a pot only 1-2 inches larger in diameter than the current one for most tabletop plants; going too much larger can lead to overwatering issues.
Can I repot a plant that isn’t root-bound?
Yes — even if a plant hasn’t outgrown its pot, refreshing old, depleted soil can help if you’re noticing leaf issues or stunted growth.
Is it bad to repot in winter?
Repotting during winter dormancy adds unnecessary stress since most houseplants aren’t actively growing; spring or summer is generally safer.
Do all houseplants need pots with drainage holes?
Yes, drainage is important for root health. If you love a decorative pot without holes, keep the plant in a plastic nursery pot inside it instead.
How do I know if a plant is root-bound?
Look for roots tightly circling the inside of the pot or growing out of the drainage hole both are clear signs the plant has outgrown its container.
Give Your Houseplants Room to Thrive
Repotting isn’t complicated once you know what to look for and follow the process step by step check the signs, time it well, size up gently, and give your plant a little patience afterward. Do this once a year or so for your fast growers, and your houseplant collection will reward you with healthier growth and far fewer “why does my plant look sad” moments.