
You water your plant every few days like clockwork. You give it a sunny spot. You even talk to it sometimes (no judgment). And yet the leaves keep going yellow, the stems feel soft, and no amount of extra water seems to help.
Here’s the uncomfortable truth: more water is usually the problem, not the solution.
If your houseplant is wilting despite a “perfect” watering routine, there’s a good chance you’re dealing with root rot — and the clock is ticking. The good news? Root rot is one of the most fixable plant problems out there, if you catch it and treat it correctly. The bad news? Most people make it worse by doing exactly the wrong thing first.
This guide walks you through every proven root rot treatment, from the fastest emergency fixes to the exact hydrogen peroxide ratio to use (and when to skip it entirely). Save this one you’ll want to come back to it the next time a plant starts looking “off.”
What Root Rot Actually Is (And Why It Spreads So Fast)
Root rot isn’t really one single thing it’s what happens when plant roots sit in soggy, oxygen-starved soil for too long. Roots need to breathe just as much as they need water. When the soil around them stays wet, the roots essentially suffocate and start to break down.
Here’s the thing: once roots start decaying, they create the perfect environment for fungal pathogens like Pythium and Fusarium to move in and spread. That’s when a soggy-soil problem turns into a full-blown infection that can travel through the entire root system and sometimes into neighboring plants sharing the same tray or tools.
So what does this mean for you? The earlier you intervene, the more roots you save, and the faster your plant bounces back.
How to Tell If It’s Actually Root Rot
Root rot symptoms look a lot like underwatering symptoms, which is exactly why so many people respond by watering more and unintentionally speed up the damage. Before you start treatment, confirm what you’re actually dealing with.
Watch for:
Yellowing leaves that feel soft rather than crispy
Wilting even though the soil is visibly moist
A sour, swampy smell coming from the soil
Stunted or stalled growth, even during the plant’s active season
Dark, mushy stems near the soil line
Soil that stays wet for far longer than usual between waterings
If you’re seeing two or more of these together, it’s time to unpot the plant and check the roots directly. Healthy roots are firm and typically white, tan, or light beige. Roots in trouble are dark brown or black, feel mushy or slimy, and may fall apart when you touch them.
Quick gut check: if the roots smell like rotten eggs or standing pond water, you’re dealing with root rot — not a watering schedule that’s slightly off.
11+ Root Rot Treatments For Houseplants (Step-By-Step)
Once you’ve confirmed root rot, here’s exactly what to do, in the order that gives your plant the best shot at recovery.
Stop Watering Immediately
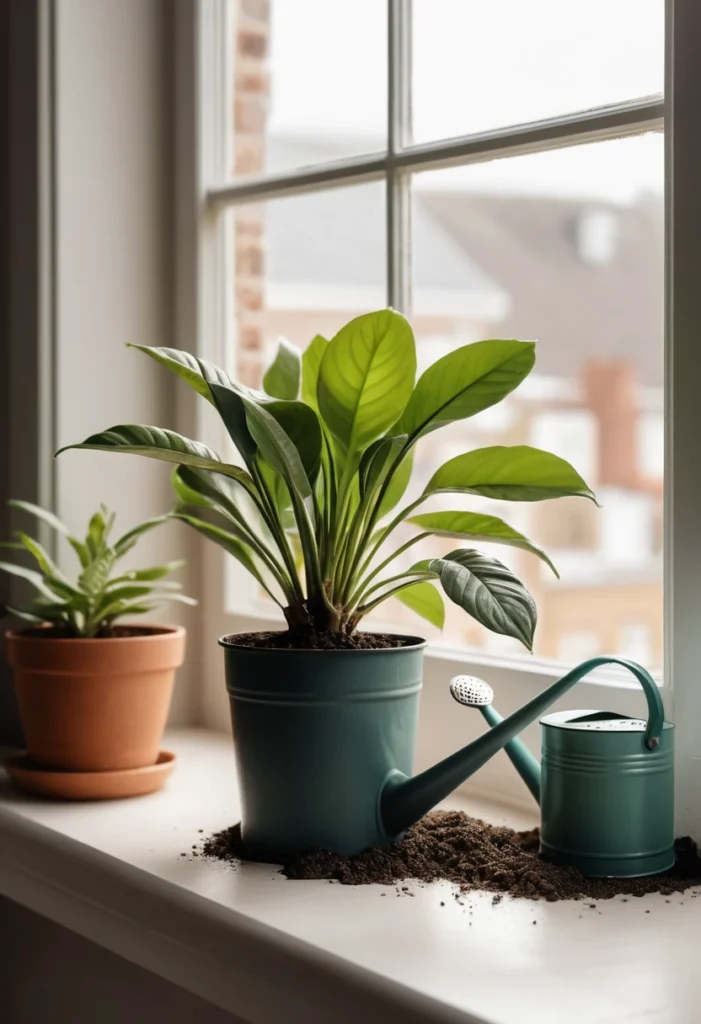
This is the single most important first step, and it’s the one most people skip. Every additional watering keeps the fungal environment alive and active. Pull your plant out of any watering rotation the moment you suspect rot even if the soil looks dry on the surface.
Remove the Plant From Its Pot
Gently slide the plant out of its container. Don’t yank it brittle, rotted roots tear easily, and you want to preserve every healthy root you can. Loosen the root ball over a tarp or sink so you can see what you’re actually working with.
Rinse Away the Old Soil Completely
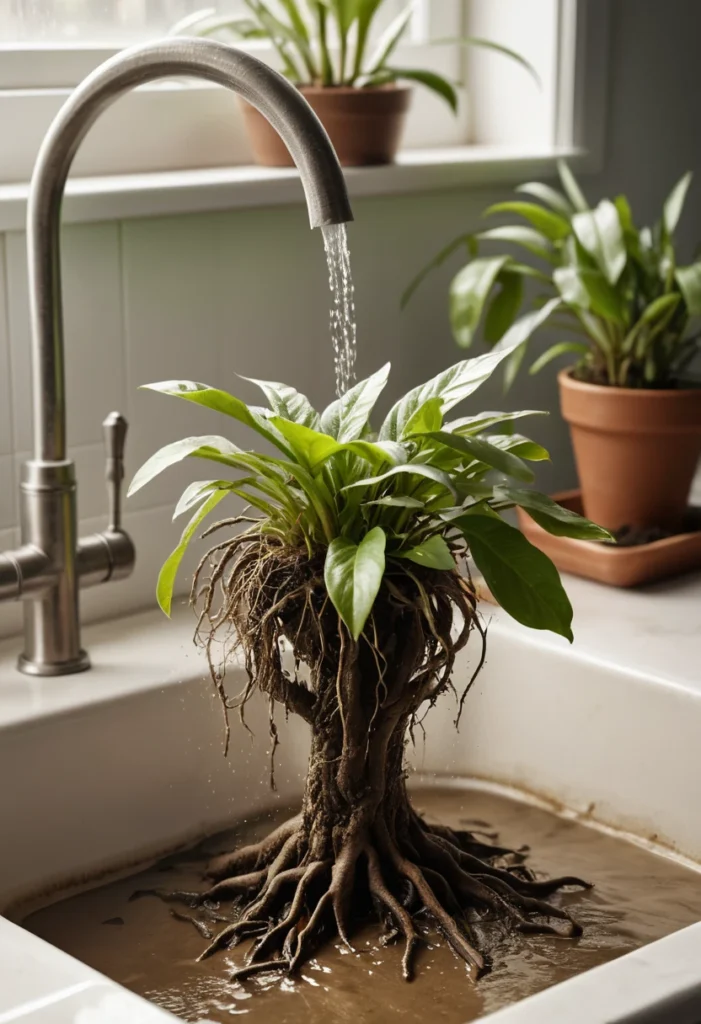
Old, contaminated soil is one of the biggest reasons root rot comes back after treatment. Rinse the roots under lukewarm running water until all the soil is washed away. This also makes it much easier to spot which roots are healthy and which need to go.
Quick recap: stop watering → unpot → rinse. Those three steps alone can stop the spread before you’ve done anything else.
Trim Away All Rotted Roots
Using sterile scissors or pruning shears, cut away every root that’s dark, mushy, hollow, or foul-smelling. Cut slightly above the visibly damaged section to make sure you’re not leaving any infected tissue behind internal rot often extends a little further than what’s visible from the outside.
Sterilize your tools between cuts with rubbing alcohol or a diluted bleach solution (about 1 part bleach to 9 parts water). This one habit prevents you from accidentally spreading fungal spores from a bad root to a healthy one.
Disinfect the Remaining Healthy Roots
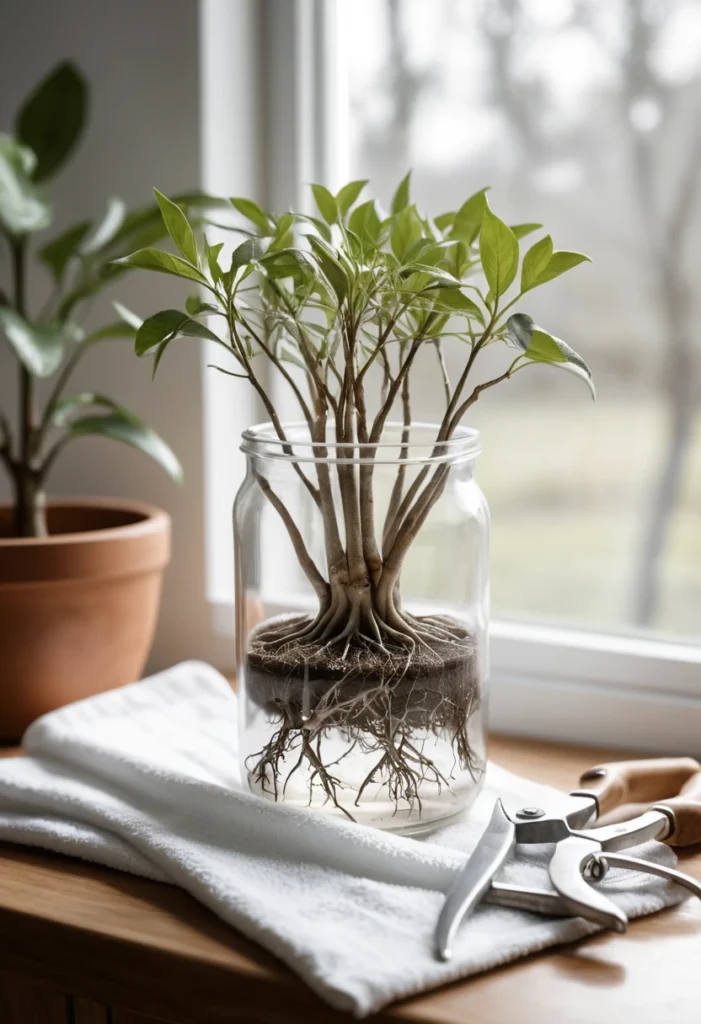
This is where a hydrogen peroxide root soak comes in and it’s one of the most searched-for root rot remedies for a reason. Done correctly, it’s genuinely effective. Done incorrectly, it can stress an already-weakened root system.
How to do it safely:
Use standard 3% hydrogen peroxide from the pharmacy never a higher industrial concentration.
Mix 1 part hydrogen peroxide to 2 parts lukewarm, filtered or distilled water.
Submerge the trimmed roots for 15–20 minutes, gently swirling to loosen any lingering debris.
Don’t leave roots soaking longer than about 25 minutes extended exposure can actually stress the delicate root tissue you’re trying to save.
The peroxide breaks down into oxygen and water, which helps knock back surface fungal pathogens while giving oxygen-starved roots a small boost. Think of it as disinfecting a wound, not a miracle cure it works best as one part of a full treatment, not a stand-alone fix.
One important exception: some plants, particularly orchids, have especially delicate root tissue that reacts poorly to hydrogen peroxide. If you’re treating an orchid, a light cinnamon dusting (below) is usually the gentler choice.
Or Use Cinnamon as a Natural Alternative
Plain, unflavored ground cinnamon has mild antifungal properties and works well as a gentler alternative to peroxide, especially for sensitive plants. Lightly dust the trimmed root ends before repotting.
Don’t combine cinnamon and hydrogen peroxide in the same treatment. Mixing home remedies doesn’t multiply the benefit it just adds unnecessary residue and can interfere with how each one actually works. Pick one, use it correctly, and move on.
Save-worthy tip: One remedy at a time. More isn’t better when it comes to root rot treatment it’s often the opposite.
Sterilize (or Replace) the Old Pot
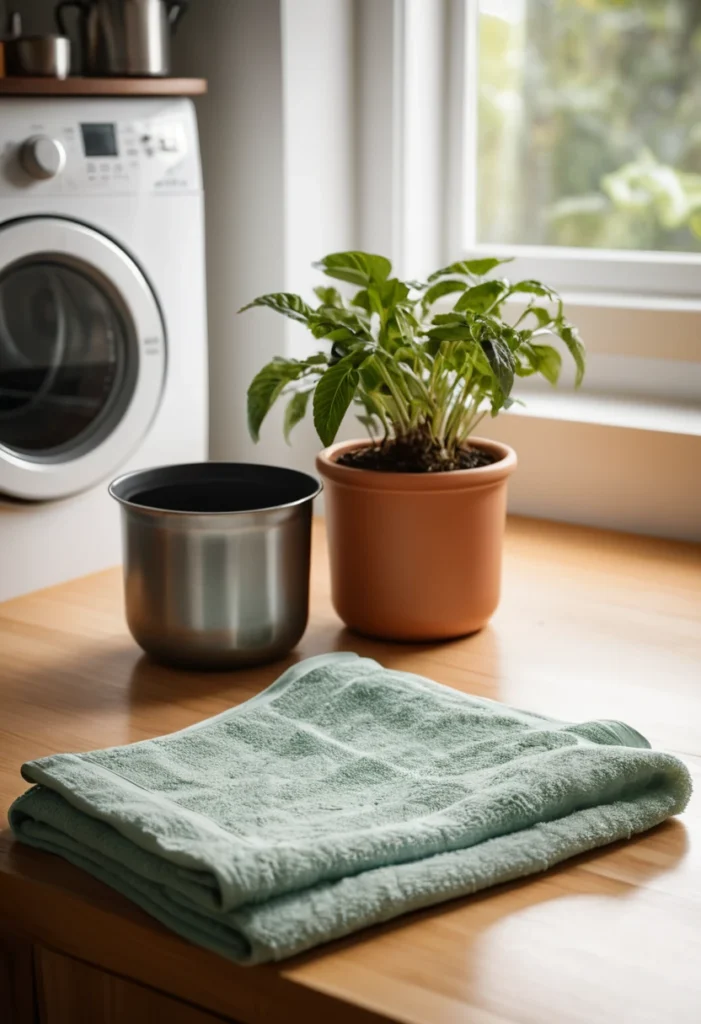
Fungal spores from root rot can cling to the inside of a pot long after the soil is gone. If you’re reusing the same container, scrub it thoroughly and soak it in a 10% bleach solution for at least 10 minutes, then rinse well. If it’s a porous material like unglazed terracotta, it’s often safer to just start with a fresh pot porous surfaces are much harder to fully disinfect.
Repot Into a Fresh, Well-Draining Mix
Never reuse the original soil. It’s likely still holding onto both excess moisture and fungal spores, which basically undoes everything you just did.
Choose a fresh, high-quality potting mix and amend it for drainage:
Add perlite or coarse bark to improve airflow around the roots
Skip the “rocks at the bottom of the pot” trick it doesn’t actually improve drainage and can make water pool higher up instead
Make sure the new pot has actual drainage holes, not just a decorative saucer
Trim Back the Top Growth to Match
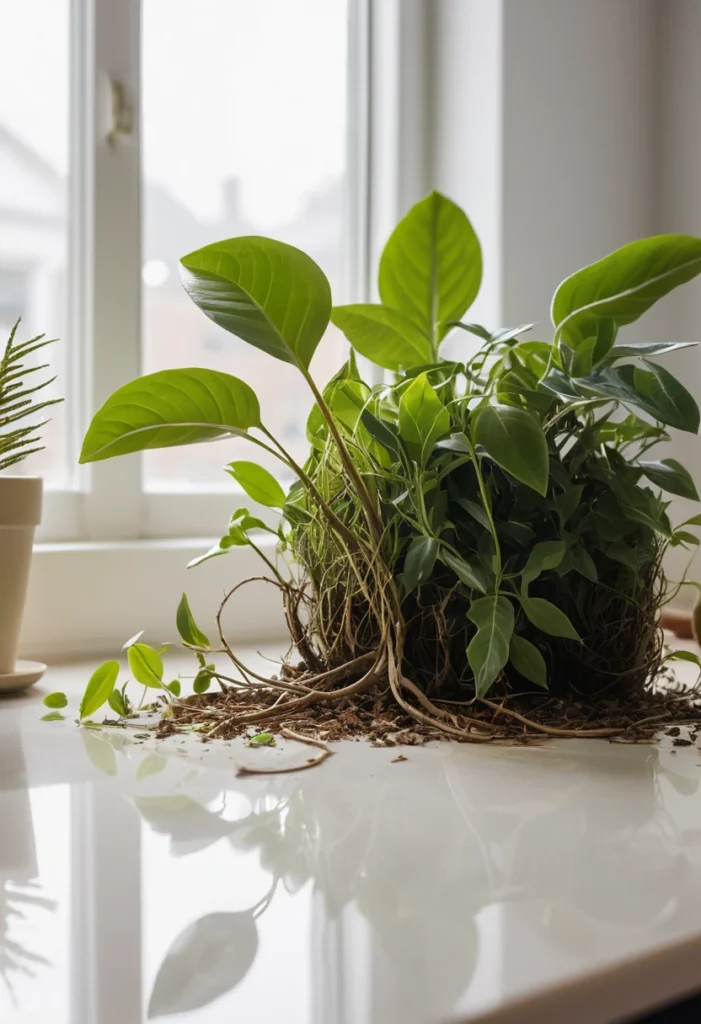
Here’s a step people almost always forget: if you removed a significant portion of the root system, your plant’s leaves and stems are more than it can currently support. Trim back roughly the same proportion of top growth that you removed in roots.
It feels drastic, but a smaller root system simply can’t keep a full canopy hydrated. Lightening the load lets the plant focus its limited energy on regrowing roots instead of struggling to keep old leaves alive.
Read Also: Spring Lawn Care Checklist: 11+ Steps for a Thick, Green Lawn All Season
Hold Off on Fertilizer
A recovering root system can’t process nutrients efficiently, and extra fertilizer salts can actually burn already-stressed roots. Skip feeding for at least four to six weeks after treatment, until you see clear signs of new, healthy growth.
Reset Your Watering Habits Going Forward
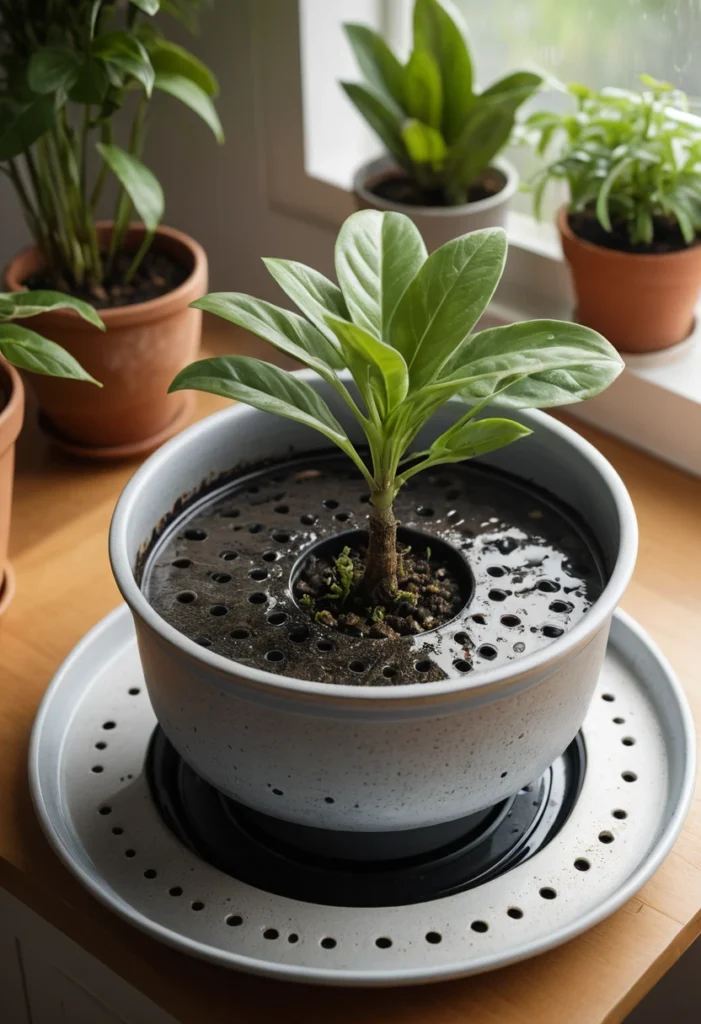
This is the step that determines whether root rot becomes a one-time scare or a recurring problem. Only water once the top inch or two of soil is dry to the touch not on a fixed calendar schedule. Always empty any saucer that collects excess water rather than letting the pot sit in it.
Consider a Fungicide But Only If You’re Certain
If root rot keeps returning even after fixing drainage and watering, a targeted fungicide may help address the specific fungal pathogen involved. This step is optional, and it’s the one place where guessing can backfire: the wrong product for the wrong fungus won’t help, and harsh chemical treatments aren’t something to reach for casually. If you go this route, it’s worth confirming the type of fungus involved first (a local garden center or extension office can often help identify it).
Bonus: Monitor for 4–6 Weeks Before Judging Success
Recovery isn’t instant. Many plants stabilize within a couple of weeks, with new growth appearing over the following month or so. Watch for firmer stems, new leaves, or fresh root tips as the real signs of recovery — not just the absence of new yellow leaves.
Preventing Root Rot From Coming Back
Treating root rot once is a rescue mission. Preventing it is the long game and it’s a lot less stressful.
Choose pots with real drainage holes, every time, no exceptions.
Use a well-draining potting mix suited to the plant, not garden soil, which often carries fungal spores.
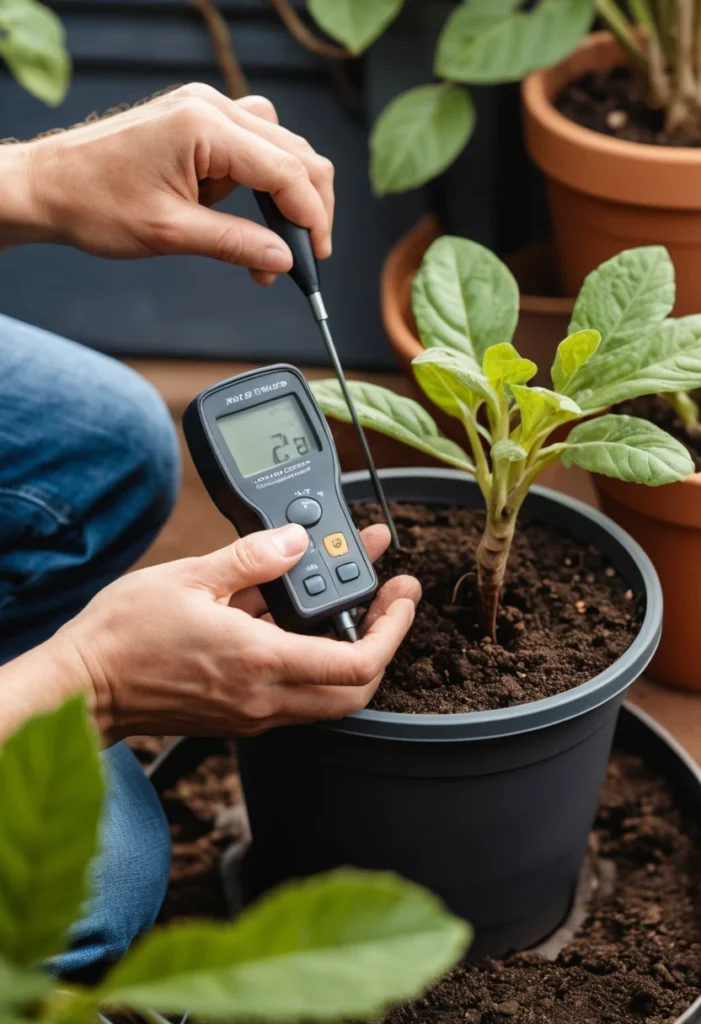
Water based on the soil, not the calendar check moisture with your finger or a moisture meter before watering.
Empty saucers and cachepots so roots never sit in standing water.
Avoid oversized pots. Too much soil around a small root system holds excess moisture far longer than the plant can use.
Don’t reuse old soil or drainage water from a plant that had root rot, and disinfect tools between plants.
Quick summary to pin for later: Right pot + right soil + water-by-feel, not by schedule. That combination prevents the vast majority of root rot cases before they ever start.
Frequently Asked Questions
Can a plant fully recover from root rot?
Yes, in many cases especially when it’s caught early and a healthy portion of the root system remains. Plants with only mild to moderate rot often bounce back within a few weeks once the affected roots are removed and conditions are corrected.
How long does root rot recovery take?
Most houseplants show early stabilization within one to two weeks and visible new growth within four to eight weeks, depending on the plant and how severe the rot was.
Is hydrogen peroxide safe for every houseplant?
It’s generally safe at the diluted 1:2 ratio described above, but sensitive-rooted plants like orchids can react poorly to it. For those, a light cinnamon application is usually the gentler option.
Should I use both hydrogen peroxide and cinnamon together?
No stick to one remedy per treatment. Combining them doesn’t add extra protection and can interfere with how each one actually works on the roots.
What causes root rot besides overwatering?
Overwatering is the most common cause, but poor drainage, oversized pots, compacted soil, and low light (which slows how much water a plant actually uses) can all contribute, even with a “normal” watering routine.
The Bottom Line
Root rot feels like a plant emergency the moment you spot it and in a lot of ways, it is. But it’s also one of the most treatable problems in houseplant care, as long as you act fast: stop watering, inspect the roots, trim away the damage, disinfect what’s left, and repot into fresh, well-draining soil.
The plants that come back strongest aren’t the ones that never got sick they’re the ones whose owners caught the signs early and treated them properly. Save this guide, share it with a fellow plant parent who’s mid-panic over a droopy pothos, and keep it close the next time something looks a little “off” in your plant collection.