
Staring at an empty patch of yard, completely unsure where anything should actually go? You’re not alone and the good news is, you don’t need a landscape design degree to lay out a flower garden that looks like you knew exactly what you were doing.
Every gorgeous flower garden you’ve ever admired started with the same handful of basic layout decisions: what shape the bed should be, where the tall plants go versus the short ones, and how to keep the whole thing easy enough that you’ll actually want to maintain it. Get those fundamentals right, and the rest the plants, the colors, the personality falls into place naturally.
Save this list for later because these 13+ beginner-friendly layout ideas will take you from “I have no idea where to start” to a garden plan you can actually dig into this weekend. And don’t skip idea #6, since it’s the small layout trick that instantly makes any beginner garden look more polished.
1. Start With a Simple Rectangle or Square Bed
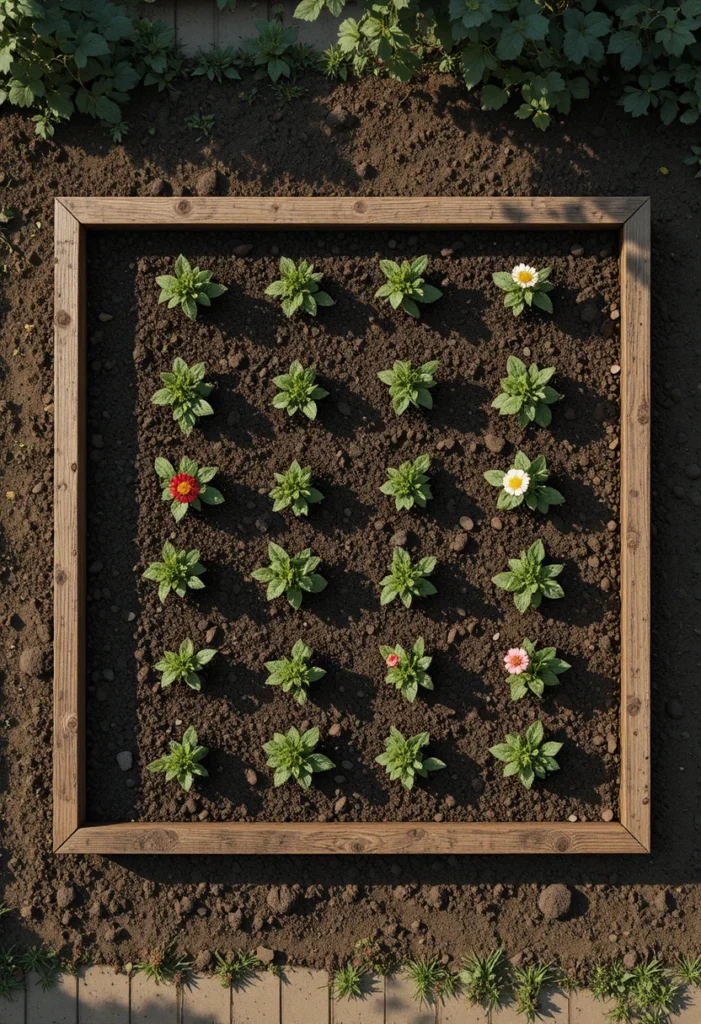
For your very first flower garden, resist the urge to design something elaborate.
A rectangular or square bed is far easier to plan, plant, and maintain than a complex, curvy shape and it still looks completely intentional once it’s filled in. Plant flowers in simple rows or blocks for a clean, straightforward layout, then save the more creative shapes for your second or third garden, once you’ve got a season of experience under your belt.
2. Sketch Your Layout on Paper Before You Dig
Every good flower garden layout begins on paper, not in the dirt.
Grab a notebook and rough out your bed’s shape, then pencil in where your tallest plants, mid-height plants, and low border plants will go. It doesn’t need to be to scale or perfect the point of sketching first is catching obvious problems (like putting six tall plants side by side with nothing in front of them) before you’ve already spent money and effort planting them.
3. Map Your Sun Before You Place a Single Bed
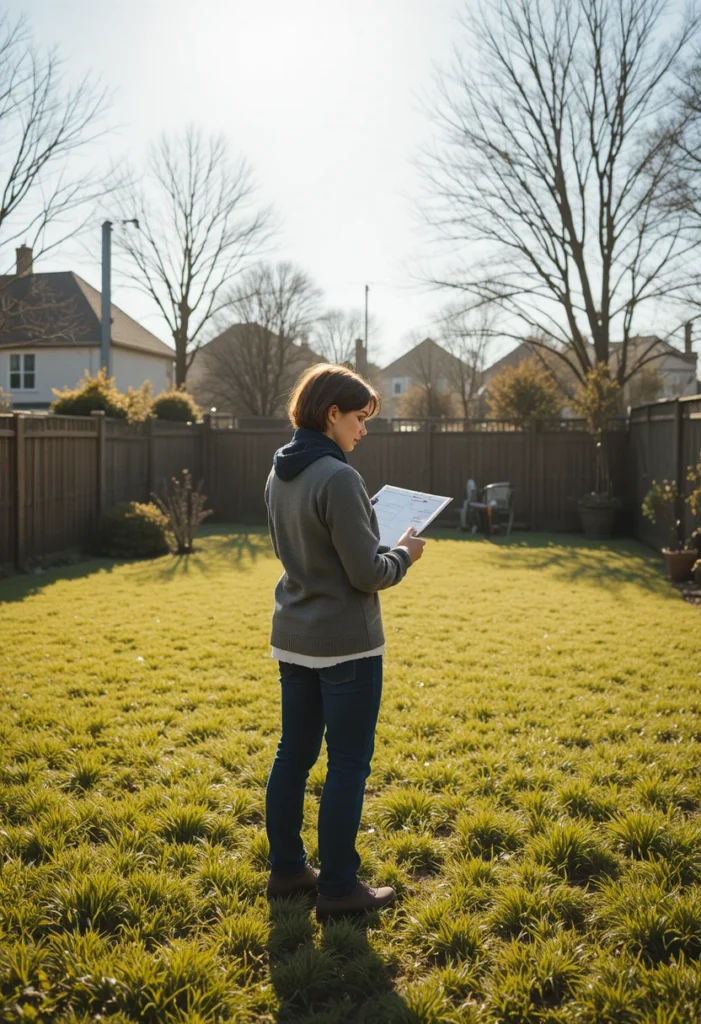
This is the step that determines whether your entire layout succeeds or struggles and it’s the one beginners skip most often.
Spend a day watching how sunlight moves across your yard. Note which spots get six or more hours of direct sun, which are only part-sun, and which stay mostly shaded. Then build your layout around those real conditions, rather than picking a pretty spot first and hoping the plants will cooperate.
4. Try a Border Layout Along a Fence or Wall
One of the easiest layouts for a first flower garden is a simple border a bed that runs along one existing edge, like a fence, wall, or driveway.
Borders are beginner-friendly because you only need to design for one viewing angle: plant your tallest flowers at the back, near the fence, and step down in height as you move toward the front edge. It’s one of the most forgiving layouts there is, since the structure (the fence or wall) is already doing half the design work for you.
5. Try an Island Bed for a Garden You Can Walk Around
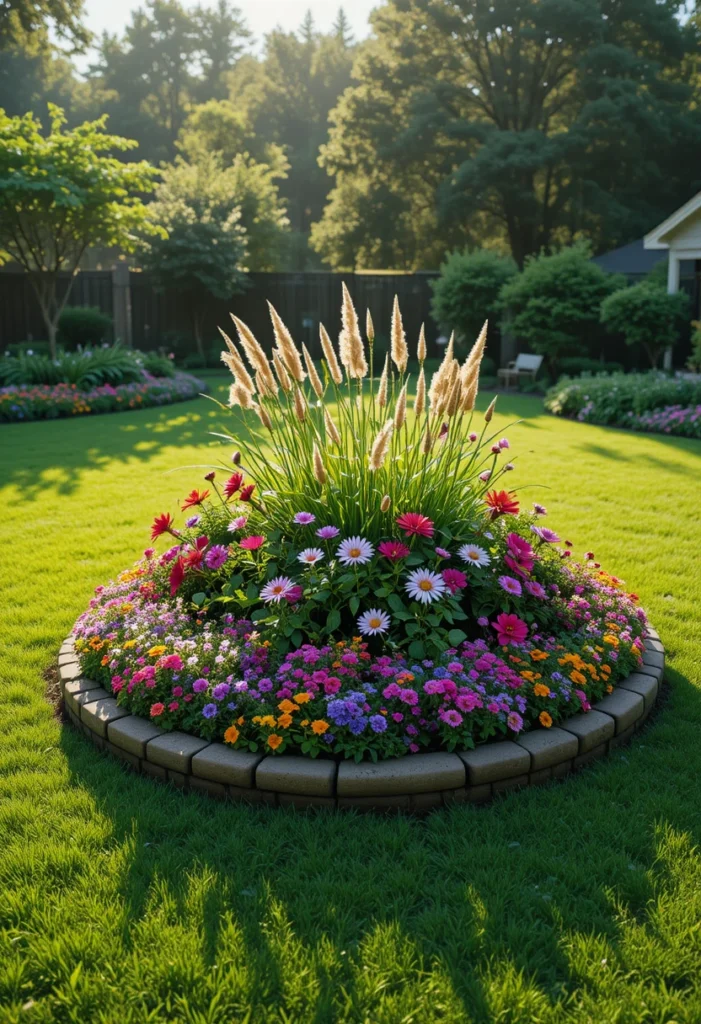
If your bed sits out in the open lawn rather than against a wall, an island bed layout works better than a border.
Since an island bed is viewed from every direction, put your tallest plants in the center and taper down toward the edges on all sides like a small hill of color rather than a staircase. This layout takes a little more planning than a border, but it makes a striking centerpiece for a front yard or open backyard space.
Read Also: 15 Winter Houseplant Care Tips to Keep Your Indoor Jungle Thriving Until Spring
6. Add a Curved Path Instead of a Straight One
Here’s the small layout trick that instantly makes a beginner garden feel more designed and less like a random collection of plants.
A gently curving path made of gravel, stepping stones, or mulch draws the eye through the space and slows visitors down to actually notice the flowers, rather than cutting straight through. Curves also make even a small garden feel larger, since you can’t see the whole path at a glance the way you can with a straight line.
7. Group Plants Into Zones by Water and Sun Needs
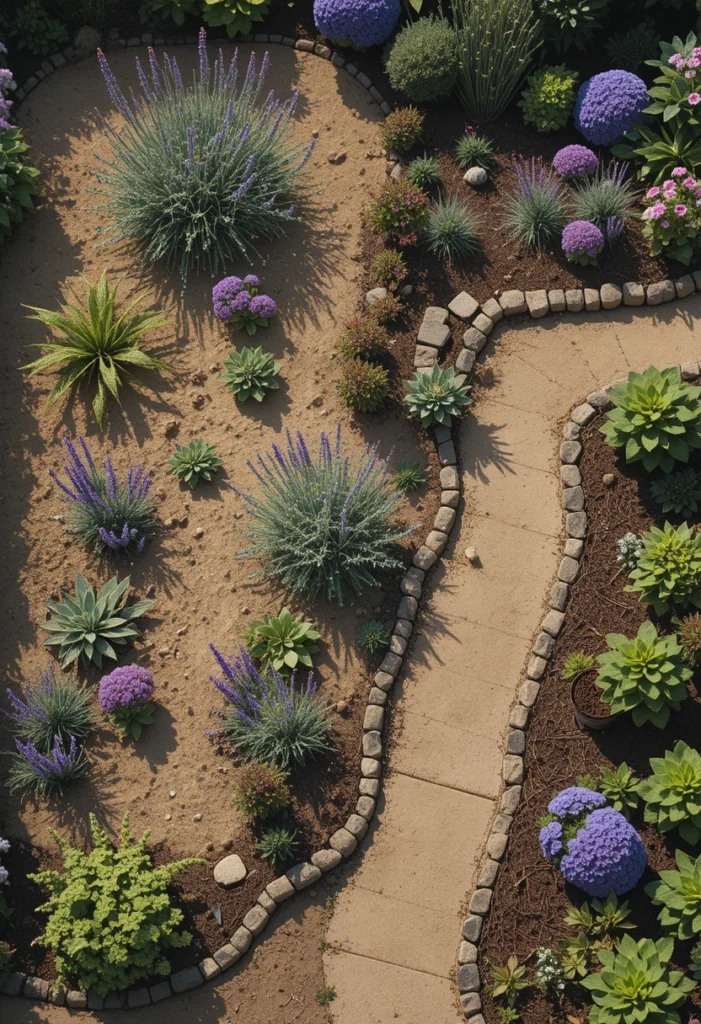
One of the most common beginner mistakes is arranging plants purely by how pretty they look together, without considering what each one actually needs to survive.
Instead, think in terms of small “neighborhoods”: group drought-tolerant plants together in your sunniest, driest spot, and cluster moisture-loving plants together where water naturally collects. This single layout decision saves enormous amounts of ongoing watering effort, because you’re never trying to satisfy two opposite sets of needs in the same few square feet.
Quick summary: Same plants, smarter zones = less watering guesswork and healthier flowers all season.
8. Layer Your Layout by Height
Height is one of the fastest ways to turn a flat, beginner-looking bed into something that reads as professionally designed.
Plan your layout in three basic tiers: tall plants at the back (or center, for an island bed), medium-height plants in the middle, and low, spreading plants along the front edge. This layering keeps every plant visible instead of hidden behind taller neighbors, and it adds visual depth even in a small bed.
9. Break a Large Yard Into Smaller Garden Zones
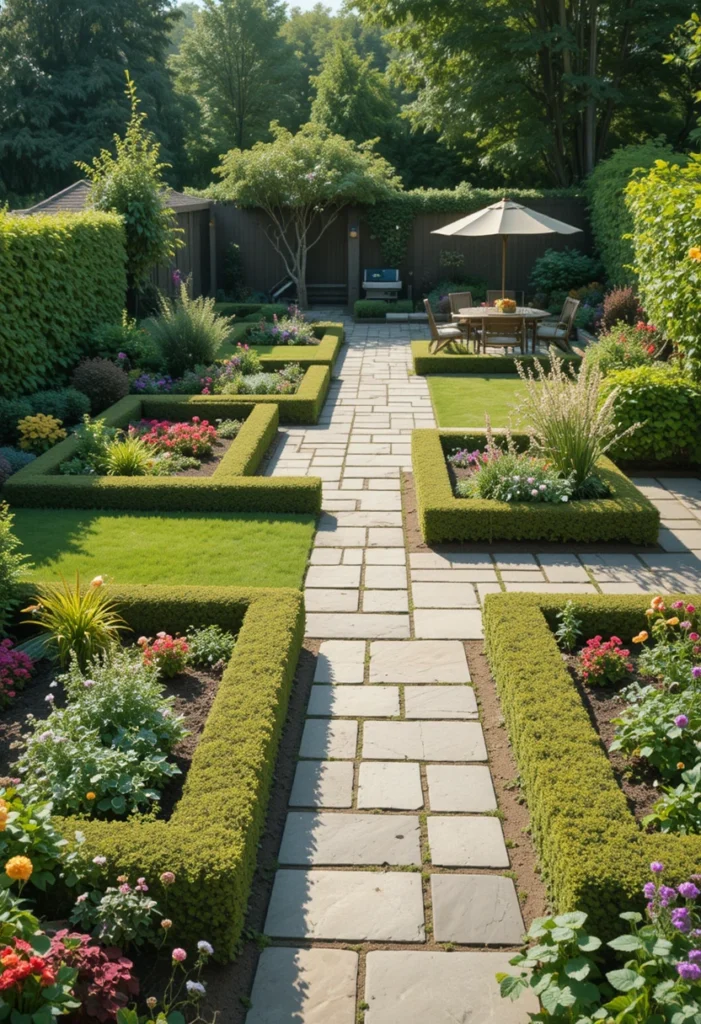
If you’re working with a bigger space, resist trying to design one giant, sprawling garden all at once.
Instead, divide the yard into a few smaller, purposeful zones a pollinator corner, a cutting-flower patch, a seating nook surrounded by flowers. Each smaller zone is far easier to plan and plant than one enormous bed, and the overall yard ends up feeling more intentional and varied rather than one long, undifferentiated stretch of color.
Read Also:13+ Cottage Flower Garden Ideas to Turn Any Yard Into a Blooming Fairytale
10. Consider a Raised Bed for Easier Beginner Maintenance
A raised bed is one of the most forgiving layouts for a first-time flower gardener, especially if your existing soil is poor, rocky, or full of old lawn grass.
Building up a contained bed with quality soil gives you full control over drainage and fertility from day one, keeps the layout naturally tidy and defined, and makes weeding, planting, and watering noticeably easier on your back than an in-ground bed. A simple 4×8 or 4×4 raised bed is a manageable, low-pressure size for a first attempt.
11. Use Repetition and Odd-Numbered Groupings
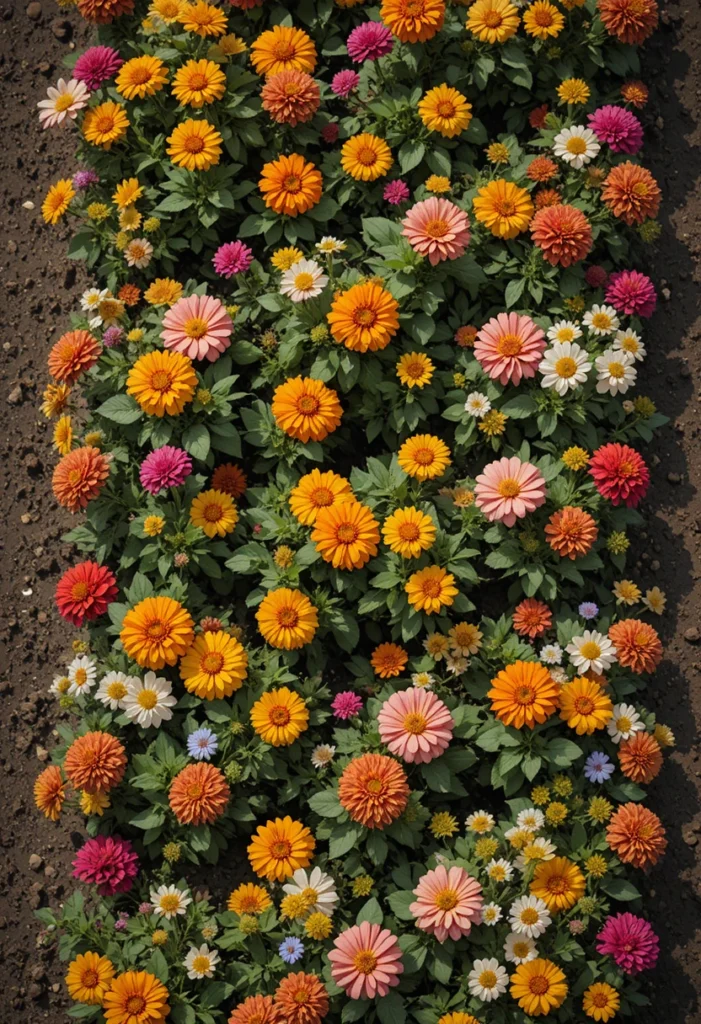
A layout mistake that quietly undermines a lot of beginner gardens: buying one of everything that looks pretty at the nursery.
Instead, plant the same flower in small clusters of three, five, or seven, and repeat that same plant or color at a few points throughout your layout. Odd-numbered groupings read as far more natural and intentional than single scattered specimens, and the repetition ties your whole layout together into something cohesive rather than busy.
12. Plan for Seasonal Flow, Not Just One Big Bloom
A common beginner layout problem: a garden that looks incredible for three weeks in early summer, then sits green and quiet for the rest of the year.
When sketching your layout, note roughly when each plant blooms and make sure you have something flowering in spring, summer, and fall not just one big simultaneous show. Structural or evergreen plants placed at a few key layout points also help keep the space looking designed even between bloom cycles.
13. Start Small and Leave Room to Expand
It’s tempting to design your dream garden all at once, but the most successful beginner layouts start deliberately small.
A single manageable bed even just 6×8 or 10×10 feet lets you learn how your specific yard, soil, and sun actually behave before committing to a bigger design. Leave clear, obvious space at the edges for future expansion, so that adding a second bed next year feels like a natural continuation of your layout rather than an awkward afterthought.
14. Use Containers or Vertical Layouts for Small Spaces
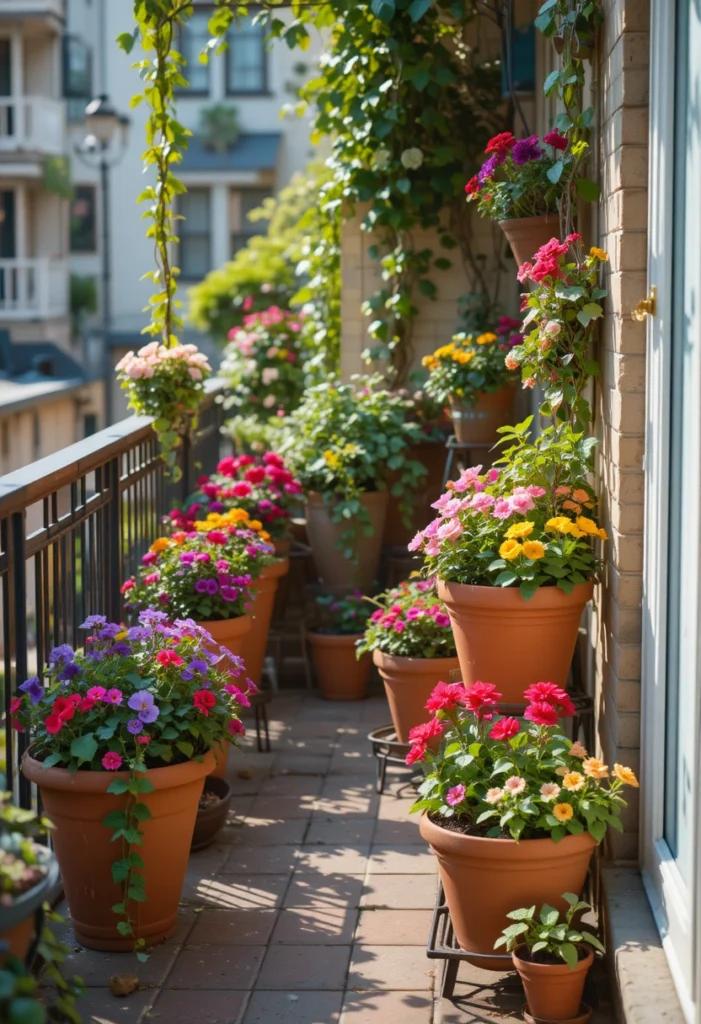
No yard, a tiny patio, or renting your space? A layout doesn’t have to mean an in-ground bed at all.
Group containers of varying heights together to mimic the layered look of a traditional bed, or add a trellis for climbing flowers to grow vertically instead of outward. This approach gives you nearly all the same layout principles height, grouping, repetition in a fully portable, renter-friendly format.
Frequently Asked Questions About Beginner Flower Garden Layouts
What’s the easiest flower garden shape for a first-time gardener?
A simple rectangle or square bed is easiest to plan, plant, and maintain, since it doesn’t require the extra planning that curved or irregular shapes need.
How big should my first flower garden be?
Start small a 6×8 or 10×10 foot bed is plenty for learning how your space, soil, and sun behave before committing to something larger.
Should I plan for pathways in a small flower garden?
Yes, even a small garden benefits from a simple path or clearly defined edge, since it keeps visitors from stepping on plants and makes the space easier to maintain.
Do I need to group plants by their light and water needs?
It’s one of the most helpful beginner layout decisions you can make it saves significant ongoing watering effort and keeps every plant in conditions where it can actually thrive.
Bringing It All Together
A great flower garden layout for beginners isn’t about complexity it’s about a few smart, foundational choices: a manageable shape, real sun mapping, sensible plant zones, and a little height and repetition to tie it all together. Sketch your plan, start smaller than you think you need to, and leave room to grow.
By the time your first season wraps up, you’ll have a much clearer sense of what your yard actually wants and a solid, working layout you can expand on with confidence next year.